With our detailed instructions on adding "A Records" in Plesk Panel, explore the realm of domain management.
Regardless of your experience level as a webmaster, this article will guide you through the process with simple, understandable steps, making it easy for you to change your domain settings and guarantee optimal website performance.
Let's begin learning this essential component of managing a website:
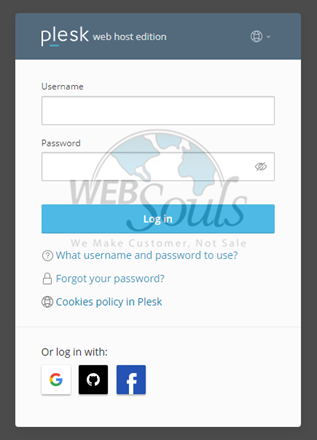
Step 1: Login to Plesk
Provide your designated username and password to log in to Plesk.
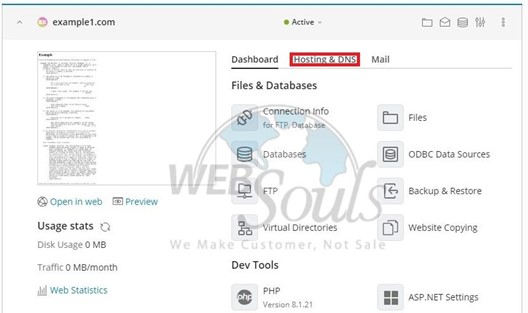
Step 2: Click Hosting & DNS
Click Hosting & DNS next to the Dashboard option.
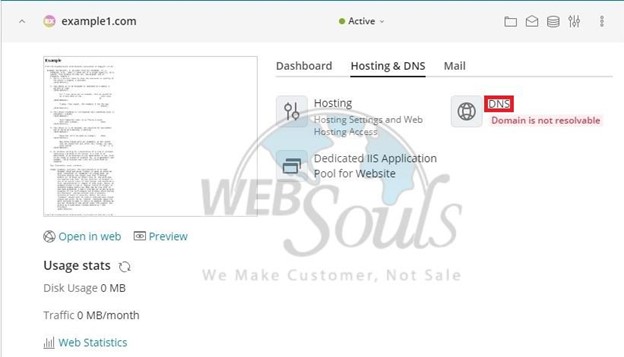
Step 3: Select DNS
Navigate to the DNS option and select it.
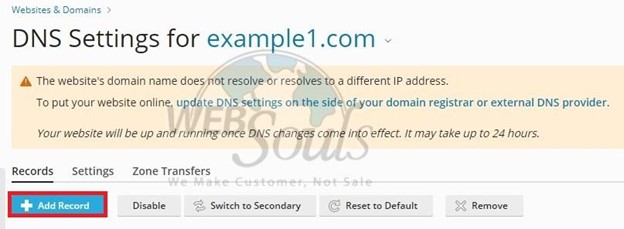
Step 4: Select Add Record
Next, please select the "Add Record" button to proceed.
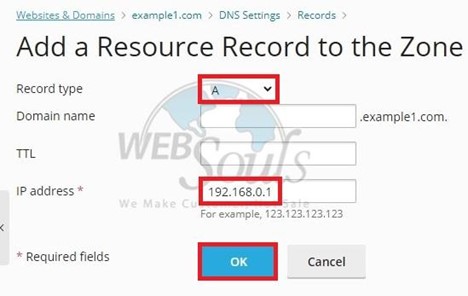
Step 5: Fill in the Required Fields
First up, you'll choose your Record type. Next, select the domain name where you'd like to add the record. Finally, fill in the IP Address for the A record. Once you've got those sorted, hit "OK" and then "Update" as indicated in the screenshot below, and voila! Your records will be all set and updated.
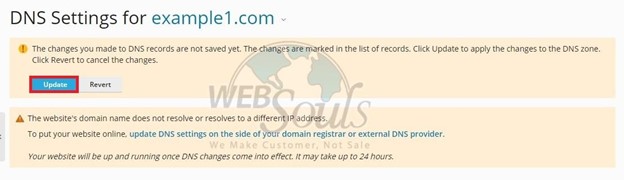
Step 6: Press the Update Option
Go ahead and click "Update" now. Once you do, Plesk will set up the new record for you.
This is how you can effortlessly Add "A Record" in Plesk Panel. Experience the best web hosting in Pakistan along with reliability, speed, and customer satisfaction at WebSouls.
