In this step-by-step guide, we'll walk you through the process of migrating your WordPress website using a plugin.
WordPress migration can be a complex task, but utilizing a reliable plugin streamlines the process, making it more accessible for users of all levels of expertise.
Follow these clear and concise steps to seamlessly transfer your WordPress site to a new location without hassle:
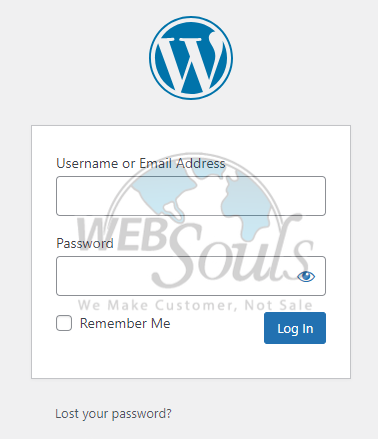
Step 1: Login to WordPress
Provide your designated username and password to login to WordPress.
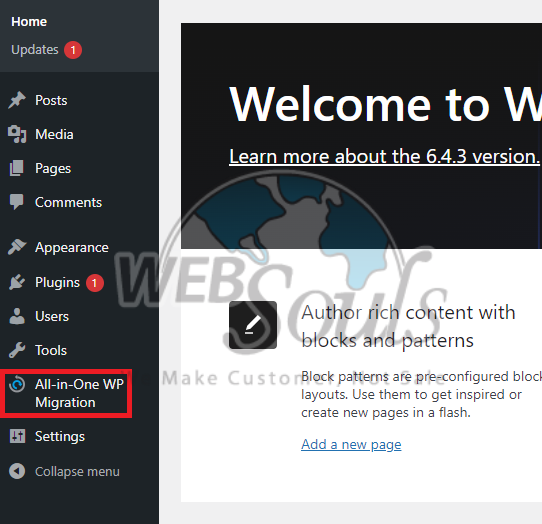
Step 2: Click All-in-One WP Migration
Proceed to the All-in-One WP Migration section in your WordPress dashboard.
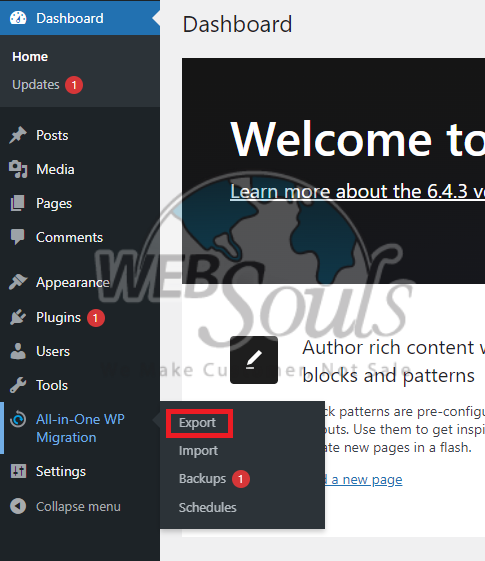
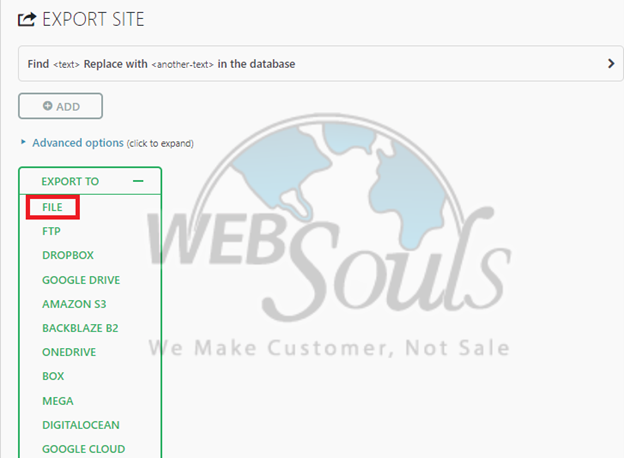
Step 3: Select Export
Choose the Export button located above the Import option.
Step 4: Press the File Option
Select the "File" option from the available dropdown menu.
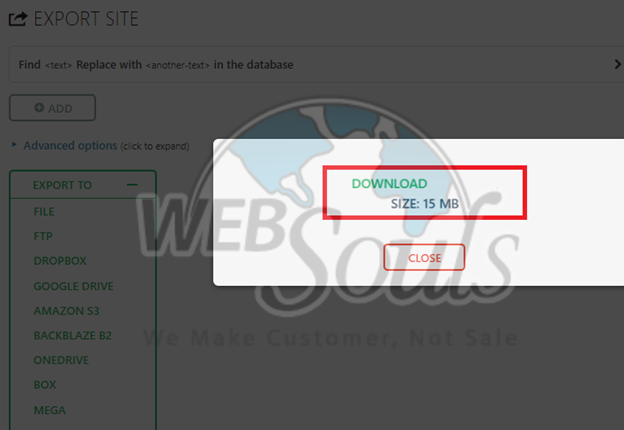
Step 5: Select Download
Allow the plugin to complete the retrieval of your WordPress files. Upon completion, obtain the backup file in WPRESS format through the provided pop-up window and proceed with the download.
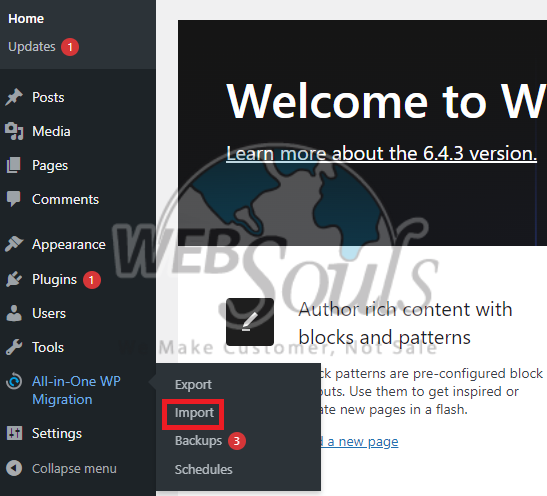
Step 6: Click Import
Head to the left side of the homepage, locate All-in-One WP Migration, and proceed to select Import.
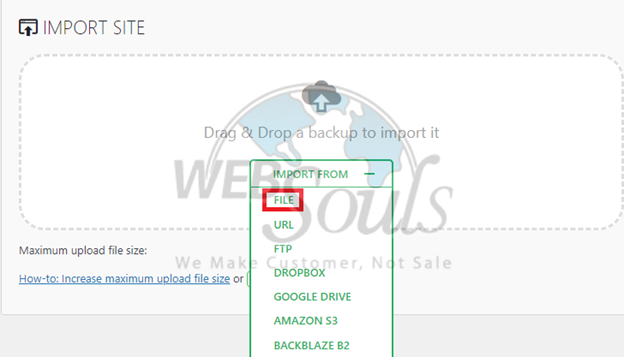
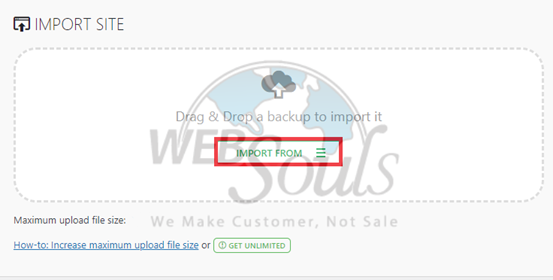
Step 7: Press the Import From Option
Press the "import from" feature by simply dragging and dropping your backup file for a seamless import process.
Step 8: Click File
Select a specific file, and subsequently, pinpoint the WordPress files that you have previously exported to finalize the process.