Navigating through the intricacies of WordPress settings might be a daunting task, but fear not—changing your site URL is a manageable feat with the right guidance.
In this step-by-step guide, we'll walk you through the process of altering your WordPress site URL, ensuring a seamless transition without disrupting your online presence. Follow each step carefully, and soon you'll have your WordPress site reflecting the URL you desire.
Let's dive in!
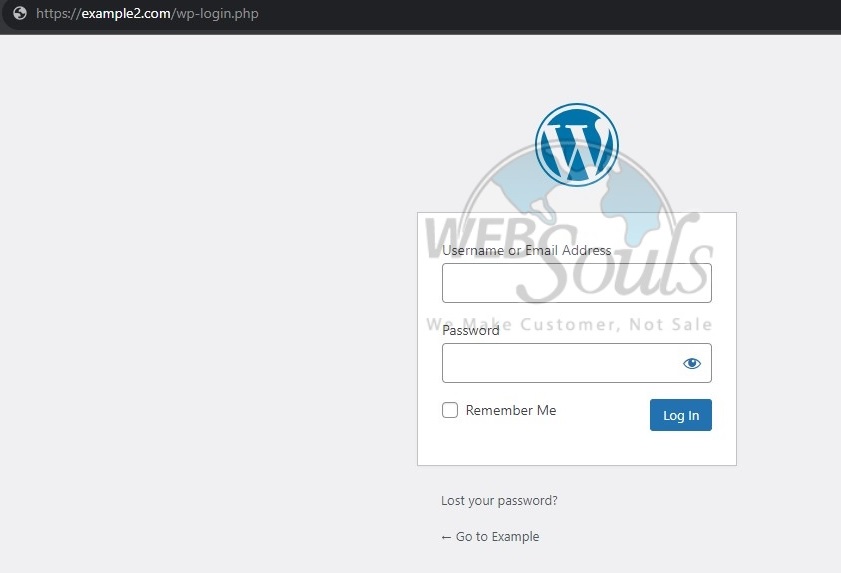
Step 1: Log in to WordPress
To access WordPress, please provide your assigned username and account password when logging in.
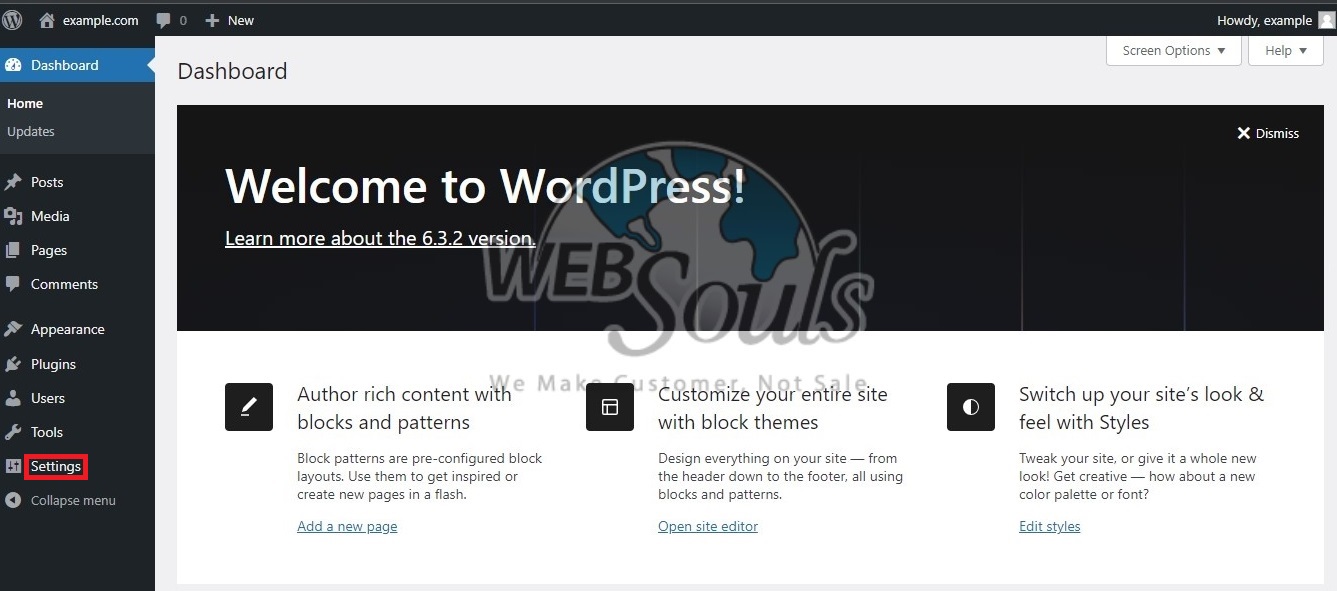
Step 2: Click Settings
Now, proceed to the menu and click "Settings."
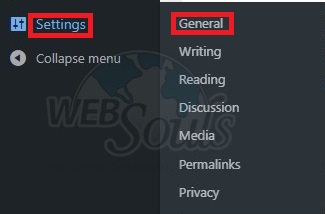
Step 3: Select General
Navigate to the General tab to initiate the process.
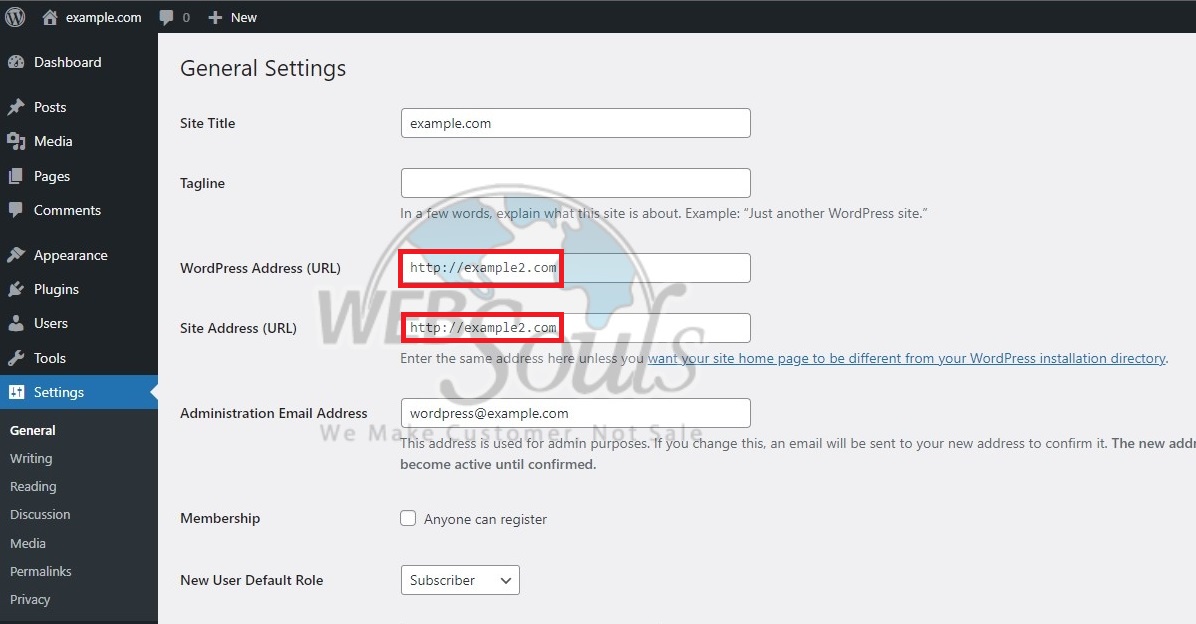
Step 4: Change the Two Fields
Here, the two fields that require modification are the WordPress Address (URL) and Site Address (URL), as clearly depicted in the provided illustration.
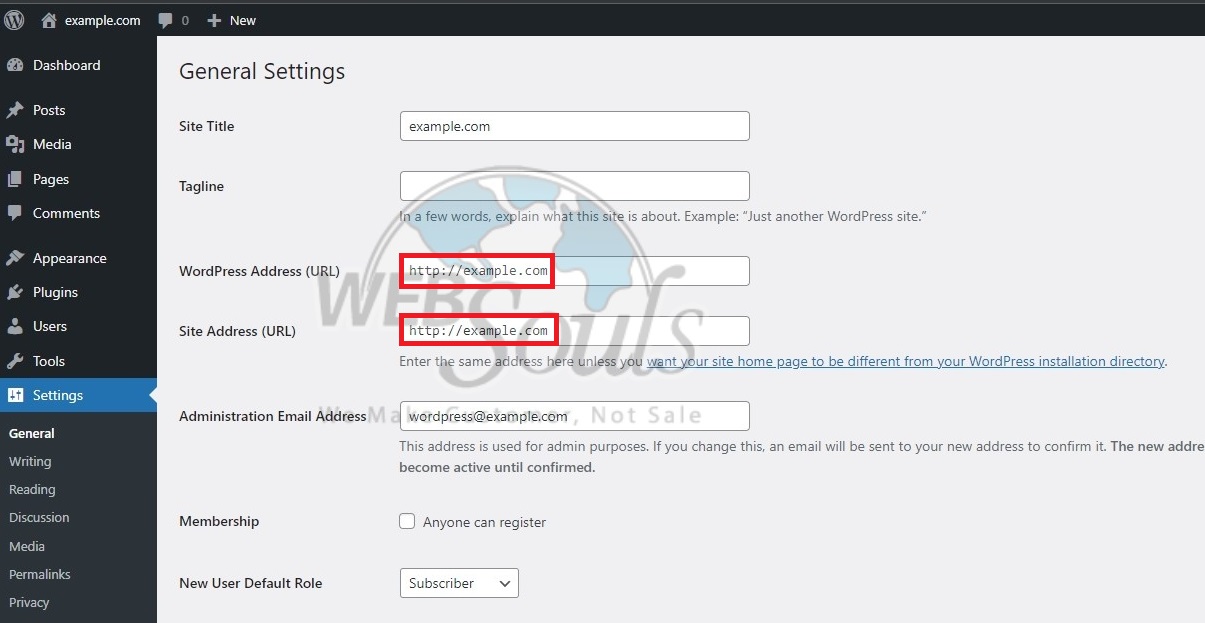
Step 5: Entered the Desired URL
Input the desired URL for future use. In this instance, modify the two fields to http://dv-example.com, as illustrated in the figure. Proceed by scrolling down the page and selecting the Save Changes button to preserve the alterations.
Step 6: Process Completion
Ensure to rename the folder to the updated URL either in the FTP or File Manager. Keep in mind that your WordPress Dashboard has undergone a modification and will now operate based on the URL you provided in the steps above.
Through phpMyAdmin
To modify the domain name of your WordPress site through the phpMyAdmin dashboard, adhere to the provided steps. Prior to initiating any changes, ensure a comprehensive understanding of the associated risks and modifications about to be implemented:
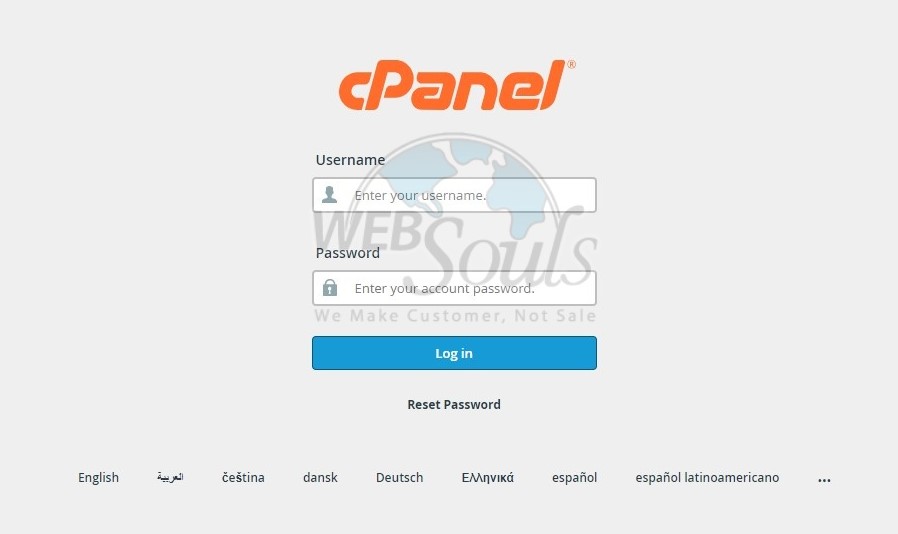
Step 1: Log in to cPanel
To gain access to cPanel, kindly provide your designated username and account password during the login process.
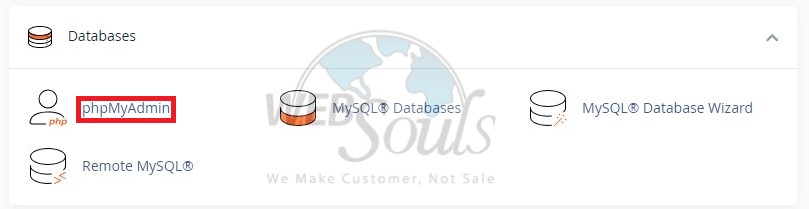
Step 2: Press the phpMyAdmin option
Navigate to the phpMyAdmin database associated with your WordPress blog. This action will launch phpMyAdmin in a fresh browser window or tab, depending on your browser settings.
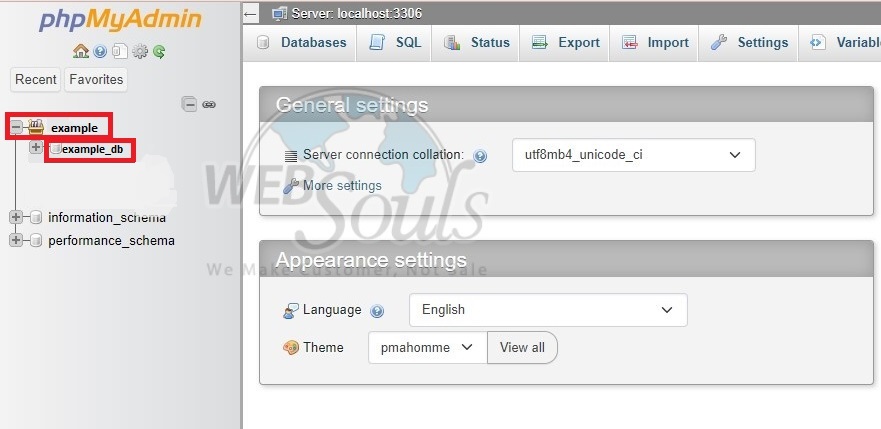
Step 3: Click Example
Choose the "example" option and then proceed to select "example_dp" to initiate the process. Ensure precision in each step for optimal results.
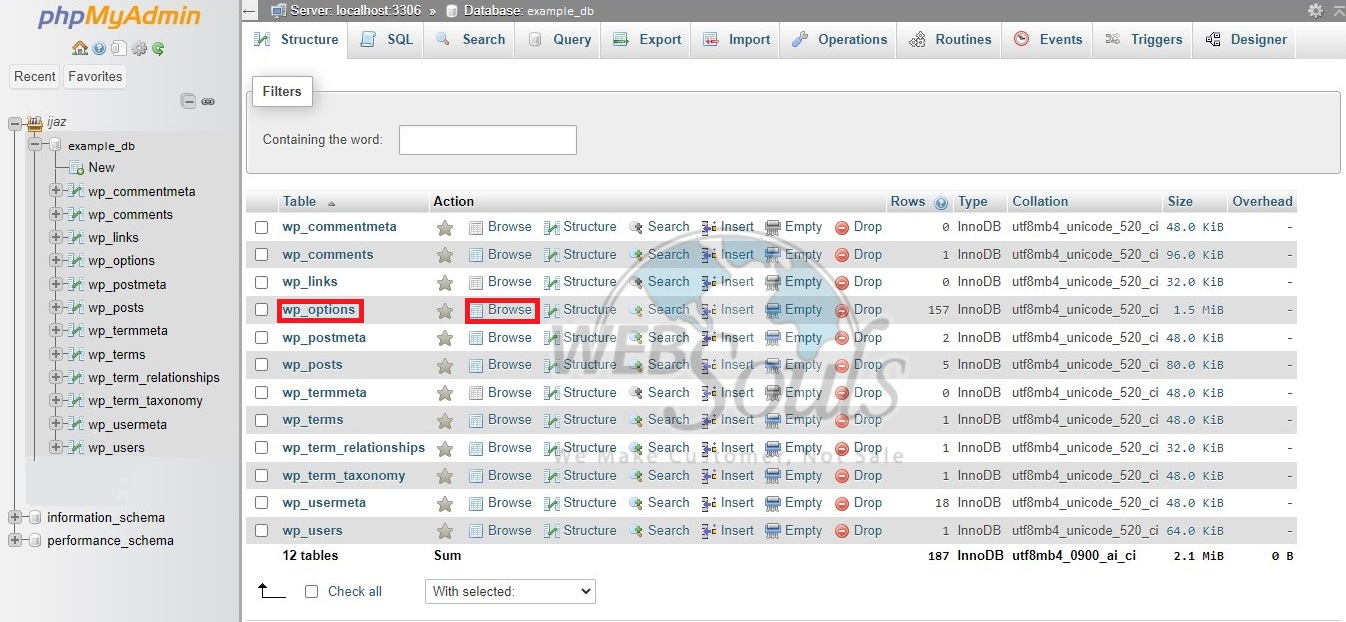
Step 4: Select Browse
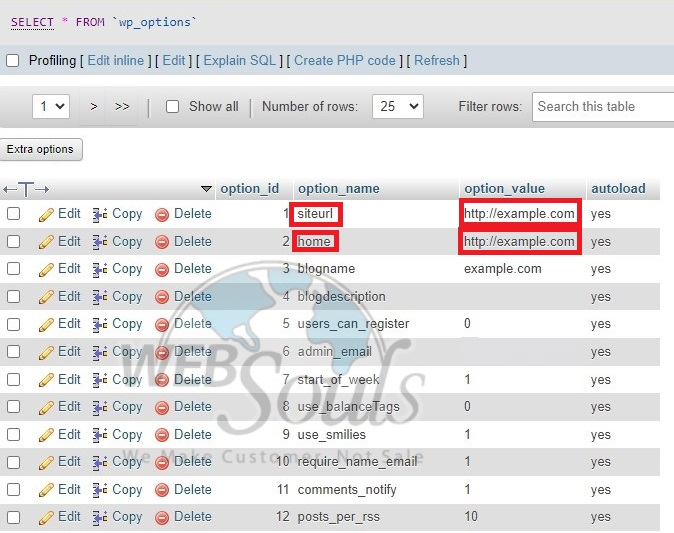
Head to the wp-options section and click on "Browse" to locate the siteurl line effortlessly.
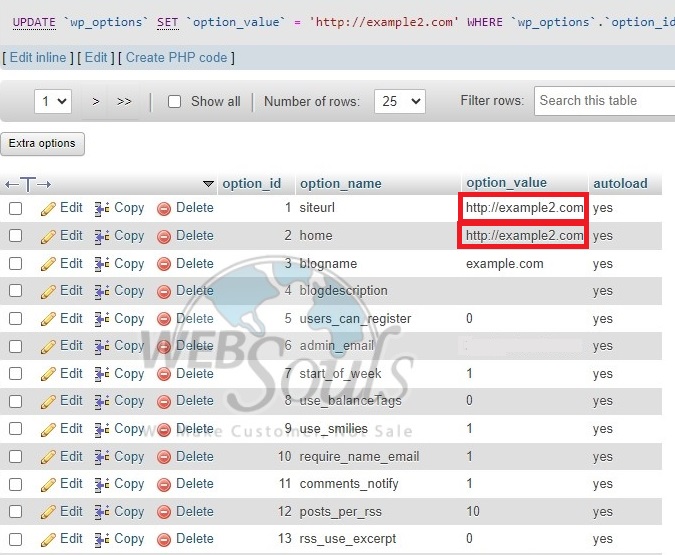
Step 5: Change Option_Value
Repeat this for the home row in the wp_options table. Input your new blog domain and click "Go." In this instance, we're changing from http://blog.dv-example.com to http://dv-example.com.
Step 6: Finalization
Ensure you rename the folder to the new URL either in your FTP or File Manager. It's as simple as that!
For further details or questions, please contact our customer support team via the live chat option available on our website for web hosting services in Pakistan.
