If you want to unblock an already blocked IP address via WHM, you’d first need to check the blocked IP through WHM.
How?
Read on and follow the steps below!
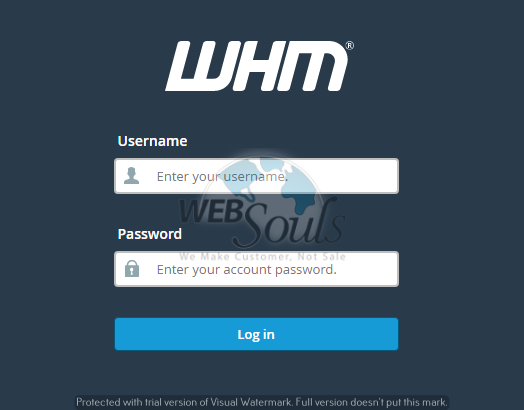
Step 1: Login to Your WHM Account
To unblock a previously blocked IP address, or alter any other setting from Firewall in WHM, you’d first need to log into your WHM account. While doing so, remember to use the root password, otherwise you won’t be able to unblock any IP address.

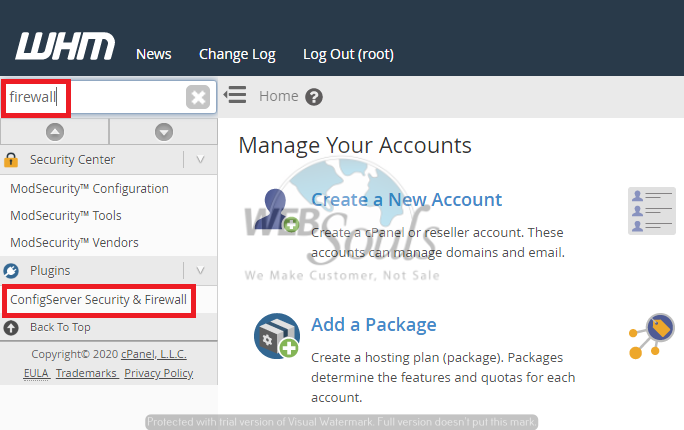
Step 2: Click on the “ConfigServer Security & Firewall” Option under the “Plugins” Section
After having successfully logged into your WHM account, go to the “Plugins” section and click on the “ConfigServer Security & Firewall” option.

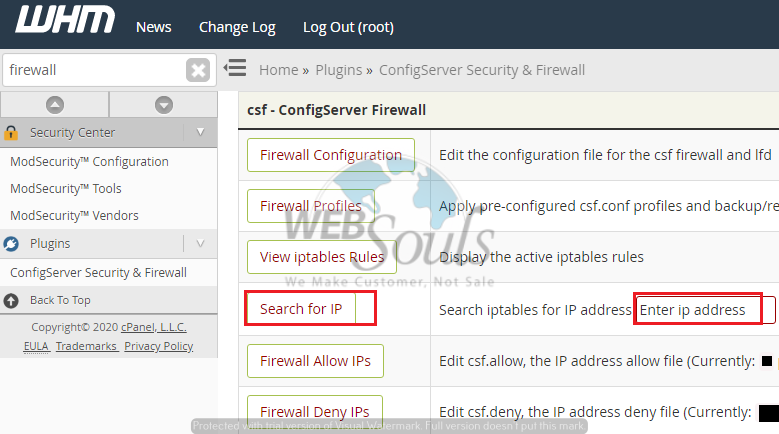
Step 3: Enter the IP Address in the “Search for IP” Section
Next, find the “Search for IP” section and type in the blocked IP address that you wish to unblock in the “Search iptables for IP address” bar.
Afterwards, click on “Search for IP”.

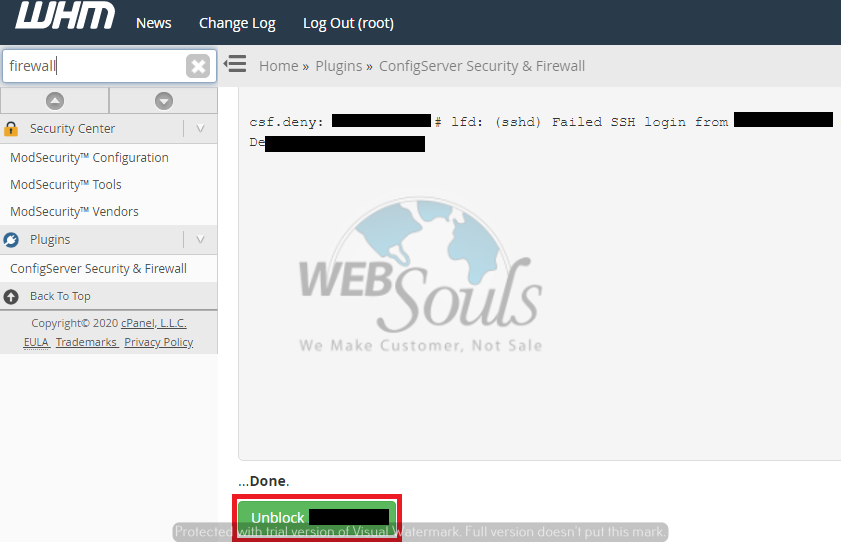
Step 4: Click on the “Unblock” Button
After clicking on “Search for IP”, you would get the results as shown in the image below.
Here, you’d be able to see the “Unblock” option on the very bottom of the page. Click on it and the said IP address would be unblocked.

Congratulations! You’ve successfully unblocked a blocked IP address from Firewall in WHM.
In case of any queries, don’t hesitate to get in touch via phone call or live chat. You can also email us at support@websouls.com and our tech experts would guide you through the process.
Need web hosting in Karachi? Or do you need to get your domain name registration done?
Don’t worry! We’ve got you covered!
Plus, being a leading digital company in Pakistan, we’re proud to announce that we’re also providing SEO services in Pakistan. With us by your side, your business growth would never stop!

