In this step-by-step guide, you'll learn how to seamlessly add a sub-user in Plesk, a user-friendly web hosting control panel. Whether you're managing multiple websites or collaborating on a project, creating a sub-user can streamline access and enhance security.
Follow these clear and concise instructions to empower your team or delegate specific responsibilities, ensuring efficient website management within the Plesk environment.
Master the process in no time and optimize your Plesk experience with this easy-to-follow tutorial:
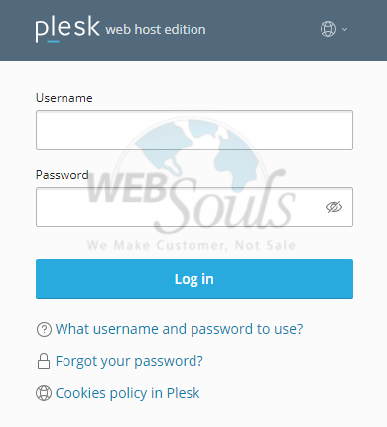
Step 1: Login to Plesk
Provide your designated username and password to login to Plesk.

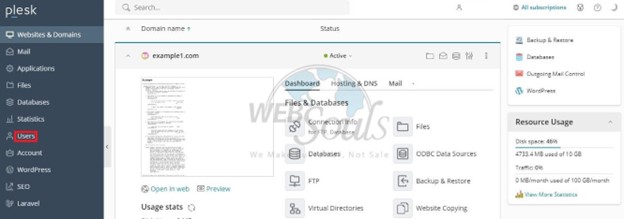
Step 2: Select Users
Once you've logged into the Plesk panel, select Users as seen in the image below.

Step 3: Click Create User Account
Once the Users have been selected, click "Create User Account" alongside the "Remove" button.

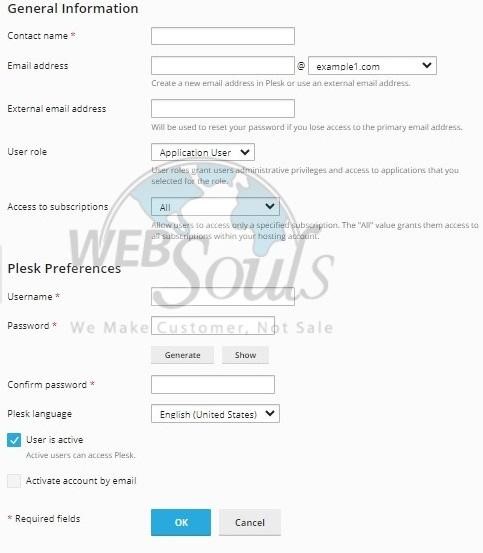
Step 4: Fill Information
To set up a new user role, go to the User Roles tab and click on the Create User Role button. Plesk offers four default roles when assigning a user role. Enter the necessary details, and if you've made any custom roles, they'll be displayed here too. Those with this role can view subscription details, including resource usage and current hosting options, but they cannot make any changes. Finish the process by clicking on "OK."

We hope this tutorial was helpful. In case you have any questions, please don’t hesitate to contact our customer support team via the live chat option available on our website, or you can also visit one of our offices for web hosting in Lahore, or Karachi.

