Creating a package in WHM Reseller can be a simple process if you follow the right steps.
In this step-by-step guide, we will walk you through the process of creating a package in WHM Reseller, ensuring that you have all the necessary information and tools at your disposal.
Whether you are new to WHM Reseller or looking to refresh your knowledge, this guide will provide you with clear instructions and insights on how to create a package efficiently:
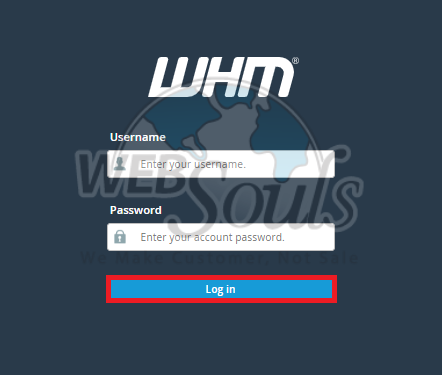
Step 1: Log in to WHM
To access the WHM interface, please provide your assigned username and account password when logging in.

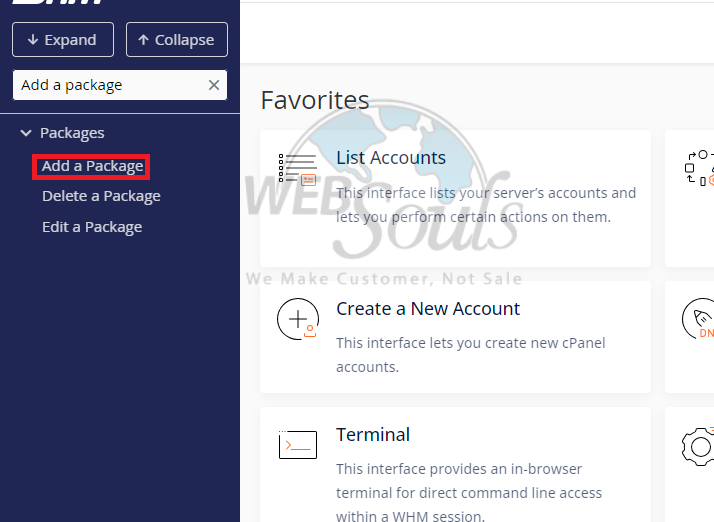
Step 2: Click Add a Package
To access the "Add a Package" feature, simply navigate to the Packages category within the left-hand menu panel and click on it.

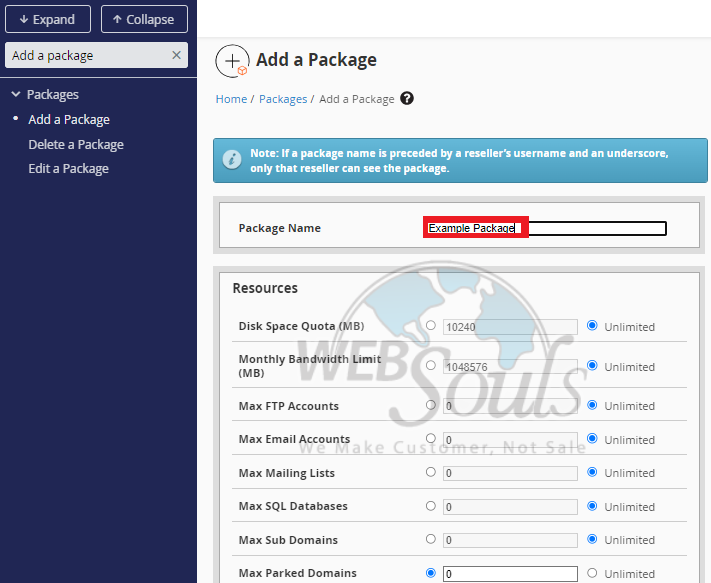
Step 3: Insert a Package Name
To commence the package creation process, your initial step is to access the package creation page. Here, you will be prompted to input a unique and descriptive Package Name, after which you can proceed to allocate specific resource limits for various components and functionalities within the package.

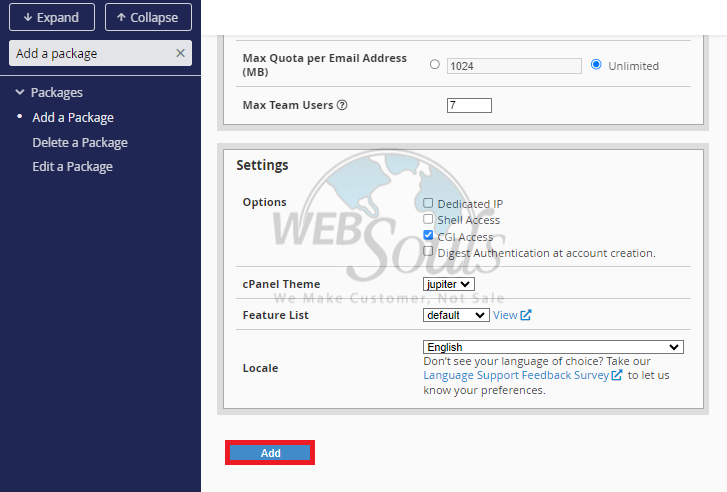
Step 4: Press the Add Button
Subsequently, allocate any of the supplementary configurations you desire to bestow upon the package. After the resources and settings have been duly assigned, proceed by clicking on the "Add" button to finalize the process.

In case of any confusion, please get in touch with our customer support team via the live chat option available on our website. Our visit our web hosting company in Pakistan!

