Before we start this easy-to-understand tutorial, make sure you have already downloaded Outlook from the play store. If not, open the play store, tap in the search box, search for outlook and download it on your android phone.
To configure outlook on an android phone, you would need the following information:
- Email address
- Password
Let’s begin the tutorial.
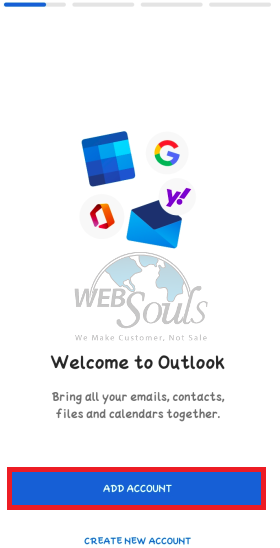
Step 1: Open Outlook
Open Outlook and click on the “Add Account” button.
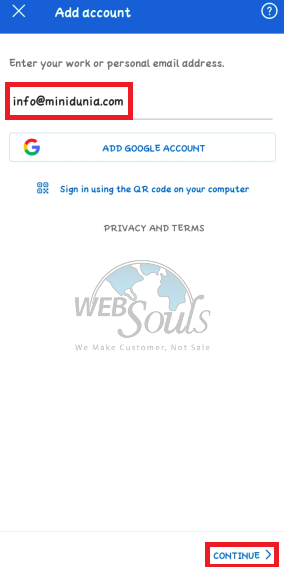
Step 2: Enter Your Email Address
Now enter your work email address as shown in the image below and click continue.
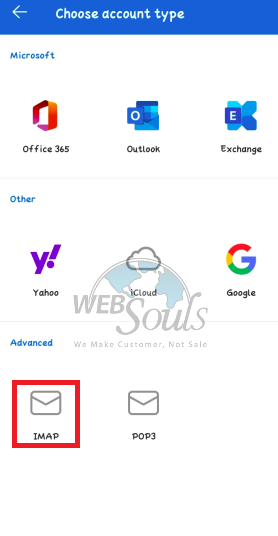
Step 3: Click on “IMAP”
Since we are going to use IMAP account type to teach you, we will choose IMAP account.
Click on IMAP account and move to the next interface.
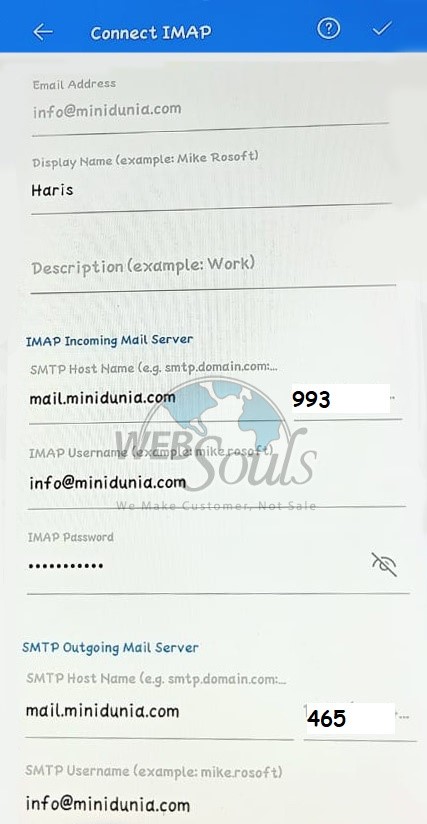
Step 4: Enter the Required Details
Now to connect IMAP, enter the details of the incoming and outgoing mail server as mentioned in the image below.
Such as:
- Your display name
- IMAP mail server
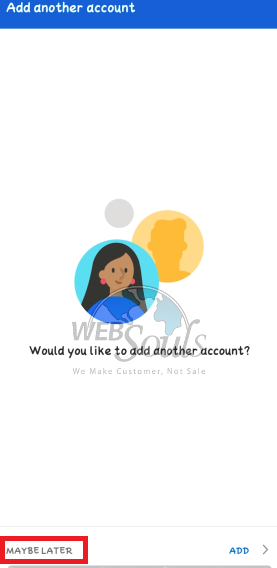
Step 5: Click on “Maybe Later”
Now you may be asked to add another account. You can tap maybe later and move to the next interface.
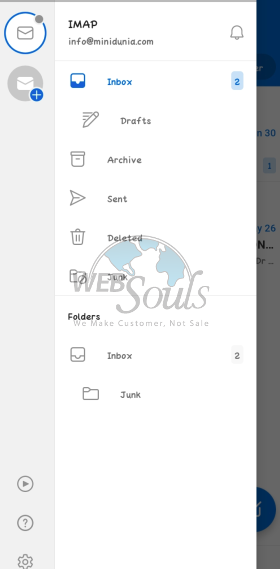
You have added all the details and Outlook is configured on your android phone successfully.
That’s all from the tutorial!
Hope it was an easy method to implement. If you need more help from our web hosting company in Pakistan, contact our proactive support team via online chat, email, or give us a visit in one of our offices in Lahore or Karachi and we would be more than happy to assist you.
Cheers!

