Welcome to our step-by-step guide on enabling SSH/Shell access for cPanel!
Secure Shell (SSH) access provides a secure and efficient way to manage your cPanel hosting environment. By following these simple steps, you'll unlock the power of the command line, allowing you to perform advanced tasks and configurations with ease.
Whether you're a seasoned developer or a curious user looking to explore new possibilities, this guide will walk you through the process, ensuring a smooth and secure setup:
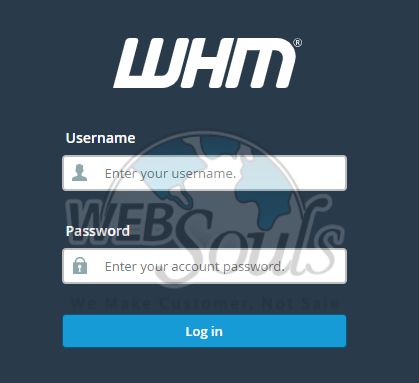
Step 1: Login to WHM
Enter your assigned email address and password for logging into WHM.
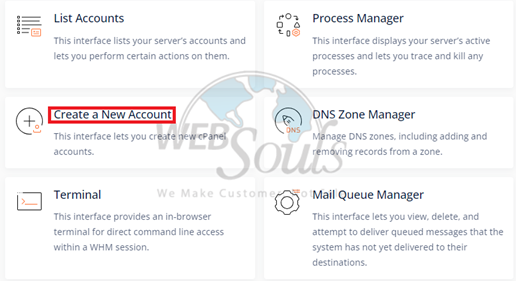
Step 2: Select Create a New Account
Under the "List Accounts" option, locate and select "Create a New Account."
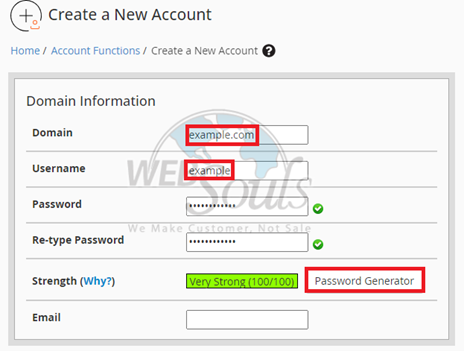
Step 3: Click Password Generator
Please enter your domain name and username, and then proceed to click on the Password Generator.
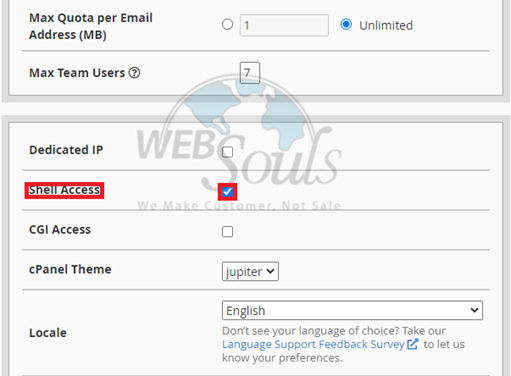
Step 4: Press the Shell Access Option
Next, select the Shell Access Option located beneath the Dedicated IP option.
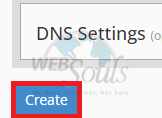
Step 5: Click Create
Now, proceed to initiate the creation of DNS settings by clicking on the "Create" button.
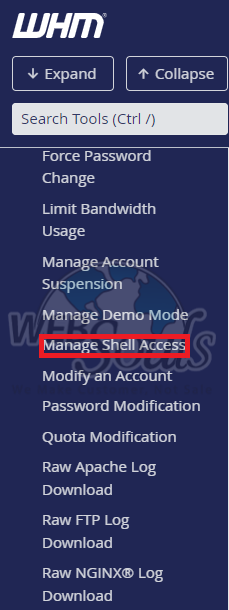
Step 6: Choose Manage Shell Access
Navigate to the Tools section, and locate the option to Manage Shell Access below the Manage Demo Mode.
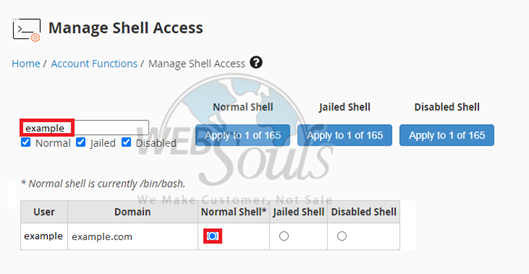
Step 7: Select Normal Shell
Please input your domain name into the designated bar, then proceed to choose "Normal Shell" from the first column to complete the procedure.
That was all about how to enable SSH/Shell access for cPanel. In case you have any further question, you can always take help from best Web Hosting Company of Pakistan.

