As a server administrator, you would want to install EasyApache 4 because it supports the latest versions of PHP and automatically controls the updates.
In this article, we'll provide you with a complete guide on how to install the PHP extension using EasyApache 4. Follow the steps below:
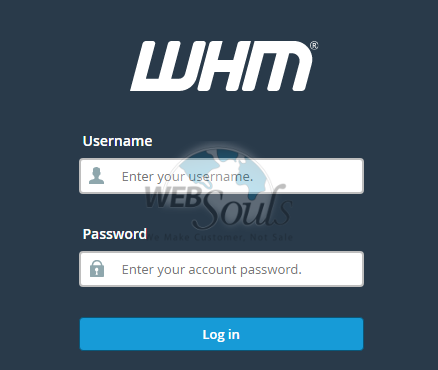
Step 1: Log In to Your WHM account
First of all, you need to log in to your WHM account with the root password.
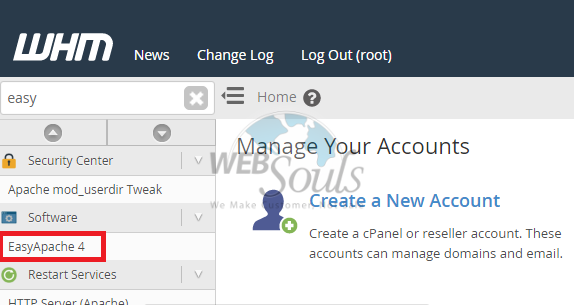
Step 2: Select “EasyApache 4”
Now, click EasyApache 4 under the software category.
Step 3: Click “Customize”
Once you’re in the Currently Installed Packages section, select Customize.

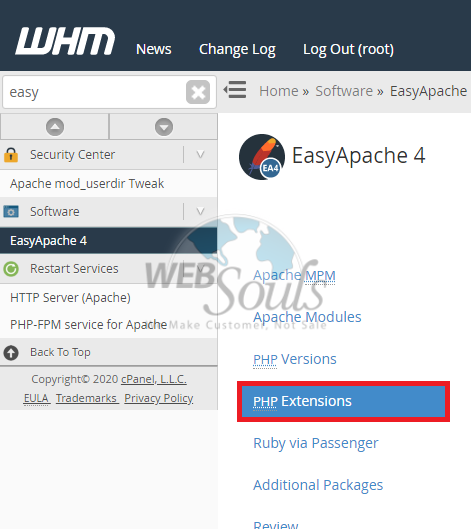
Step 4: Select “PHP Extensions”
Now, click on PHP Extensions on the left.
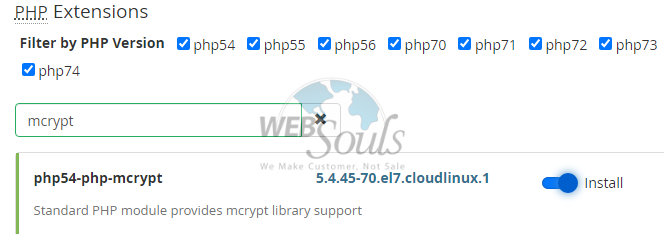
Step 5: Search the Version of PHP
To continue installing the extension, search your desired version of PHP in the search box and click install.
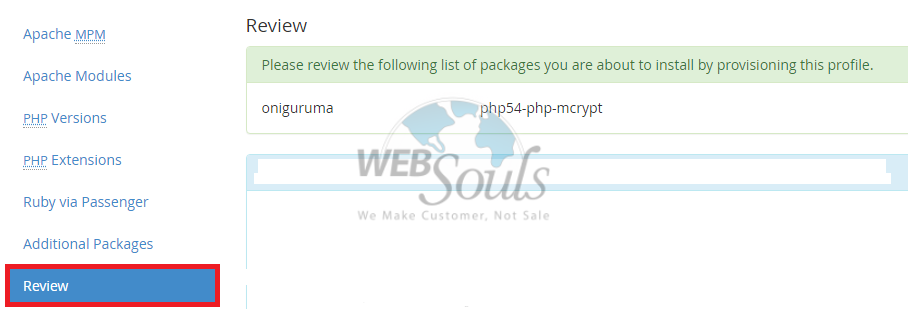
Step 6: Review
Once you’re done, WHM would ask you to review the entire procedure.
Step 7: Finish the Entire Process
Now, click on Provision to finish the entire process.

Your desired PHP version has been installed!
In case of any query, you can contact our technical support team. We offer the best website development services in Pakistan along with web hosting solutions, domain names, SSL certificate and much more. And, our domain price in Pakistan is highly affordable where any user can buy a domain online.

