Want to open or close ports via WHM interface?
We’ve got you covered with the easy guide below!
To allow or deny ports from WHM, follow these easy steps:
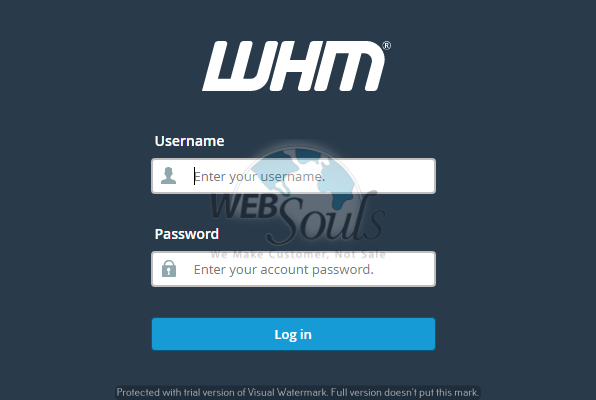
Step 1: Login to Your WHM Account
To change any settings via WHM cPanel, you’d first need to log into your WHM account. Remember, you have to use the root password while logging in.
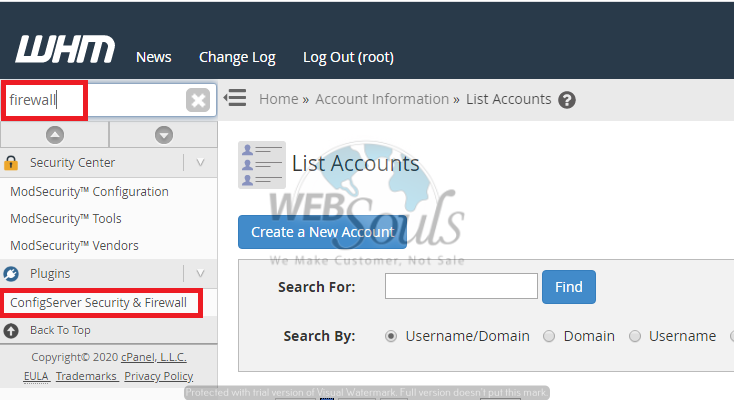
Step 2: Go to the “Plugins” Section and Click “ConfigServer Security & Firewall”
After having successfully logged into your WHM account, go to the “Plugins” section and click on the “ConfigServer Security & Firewall” option.
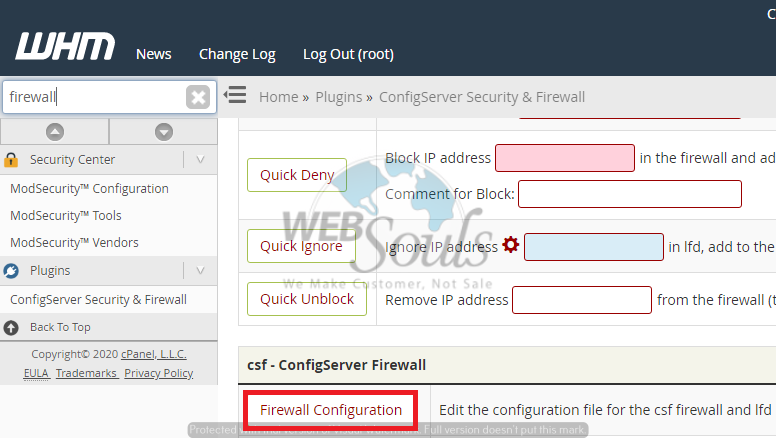
Step 3: Click on the “Firewall Configuration” Button
Now, click on the “Firewall Configuration” button in order to go to the advanced settings.
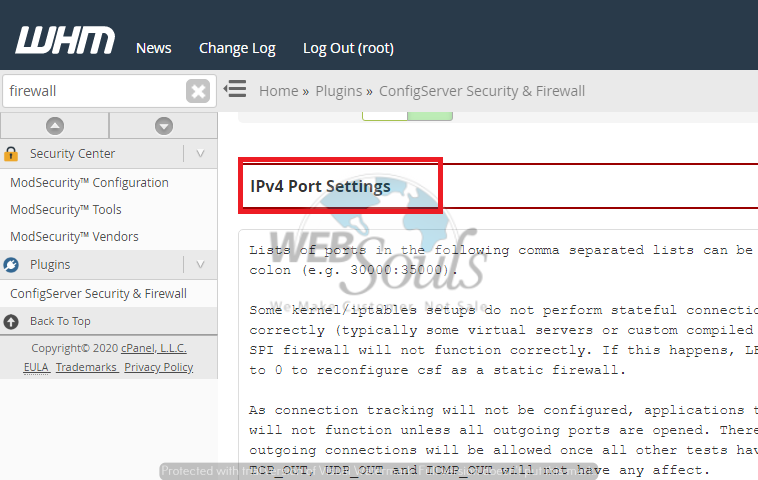
Step 4: Go to the “IPv4 Port Settings”
On the advanced settings page, go to the “IPv4 Port Settings” option.
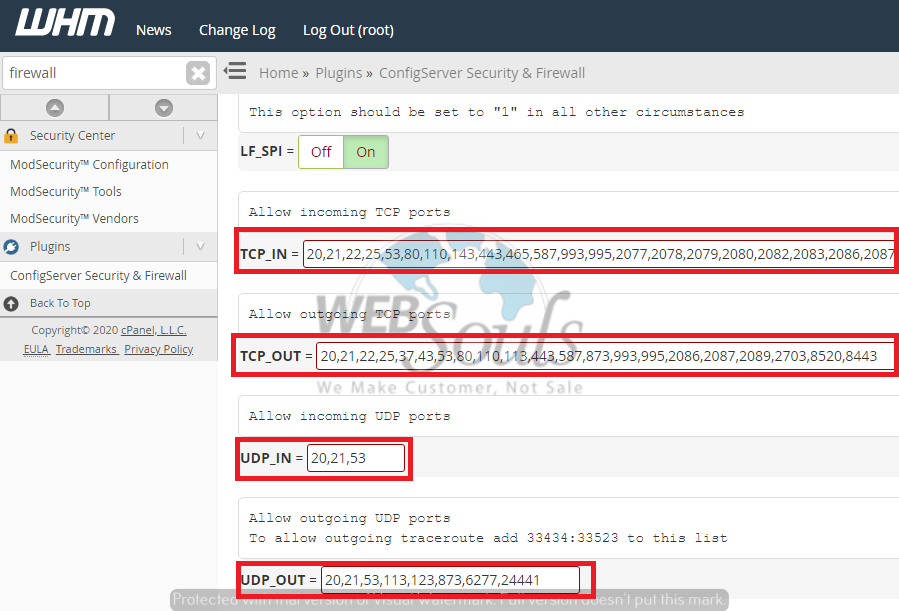
Step 5: Edit the “TCP_IN”, “TCP_OUT”, “UDP_IN”, and “UDP_OUT” Fields
Now, you can edit the fields to allow or deny any ports. This way, you’d be able to allow any incoming TCP ports and outgoing TCP ports.
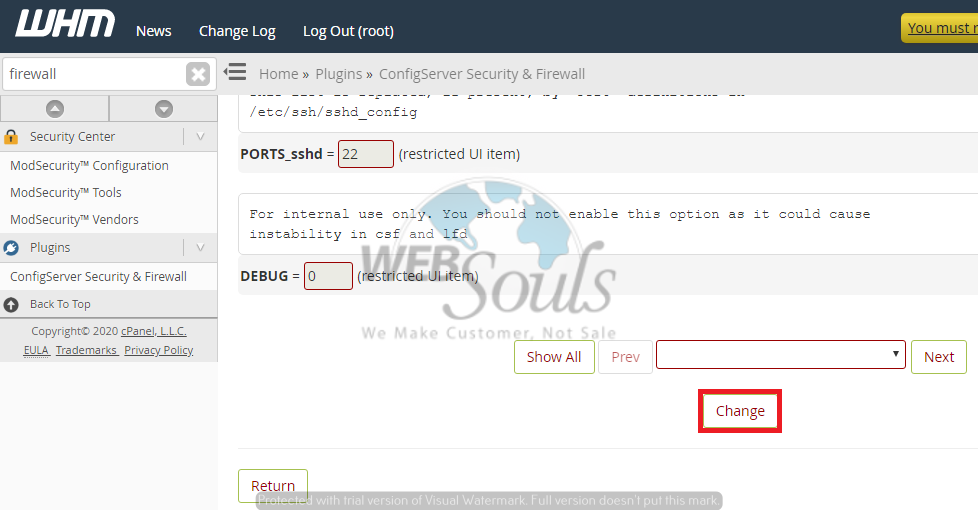
Step 6: Click on the “Change” Button
After having edited the fields as per your requirement, you’d need to click on the “Change” button in order to save the changes you just made.
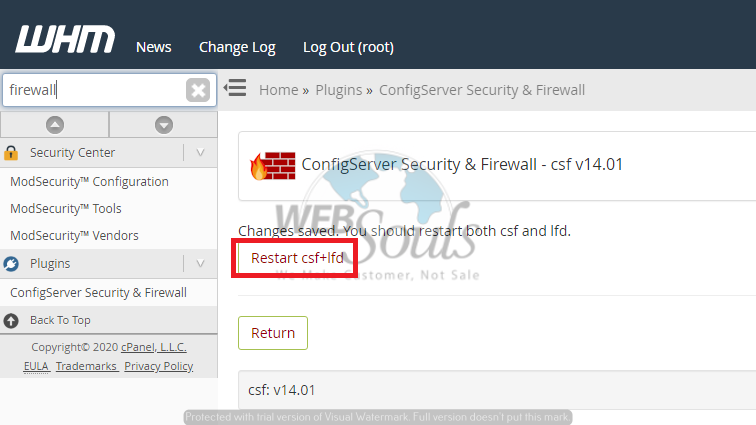
Step 7: Click on the “Restart csf+lfd” Button
Lastly, click on the button of “Restart csf+lfd” and restart the Firewall. The changes would now have been made successfully!
Have any questions, confusions, or queries? Simply email us at support@websouls.com , or get in touch via phone call. Our experts are always ready to assist you and provide the best possible solutions in no time. That’s because, we’re the best web hosting company, and our support team is all set to help you out!
Looking for VPS hosting solutions? Or an SEO company in Lahore? We’d do that too!

