Welcome to our step-by-step guide on configuring the 'WP Mail SMTP' plugin!
If you've ever struggled with email deliverability issues on your WordPress site, you're in the right place.
The 'WP Mail SMTP' plugin is a powerful tool that helps you ensure reliable email delivery by reconfiguring the default WordPress mail function.
In this tutorial, we'll walk you through the process of setting up and configuring the 'WP Mail SMTP' plugin, empowering you to overcome common email challenges and enhance the communication capabilities of your website:
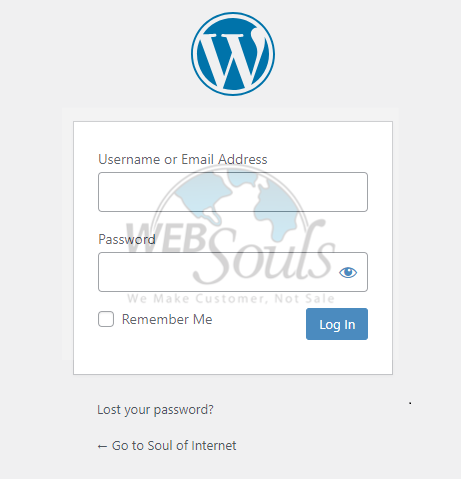
Step 1: Log in to WordPress
Please provide your assigned username and password for accessing WordPress.
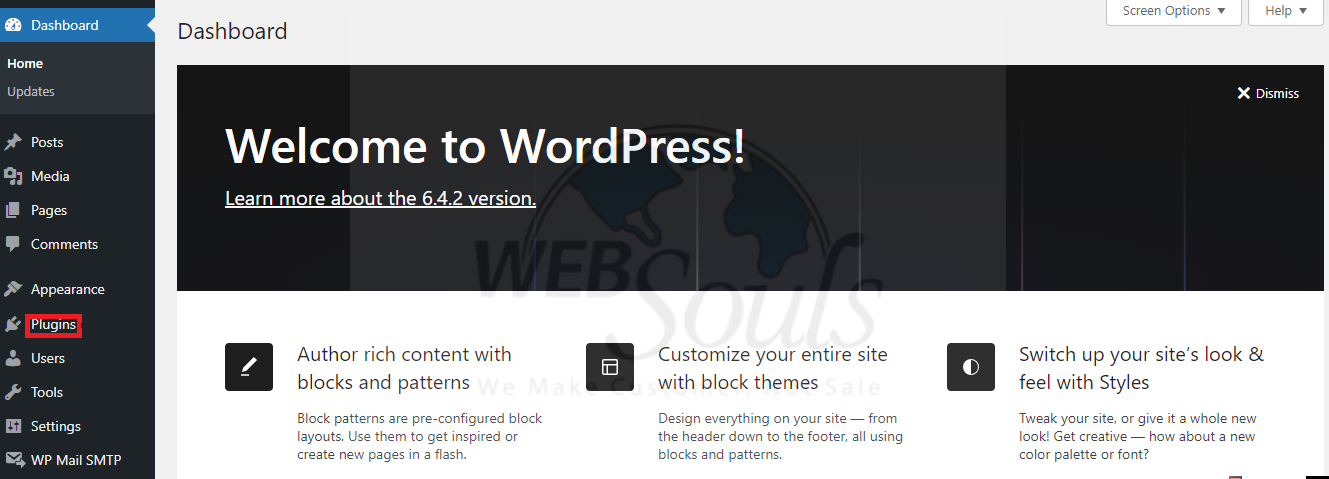
Step 2: Select Plugins
Go to the left-side menu and access the Plugins section.
Step 3: Click Installed Plugins
Proceed by selecting the Installed Plugins tab.

Step 4: Press the Activate Option
Press the "Activate" link located beneath WP Mail SMTP to initiate the activation process.

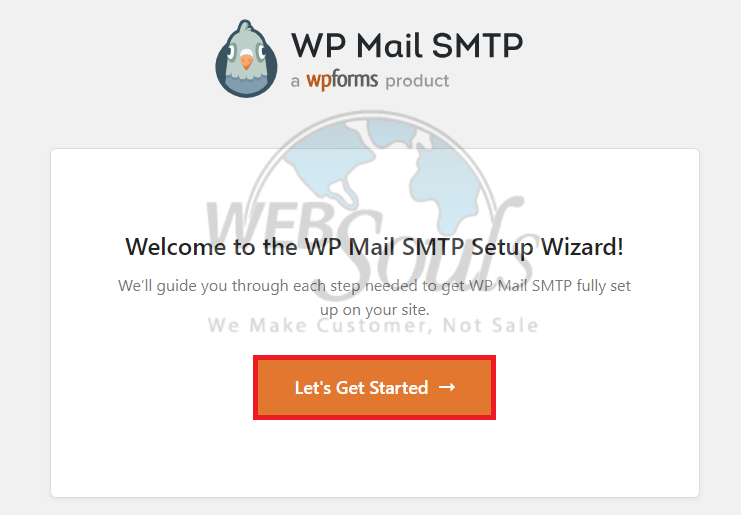
Step 5: Choose Let’s Get Started
You will be directed to the Setup Wizard to finalize the configuration. Click the "Let's Get Started" button to proceed.
Step 6: Click Other SMTP
Click "Other SMTP" from the Mailer options.
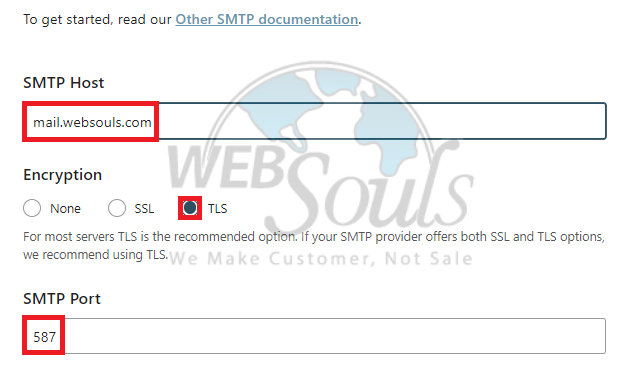
Step 7: Fill in the Details
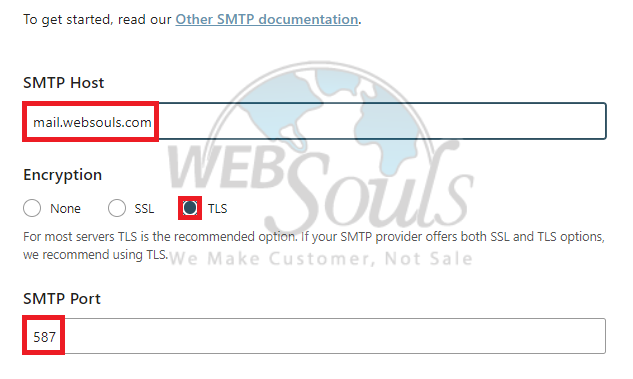
Enter the details below in the designated fields within the "Other SMTP" section: SMTP Host - smtp.dreamhost.com, Encryption - Opt for TLS encryption, SMTP Port - 587.
Step 8: Enter SMTP Username and Password
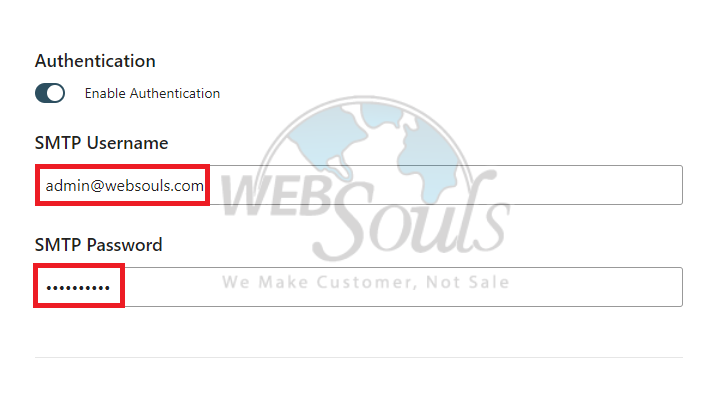
Activate the Authentication button. In the wp mail smtp plugin, input your DreamHost email address for the Username and your email address password.
Step 9: Press the Save and Continue Option
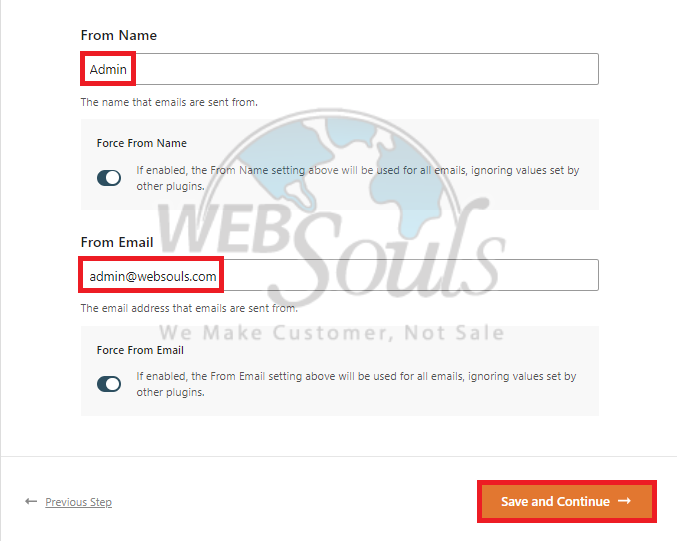
Once you've provided your name and the email address from which emails will be sent, proceed to click the "Save and Continue" button.
Step 10: Select Save and Continue
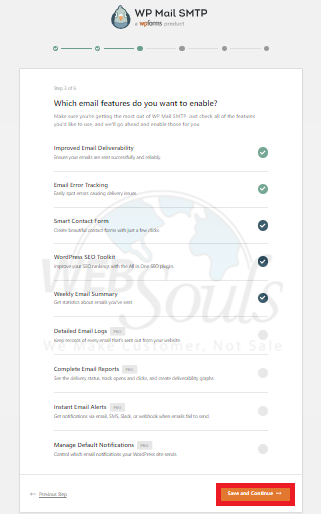
Choose the email features you wish to activate, and then select ''Save and Continue'' to move forward.
Step 11: Process Completion
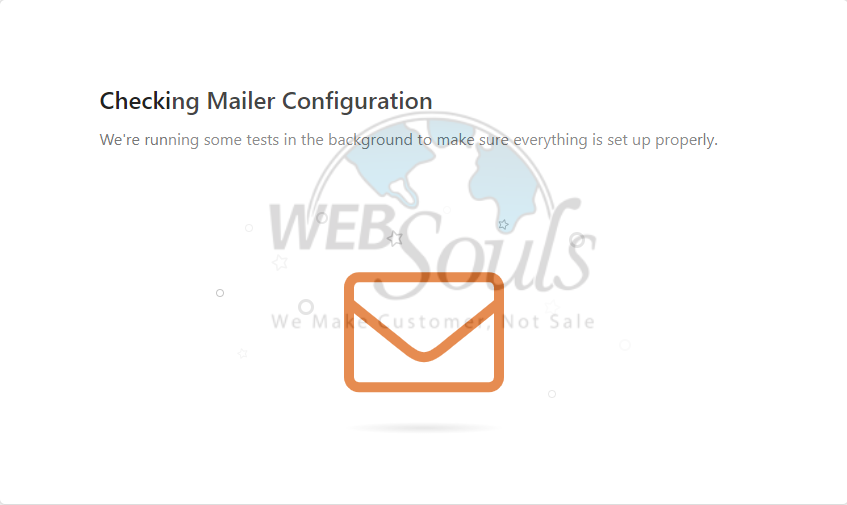
Ultimately, you will encounter a screen indicating the verification of email configuration, informing you that tests are being conducted to ensure that all components are configured correctly.
For any further queries, please get in touch with our customer support team via the live chat option available on our website for web hosting in Lahore.

