Welcome to our detailed tutorial on creating a Certificate Signing Request (CSR) in Plesk!
With Plesk, an intuitive web hosting control panel, we'll guide you through the steps of building a CSR in this article. Making a CSR is an essential first step, whether you're securing your server or configuring SSL certificates for your website.
As we simplify the procedure into manageable steps, you can be sure you can acquire the required credentials to create a safe connection for your online presence by following along:
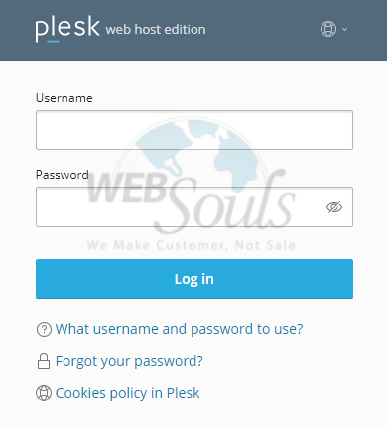
Step 1: Login to Plesk
Provide your designated username and password to log in to Plesk.
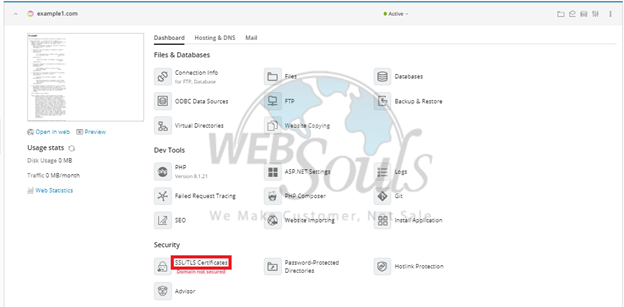
Step 2: Click SSL/TLS Certificates
Click "SSL/TLS Certificates" from the Security menu on the page.
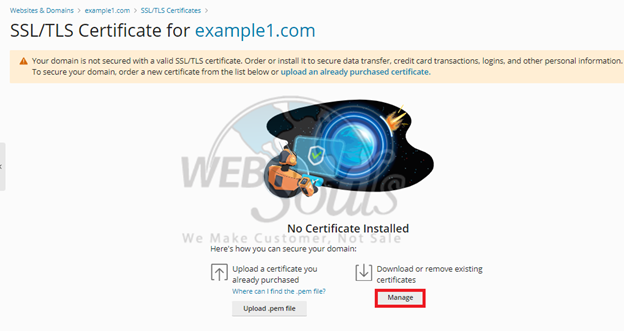
Step 3: Click Manage
Find and select the 'Manage' option below the section where you can download or delete your current certificates.
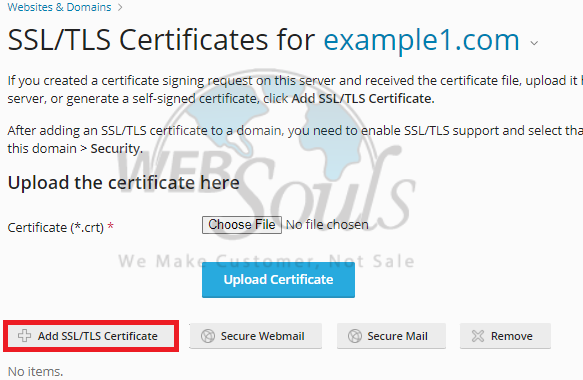
Step 4: Select Add SSL/TLS Certificate
After that, choose 'Add SSL/TLS Certificate'.
Step 5: Press the Request Option
Once you've filled in the certificate name, country, and other necessary details, scroll down to the bottom of the page and hit the request button.
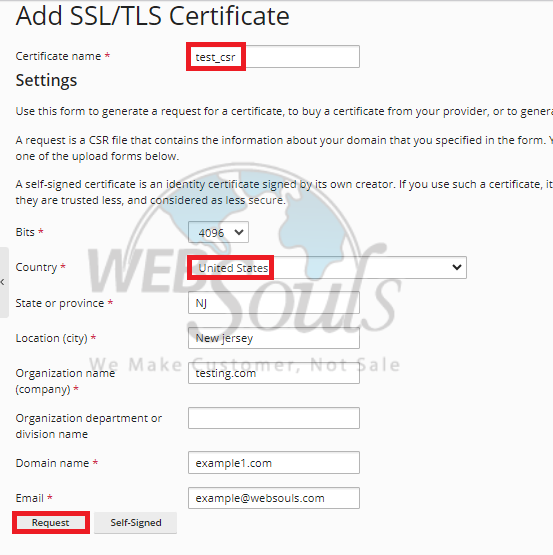
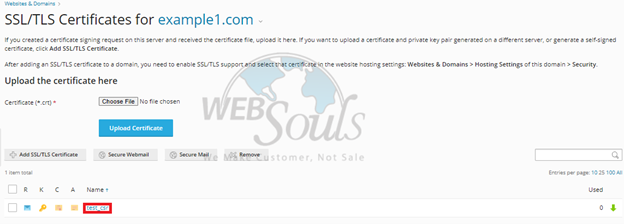
Step 6: Select Certificate Name
Now, select the previously entered Certificate Name to reveal the CSR key.
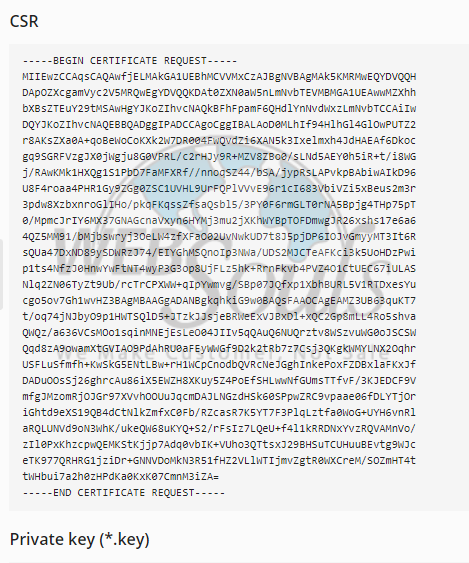
Step 7: CSR Key Generated
After you click on the "Certificate Name," the online order process at your chosen SSL Authority will kick off by generating the CSR key.
For further assistance, please get in touch with our customer support team via the live chat option available on our website. We're one of the leading providers of web hosting services in Pakistan and offer the best web hosting with offices located in Lahore and Karachi.

