Welcome to our comprehensive tutorial on Plesk firewall control! In today's digital world, the security of your website or server is more important than ever, therefore knowing how to control your firewall efficiently is crucial.
Plesk provides powerful firewall configuration options that make it simple for you to protect your online assets.
We'll lead you through every step of the procedure in this article, from getting into the firewall settings to putting up custom rules that are suited to your particular requirements. Now let's get started:
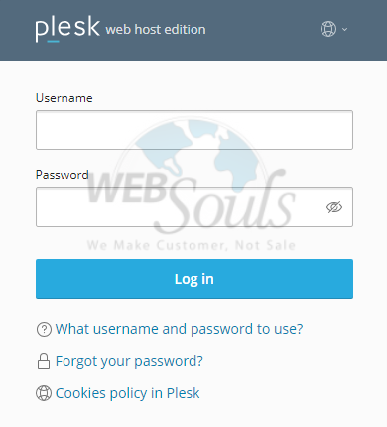
Step 1: Login to Plesk
Provide your designated username and password to log in to Plesk.
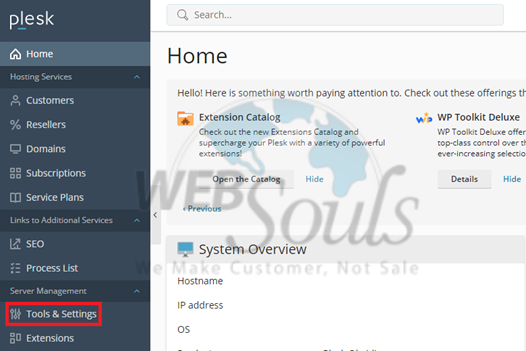
Step 2: Click Tools & Settings
Click "Tools and Settings" from the Server Management menu on the left-hand side of the page.
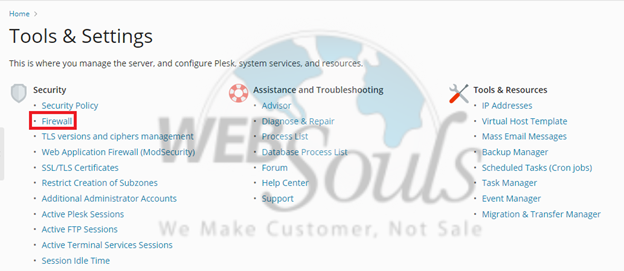
Step 3: Select Firewall
Select the "Firewall" option located within the Security settings.
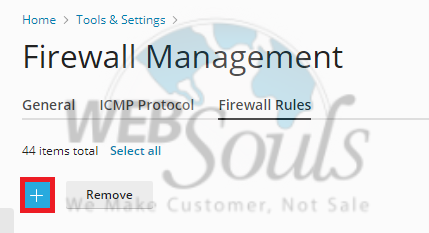
Step 4: Click Firewall Rules
Please activate the firewall protection by toggling the button, and then proceed to 'Firewall Rules'.

Step 5: Press the Create Option
Next, select the addition option adjacent to the delete button.
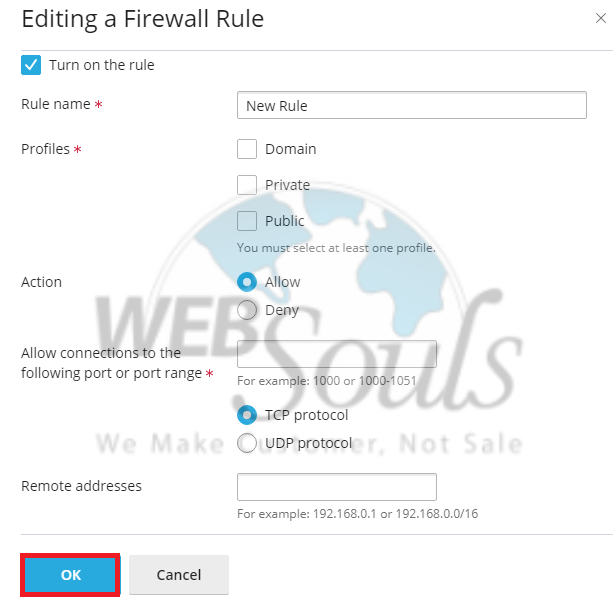
Step 6: Select Deploy
Once the necessary data has been entered, press the OK option.
For further questions, please visit our offices for web hosting in Karachi or Lahore. Or, you can easily get in touch with our customer support team via the live chat option on our website.

