Introduction:
Welcome to our comprehensive step-by-step guide on managing a database in Plesk! Plesk is a powerful web hosting control panel that simplifies the management of web servers, websites, and databases.
Whether you're a beginner or an experienced user, understanding how to navigate and effectively manage databases within Plesk is essential for optimizing your web projects.
In this guide, we will walk you through the fundamental steps to successfully manage your databases using Plesk's intuitive interface.
Let's dive in and explore the world of database management in Plesk:
Step 1: Login to Plesk
In order to access Plesk, enter your assigned username and password.

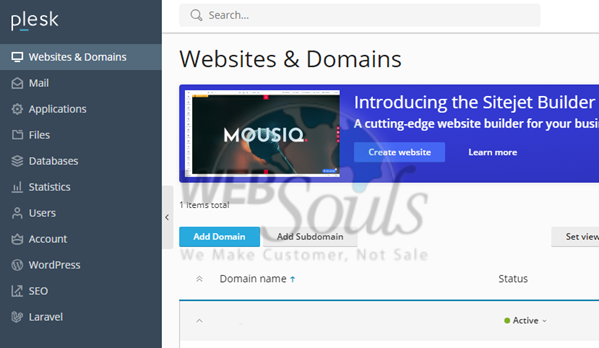
Step 2: Select Websites & Domains
Please locate and select the "Websites and Domains" section situated on the left side of the page.
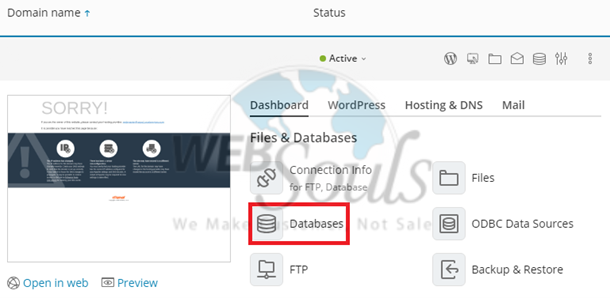
Step 3: Click Databases
Click on "Databases" located within the Files and Databases section.
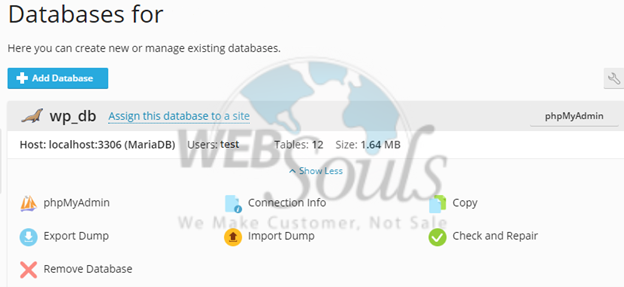
Step 4: View Databases for
Next, you will proceed to the section designated for "Databases for."
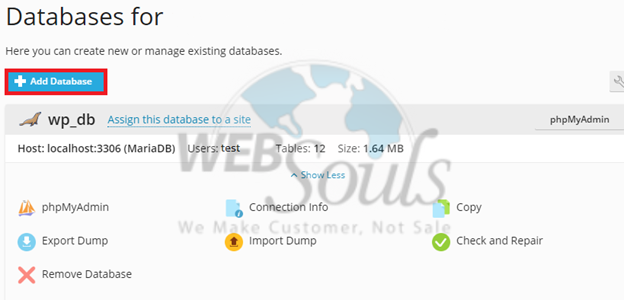
Step 5: Press the Add Database Option
At the page's top, select the option to Add Database.
Step 6: Click OK
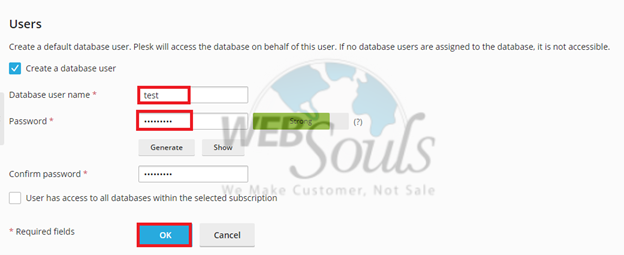
Once you've entered your database username and password, proceed by clicking the OK button located at the bottom of the page.
Step 7: Select phpMyAdmin
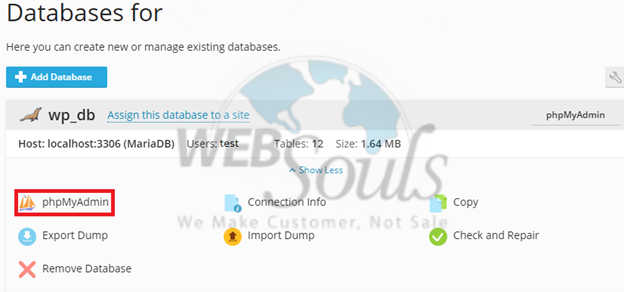
Afterward, choose phpMyAdmin located above the Export Dump option.
Step 8: Manage Database
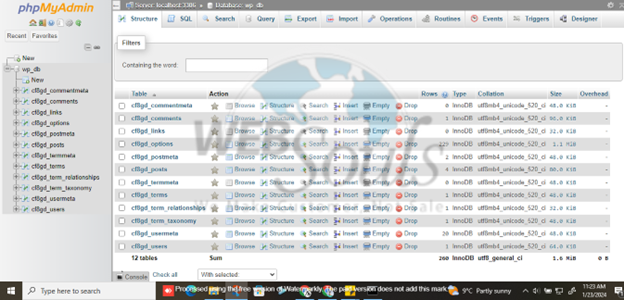
At last, you can seamlessly oversee your established database without encountering any difficulties.
This is how you can effortlessly manage Database in plesk. Experience the best web hosting in Pakistan along with reliability, speed, and customer satisfaction

