Plesk Panel offers you two different options for account backup. First, you can backup data manually at any time, and second, you can schedule automatic backup for a specific date.
Here’re the steps to taking a full backup of the account in Plesk Panel:
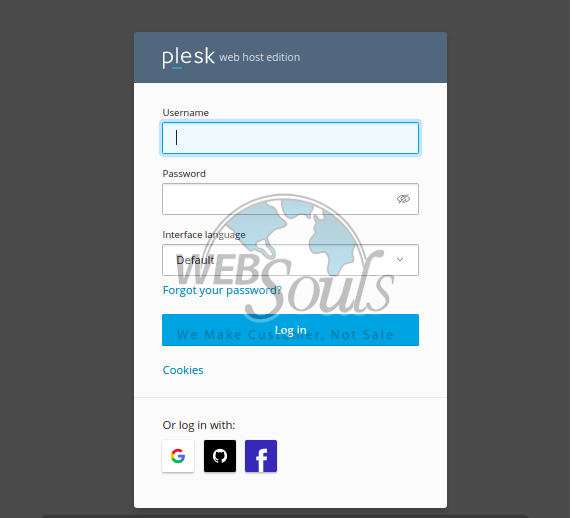
Step 1: Log into Plesk Panel
First things first, enter your credentials and log into your Plesk Panel account.
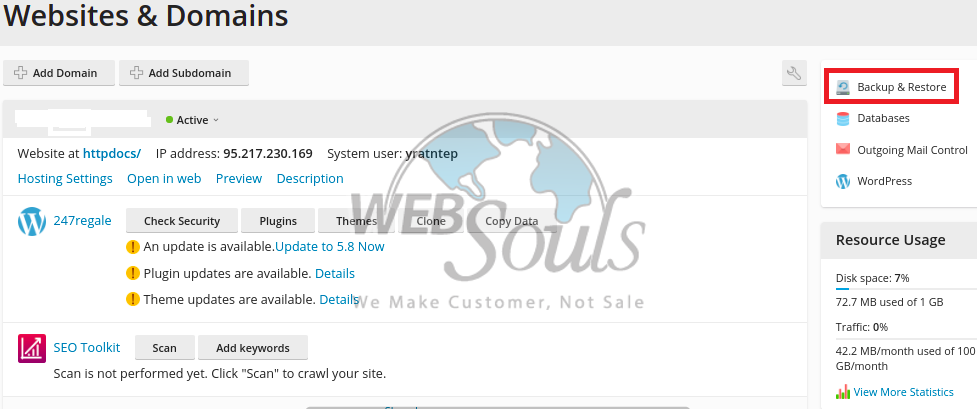
Step 2: Locate “Backup & Restore”
Once, you’re in the Websites & Domains section, locate Backup and Restore option on the top-left corner of the page and click on it.
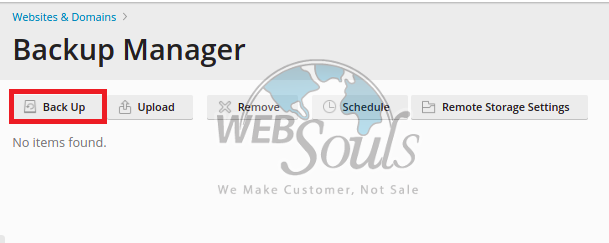
Step 3: Click on “Back Up”
Now, simply click on “Back Up” to continue taking a full backup of the account in Plesk Panel.
Step 4: Specify Backup Setting
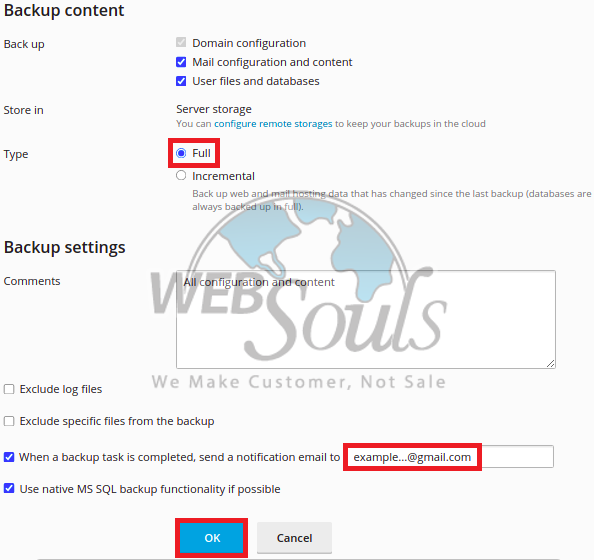
In this step, you need to specify backup settings.
First, checkmark account specifications, select server storage, and choose your backup type in the Backup Content section.
Now, in the next section, which is Backup Settings, add your comment about this backup, and further select the rest of the specifications.
As shown in the image below, you also need to add an e-mail where you would want to receive a notification once the backup is done:
Now, click OK.
Step 5: Set the Backup Date and Time
Once done, select your date and time for backup.
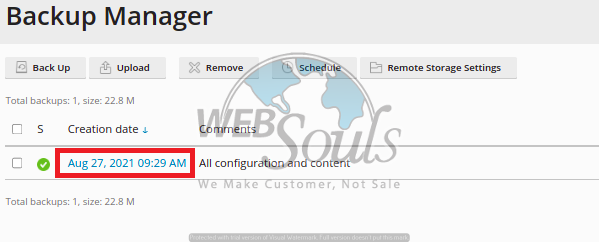
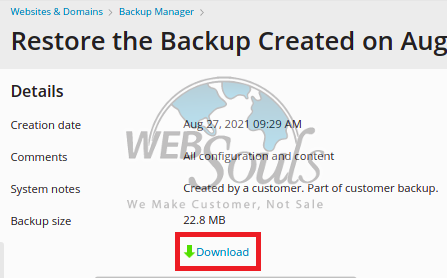
Step 6: Click on “Download”
The last step is to click on Download. The backup would start automatically on the specified date/time, and after it is finished your data would be saved in the selected storage.
That’s it!
If you still have any questions, please feel free to contact our support team via online chat or e-mail.
In the end, we’d recommend you hire the best web hosting company in Pakistan and get quality web development services. Need guidance? Get in touch with our team in Lahore or Karachi!

