Moving a file or folder in Plesk is a simple process that allows you to reorganize your files and folders within your hosting account. This can be useful if you want to change the location of a file or folder or to keep your files organized.
Here is a step-by-step tutorial on how to move a file or folder in Plesk:
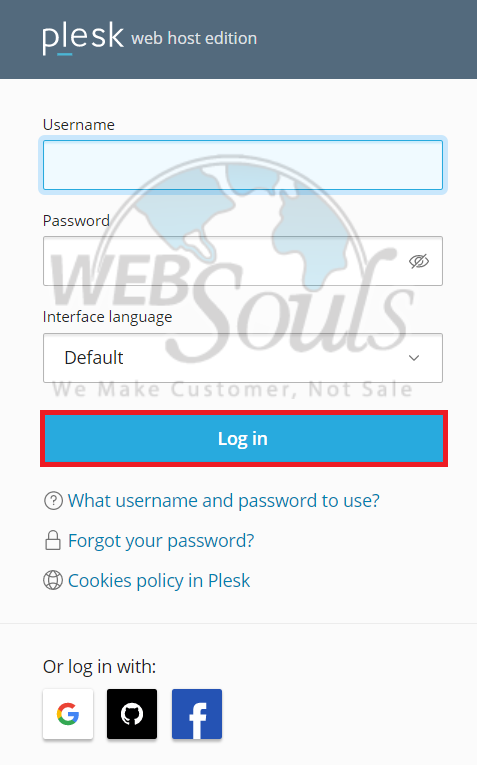
Step 1: Log in to Plesk
Enter your username and account password to login into your Plesk panel account. If you’re unable to log into your Plesk account successfully, please contact your web hosting company in Pakistan.
Step 2: Select the File Manager Option
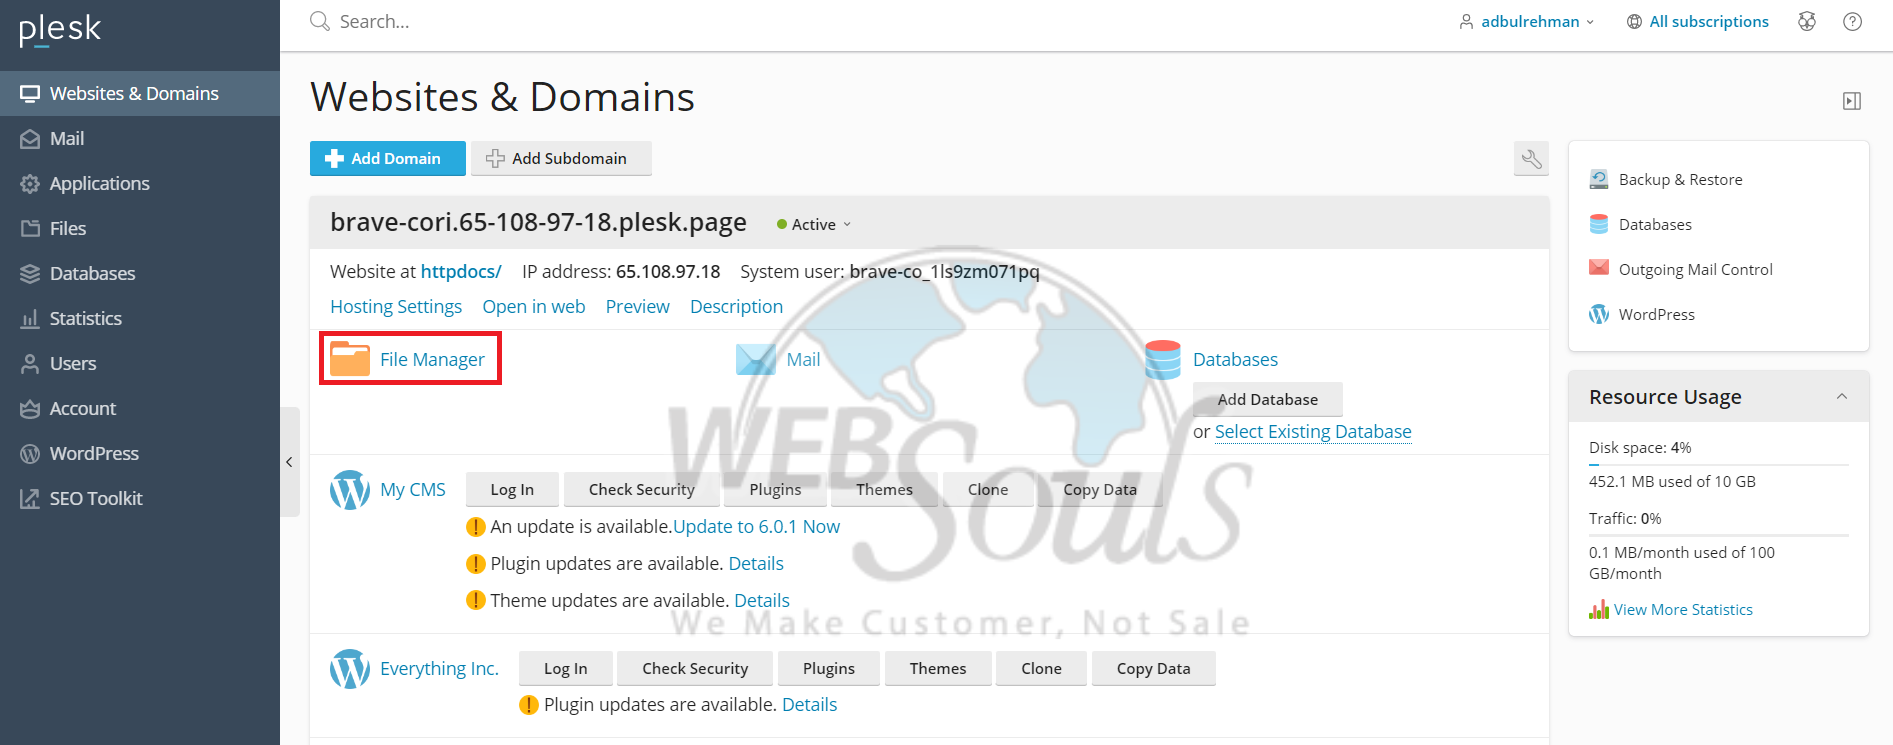
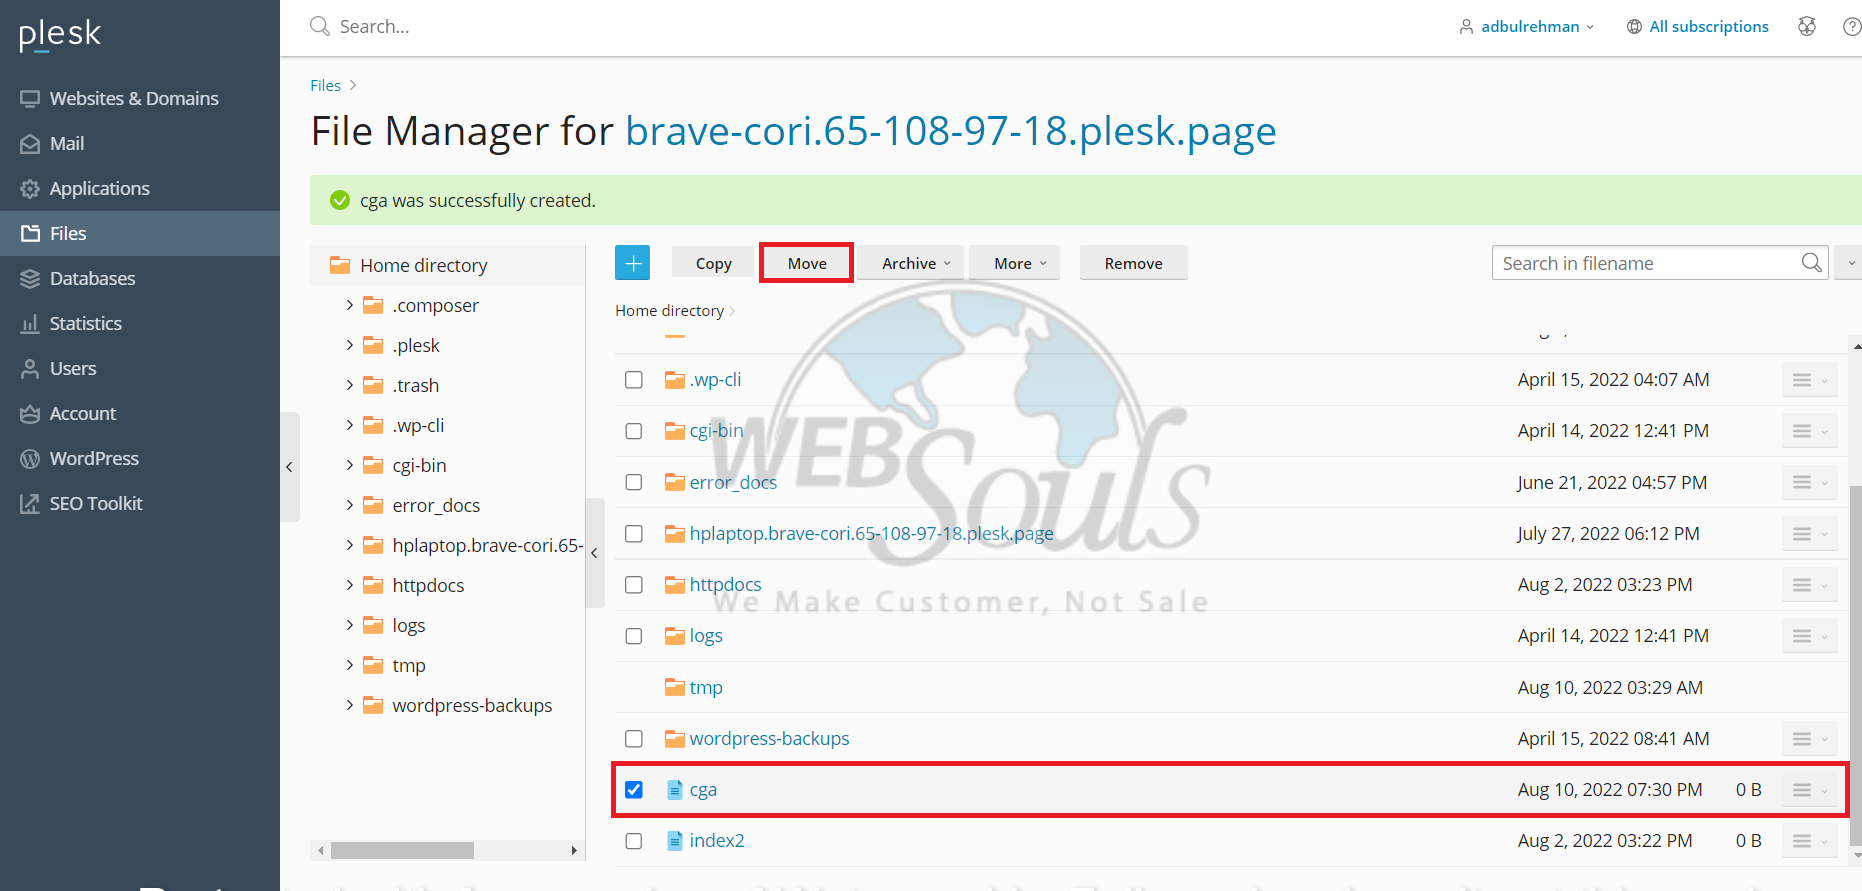
Step 3: Select a File or Folder to Move
To move a file or folder in Plesk, first, open the file manager. Then, select the specific file or folder that you want to move. Once selected, click on the "Move" option located at the top of the page.
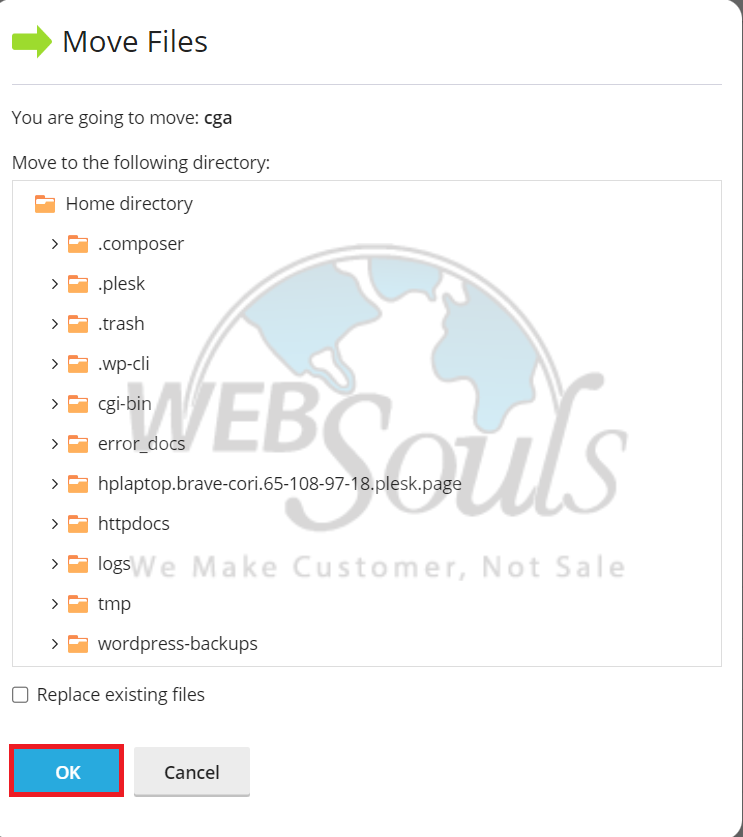
Step 4: Choose the Destination Folder
To proceed with moving the selected file or folder, click the "OK" button. This will move the selected file or folder to the new location.
Step 5: An Alert Message Will Pop Up
Upon completion of the move action, you will receive an alert message indicating that the file/folder has been moved successfully.
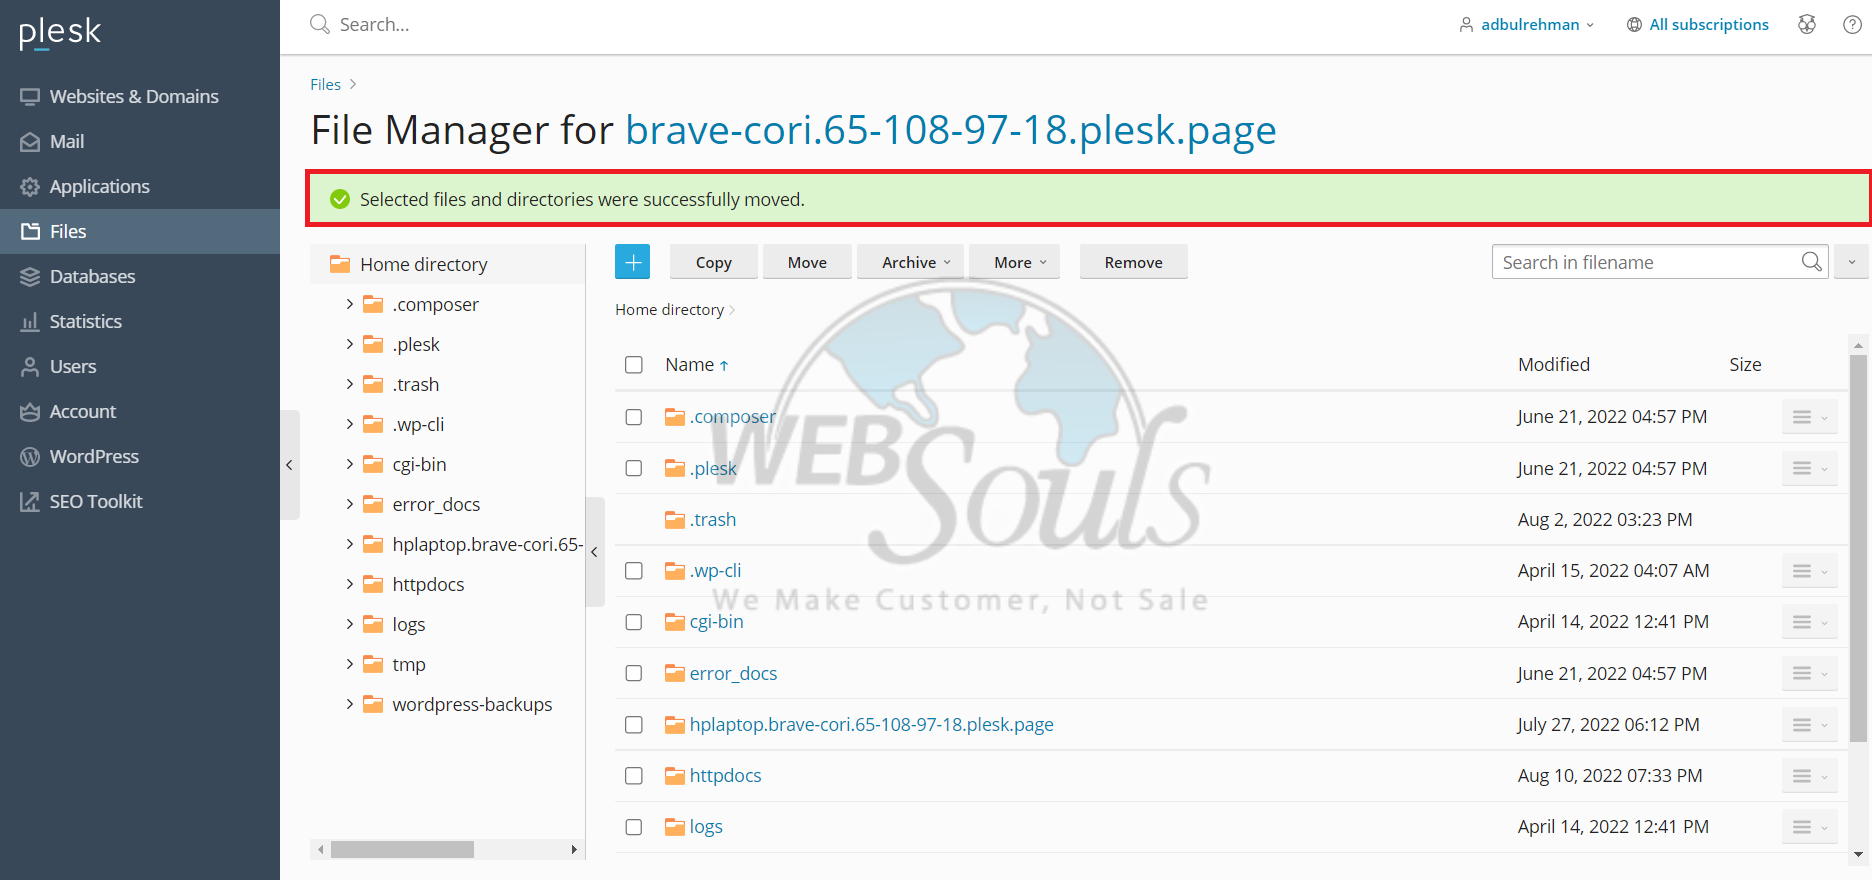
Please note that moving a file or folder will change the file path and any links or references to the file or folder will need to be updated accordingly.
We hope this tutorial was helpful for you. For any further queries or details please contact our technical support team via the live chat option available on our website, call, or email us at support@websouls.com. You can also visit any of our web hosting in Lahore or Karachi offices.

