Changing the expiration date for a subscription in Plesk is a simple task that enables you to modify the duration of your subscription within your hosting account.
This can be beneficial if you wish to adjust the expiration date or ensure proper organization of your subscriptions. The following guide outlines the step-by-step process for changing the expiration date for a subscription in Plesk:
Step 1: Log in to Plesk
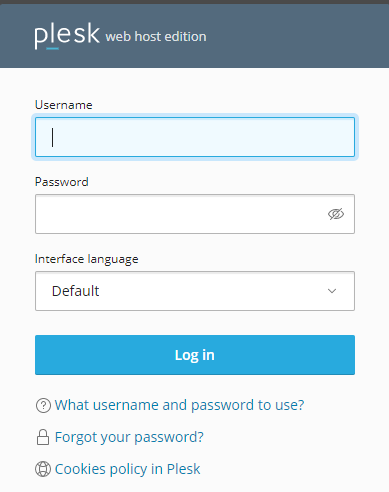
Enter your username and account password to login into Plesk. If you don’t have the credentials, or in case you forgot your password, contact your web hosting company in Pakistan.
Step 2: Select Subscriptions
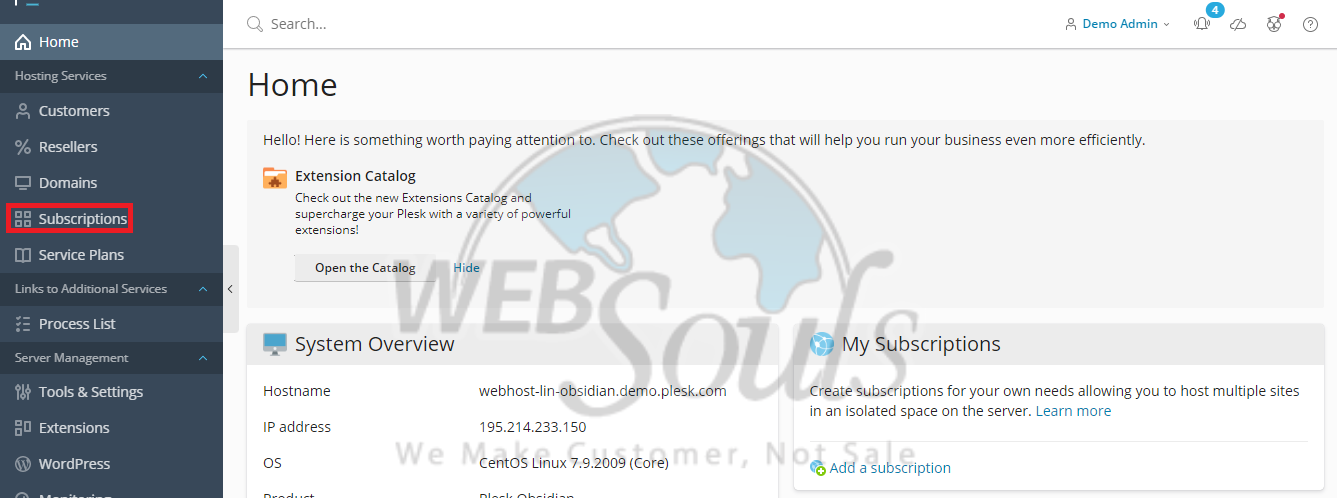
To access the subscription management options, navigate to the hosting services section and locate the "Subscriptions" button.
Step 3: Click a Subscription
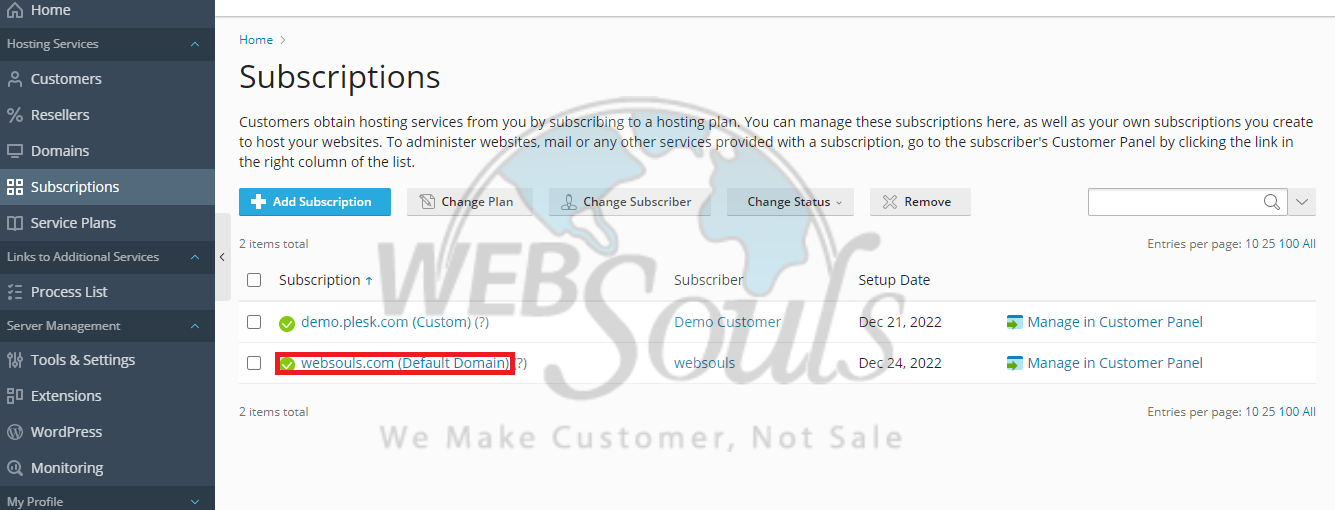
To get started, carefully choose the exact subscriptions you wish to modify.
Step 4: Press the Customize Option
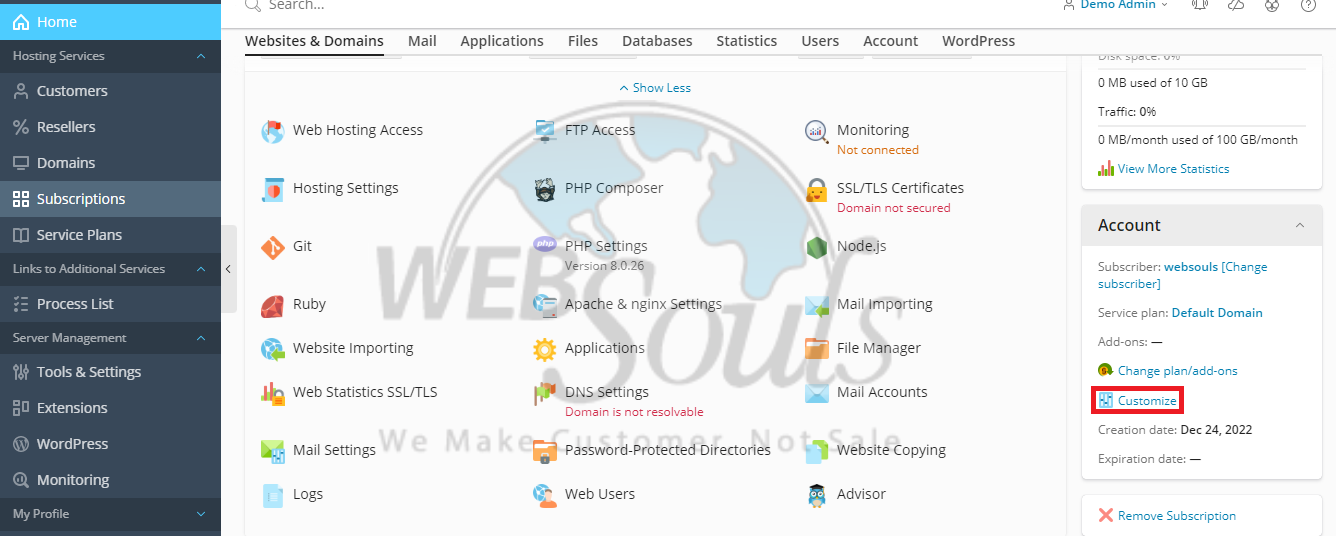
Afterwards, navigate to the account section and locate the "Customize" option. Click on it to proceed with the customization process.
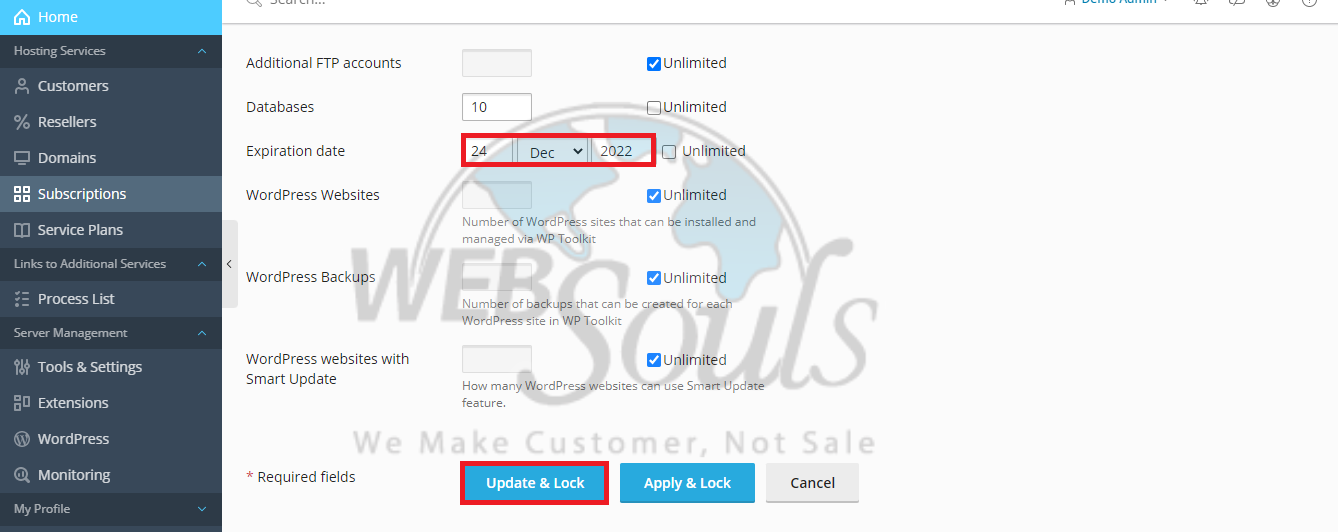
Step 5: Select Update & Lock
Lastly, choose the expiration date according to your preference. Once you have made your selection, scroll down to the bottom of the page and click on the "Update & Lock" button to finalize and save your changes. By doing so, your updated expiration date for the subscription will be confirmed and secured.
If you have any questions, please contact our support team via the live chat option available on our website. Or, you can also visit us at one of our offices for web hosting in Karachi or Lahore.

