Whether you're launching a new website or looking to enhance your email infrastructure, this tutorial will walk you through the process of seamlessly integrating an external mail server with your domain.
Follow each step carefully to ensure a smooth transition, improved email reliability, and enhanced control over your communication channels.
Let's get started on optimizing your domain's mail services for a more efficient and reliable email experience:
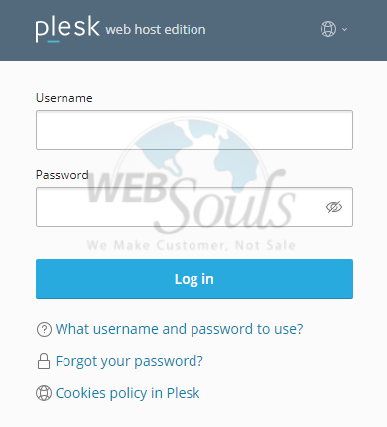
Step 1: Log In to Plesk
Provide your designated username and password to login to Plesk.
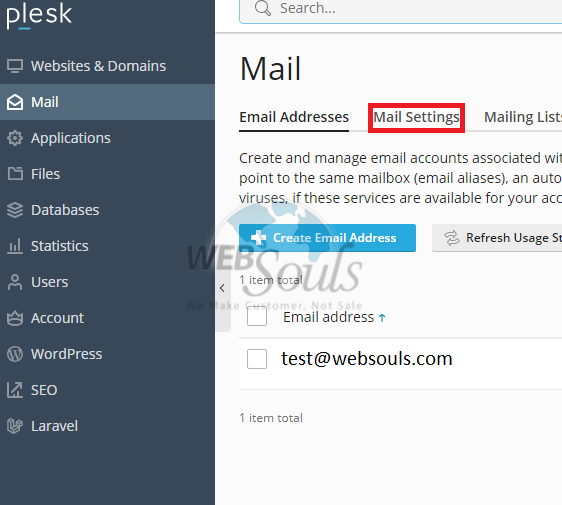
Step 2: Select Mail
In the segment dedicated to websites and domains, choose the option labeled "Mail."

Step 3: Press the Mail Settings Option
Now, press the Mail Settings option located next to the Email Addresses option.
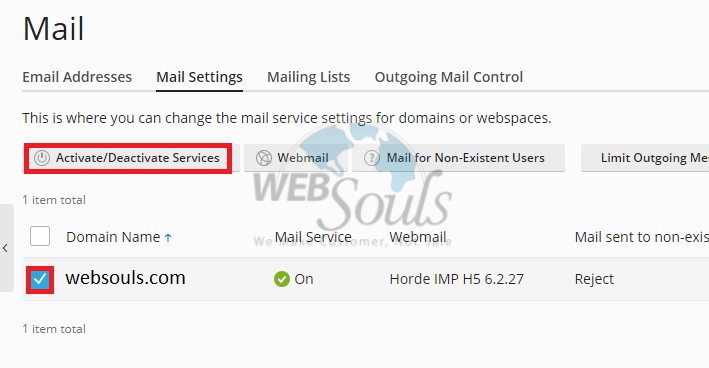
Step 4: Click Activate/Deactivate Services
Subsequently, proceed to the "Activate/Deactivate Services" option and choose your particular domain from the provided list.
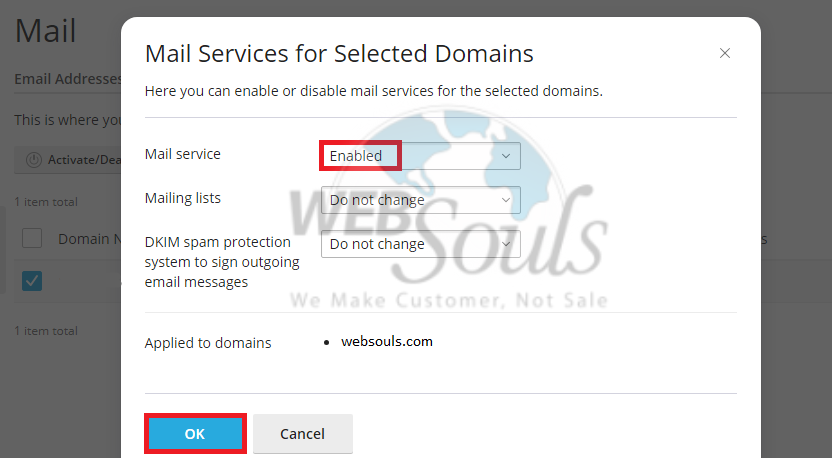
Step 5: Select OK
In the Mail Service field, make sure it is ‘‘Enabled’’ and then proceed to select the OK button.
Step 6: Press the DNS Option
In the Hosting and DNS section, choose the DNS option located in the second column.

Step 7: Click the Host
Select the desired host from the list of records.
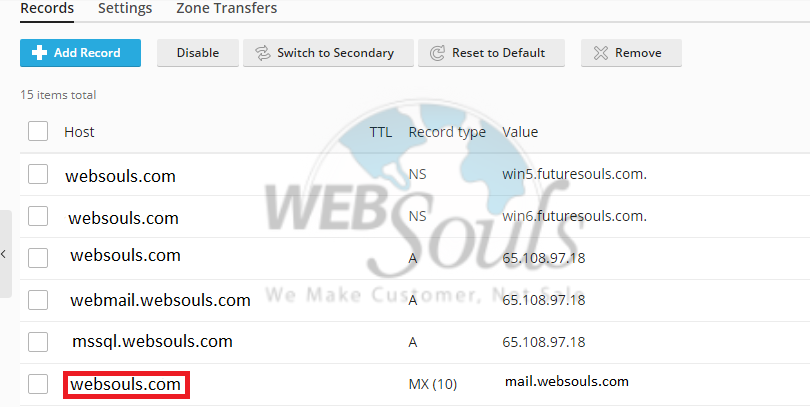
Step 8: Select OK
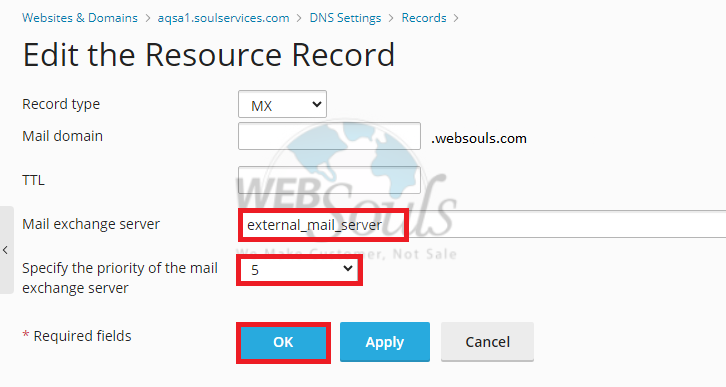
Configure an external mail server within the "Mail Exchange Server" field, assigning it a top priority. Confirm the settings by clicking OK, and proceed to execute the Update for the finalization of the configuration.
In case of any further questions, please don't hesitate to get in touch with out customer support team via the live chat option available on our website for web hosting in Pakistan. You can also visit our offices in Lahore or Karachi.

