Plesk is a powerful web hosting control panel that simplifies the management of websites and server resources.
In this tutorial, we will walk you through the process of establishing a well-known directory, a crucial component for various web services such as domain verification for search engines, SSL certificate issuance, and more.
Follow along as we provide clear and concise instructions, ensuring that even beginners can successfully create a well-known directory in their Plesk Panel.
Whether you're a seasoned web developer or a novice managing your first website, this guide aims to demystify the process and empower you to configure your server with ease:
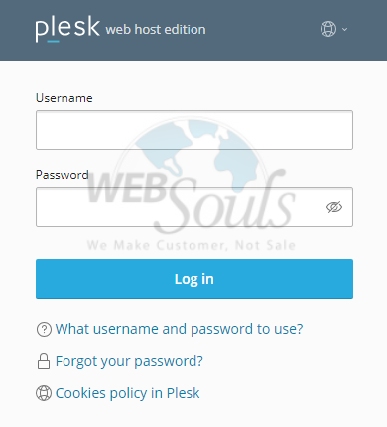
Step 1: Log in to Plesk
Provide your designated username and password to login to Plesk.
Step 2: Select Files
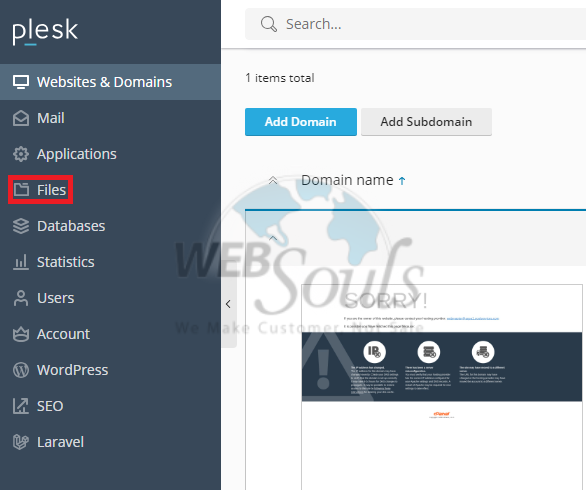
Navigate to the "Websites and Domain" option, then access the "Files" section located in the left-side menu.
Step 3: Click +
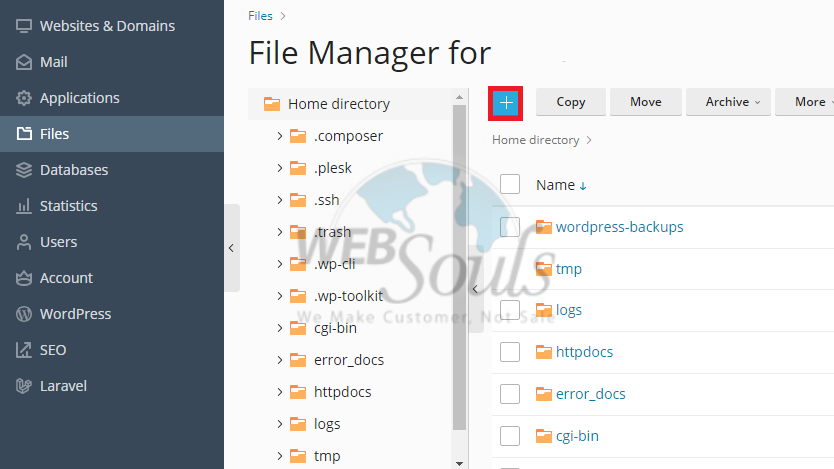
Above the home directory list, locate and click on the plus sign icon.
Step 4: Choose the Create Directory Option
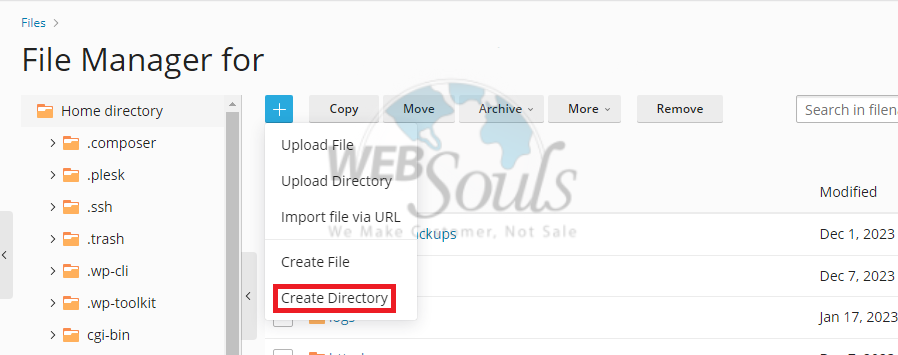
To generate the folder, choose the "Create Directory" option.
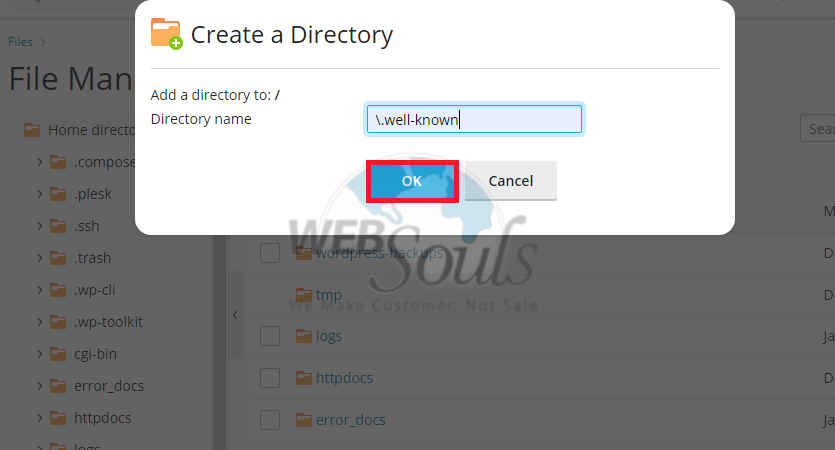
Step 5: Click OK
Next, please specify the directory as "well-known" and proceed by clicking the OK button.
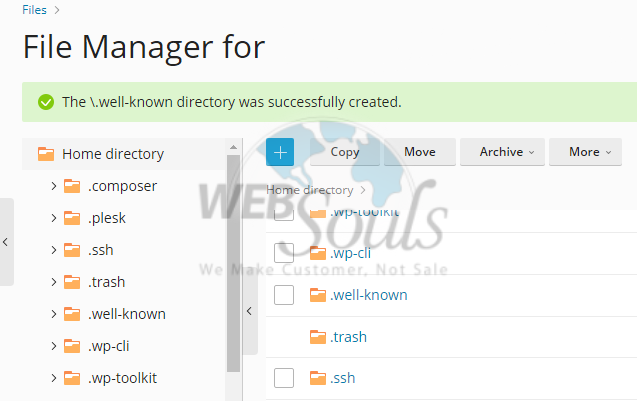
Step 6: Confirmation Message
Now, you’ll get a pop-up message confirming the creation of your Well-Known Directory.
All done!
For any further questions, get in touch with our customer support team via the live chat option available on our website for web hosting services in Pakistan.

