In this step-by-step guide, we will walk you through the process of enabling an auto-reply for an email address using the Plesk Panel.
Whether you're managing personal or business emails, setting up an auto-reply can streamline communication and enhance your email management experience.
Follow these simple instructions to ensure that your Plesk Panel is configured to automatically respond to incoming emails, keeping your contacts informed and engaged:
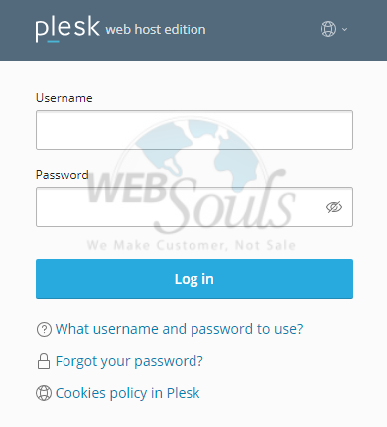
Step 1: Log In to Plesk
Access your Plesk account by logging in with the credentials associated with your domain.

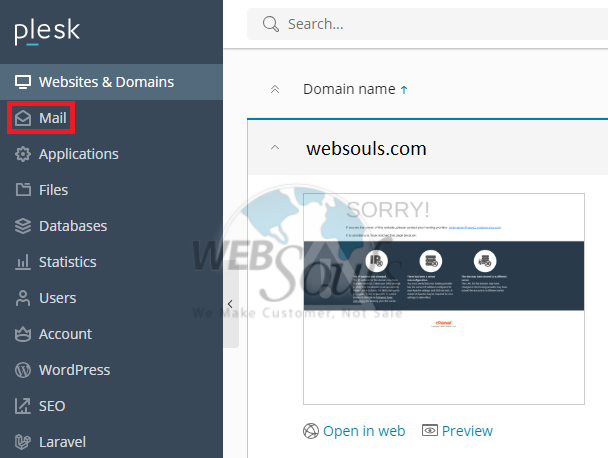
Step 2: Select Mail
Select "Mail" under the section labeled "Website and Domains."

Step 3: Click Email Address
Choose the designated email address.

Step 4: Press the Auto-Reply Option
Following that, proceed to the Auto-reply tab.

Step 5: Select Switch on Auto-Reply
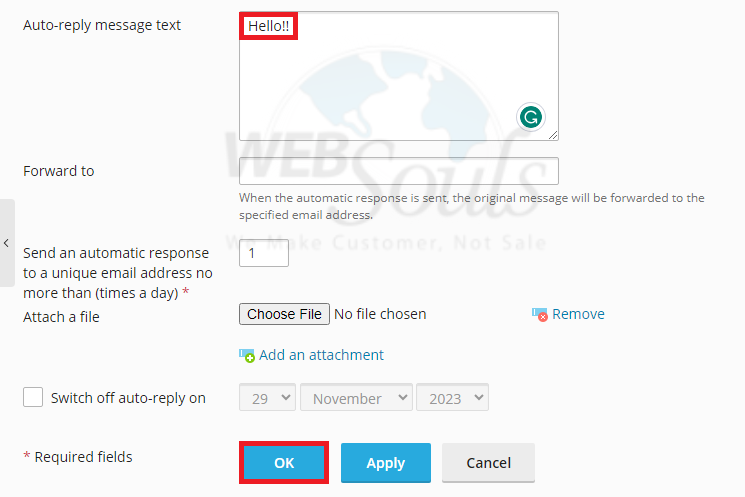
In the Auto-reply section, ensure you first tick the checkbox at the top and then proceed to complete all required configurations. These include specifying the Auto-reply message subject and activating the "Switch on auto-reply on" option.

Step 6: Click OK
Create the auto-reply message of your choice by entering the required details and then proceed to press OK to finalize the setup.

In case of further questions, please get in touch with the customer support team at our web hosting company in Pakistan.

