Looking to find a way to disable WP-Cron file in WordPress?
WebSouls being one of the best web hosting company in Pakistan presents you a step-by-step guide to disabling WP-Cron file in WordPress.
Let us help you do it.
As disabling this feature would allow you to avoid any performance issues when there is a high traffic on your website.

What is WP-Cron?
CRON jobs are utilized to calendar assignments at intermittent fixed occasions, dates, or interims on your WordPress site.
A few instances of a WordPress cron job may include checking for updates, scheduling a post to publish, or a predefined schedule on which a backup plugin is running.
In WordPress, this is taken care of by WP-Cron, which is utilized to simulate a system cron.
Be that as it may, contingent upon the measure of traffic to your site, utilizing the implicit cron handler can really begin to affect your page loading times.
This article presented to you by Websouls will provide you a step-by-step method of disabling WP-Cron file in WordPress.
- Log into cPanel
- Go to File Manager
- Find the wp-config.php file
- Edit ‘wp-config.php’
- Backup the file (if you want to)
- Add the code
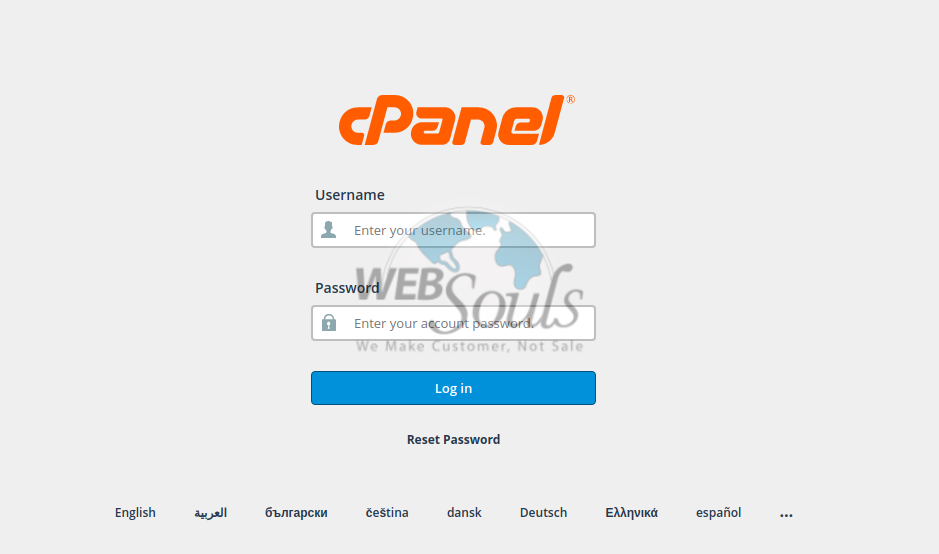
Step 1
The first step is log in to cPanel.
Simply enter your username and password and click the blue ‘Log in’ button.
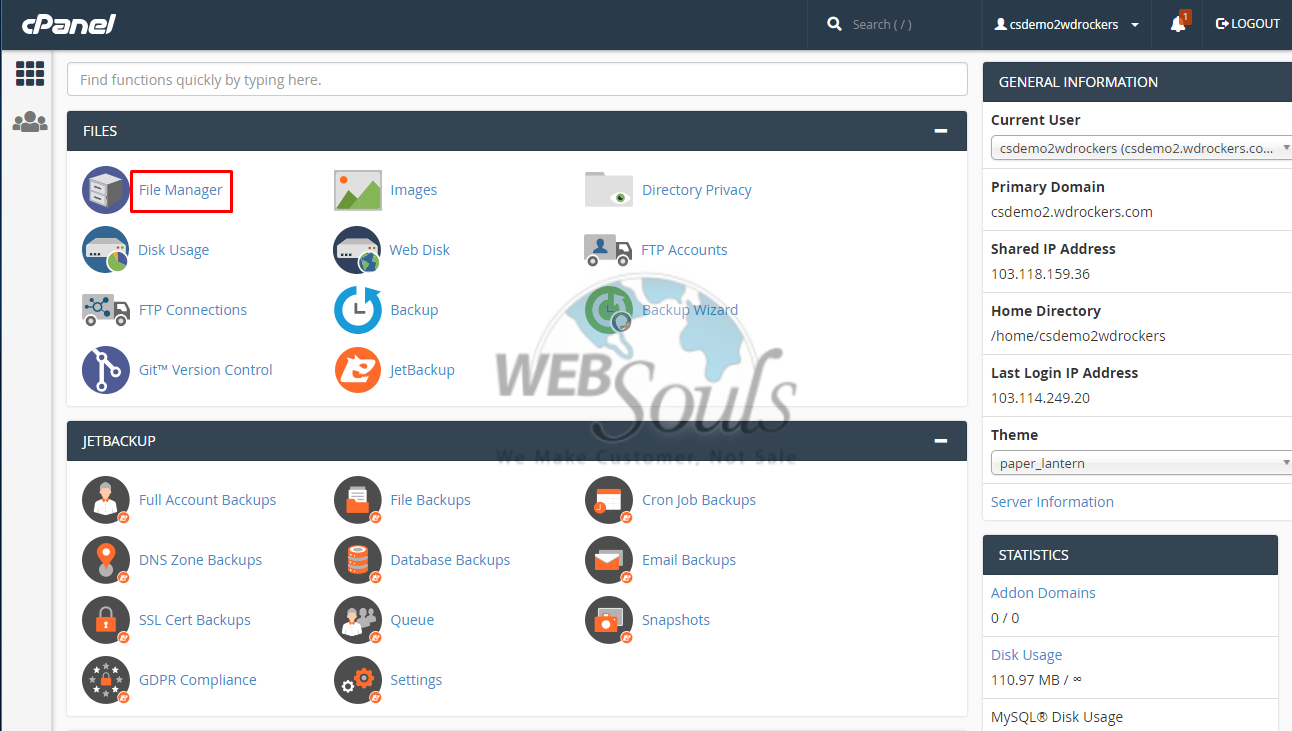
Step 2
Since wp-cron.php is a file, so the obvious place to find it is in the file manager.
After you are logged into cPanel, navigate to the top-left corner of the screen.
Select ‘File Manager’ from under the Files tab.
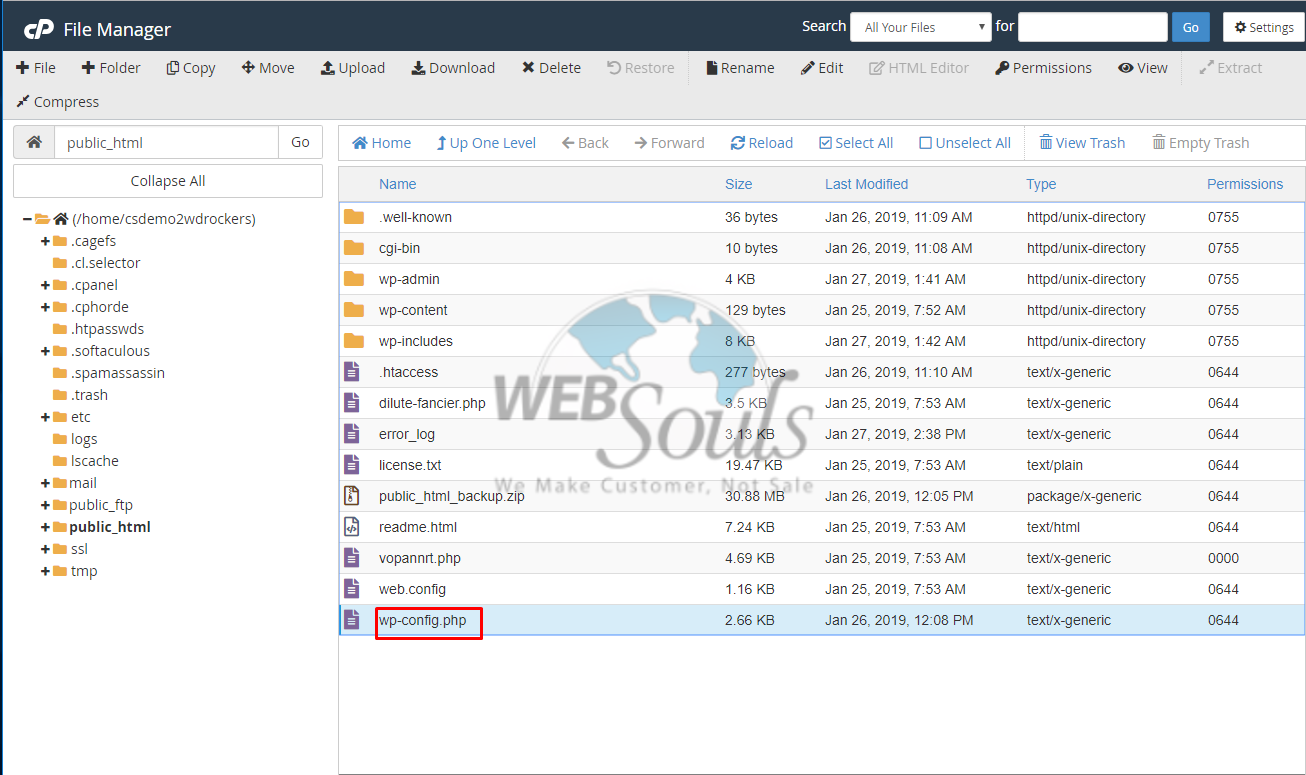
Find the wp-config.php file
When you click the ‘File Manager’ a new window with multiple files will open on your screen.
From there navigate to the left corner where all the folders are placed.
Click on public_html and a list of files will open on the right side.
As you can see in the screenshot below, the last file is named ‘wp-config.php’
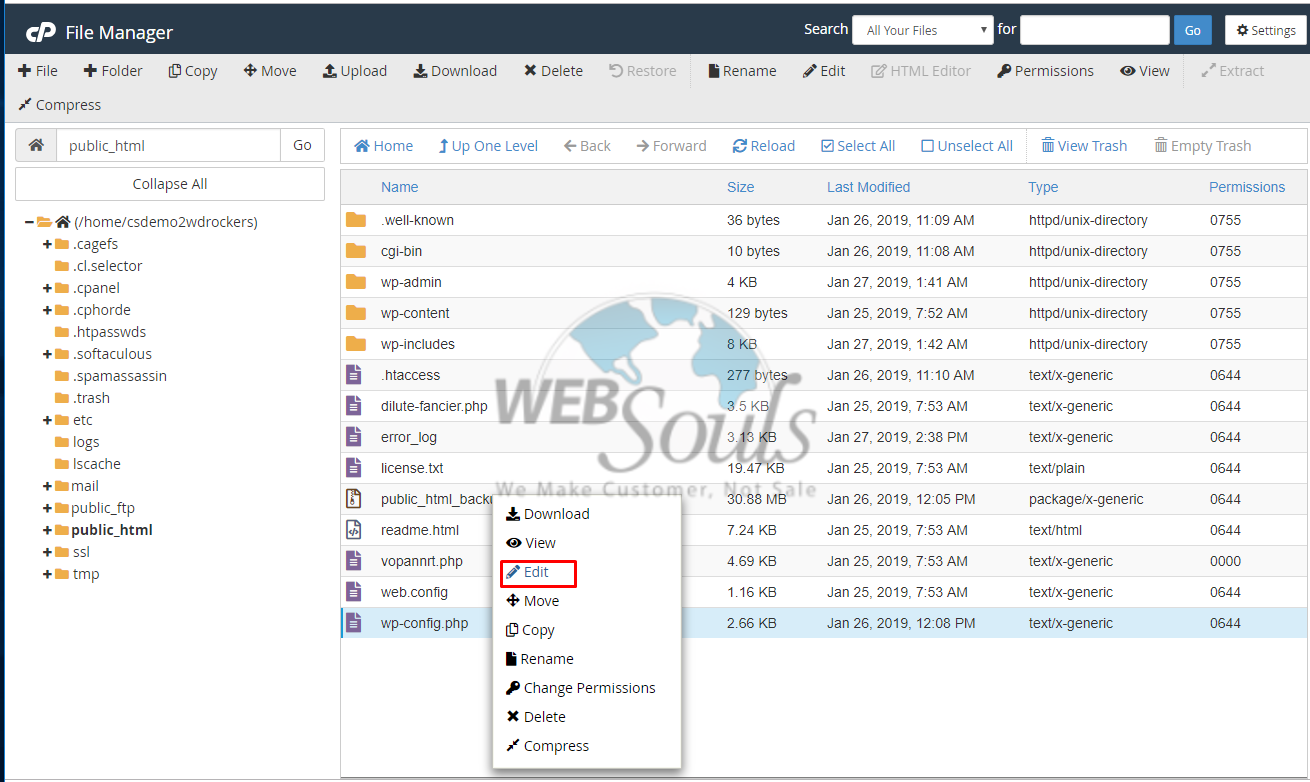
Step 4
Now that you have found the ‘wp-config.php’ file, the next step is to edit it.
To do this simply right click on the file and click on ‘Edit’
Step 5
Backup the file (if you want to)
When you click ‘Edit’ a pop-up will appear on the screen which will remind you to backup the file.
If not, click ‘Edit’ and proceed to the next step.
Note: Backing up the file is important to avoid any unwanted changes on your website.

Step 6
After clicking the ‘Edit’ button as shown in the step above, a window with a lot of programming code will open in front of you.
Add the following code on the screen and click ‘Save Changes’
define('DISABLE_WP_CRON', 'true');
By following this process, you can easily disable WP-Cron file and enhance your website’s performance.
We hope that after reading this article you have grasped the process of disabling WP-Cron file. If you liked this article give it a thumbs up and enjoy one of the best WordPress Hosting in Pakistan.
If you want to read more knowledgebase articles, keep visiting WebSouls which provides one of the best Web Hosting in Pakistan along with a wide range of affordable domain hosting services.
Technical Support
WebSouls
