Don’t know how to add DNS records into Cloudflare?
You need to!
Because DNS records make it easier for the sites to be accessed with some propagation time.

What is DNS?
Domain Name System or DNS translates the domain names into IP addresses. These records make it easier for you to access websites with some propagation time.
That’s because they help in identifying the domain names in place of highly complex IP addresses.
There are numerous DNS entries, including CNAME, A record, TXT Record, MX Entry, AAAA record, and SRV Record.
Wondering why are these DNS entries important and why you should consider adding them into Cloudflare?
Simply because they make your website easier to access, without any sort of interruptions or obtrusions.
So, after you’ve found the best company of domain registration in Pakistan, you might want to learn how you can add DNS records into Cloudflare.
Then read the steps below!
Step 1: Login to Cloudflare
Step 2: Add a Domain Name
Step 3: Ensure that the Domain Name is Correct
Step 4: Go to the DNS Section
Step 5: Click on “Add Record”
Step 6: Select the Record to be Added
Step 7: Click “Save”
After you’ve added a domain into Cloudflare, the DNS records would be automatically scanned and the DNS entries would be filled automatically in the DNS section.
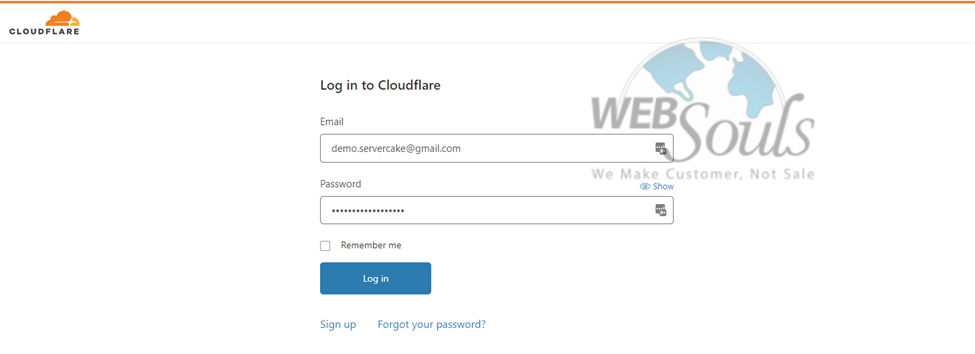
However, to add DNS records manually into Cloudflare, then you’d first need to login to the Cloudflare dashboard.
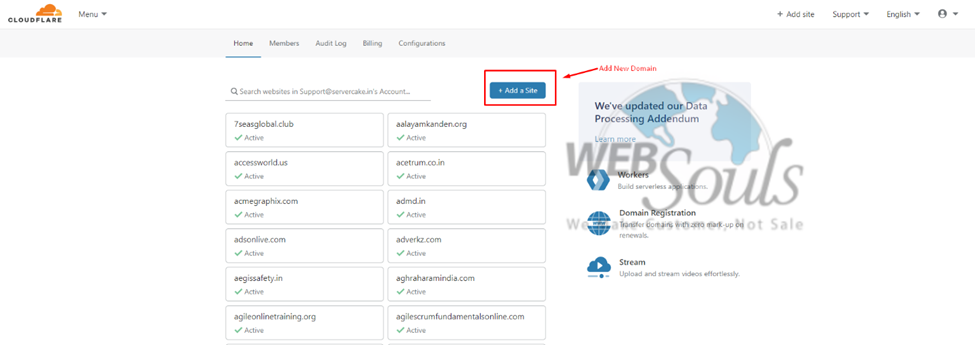
After you’ve successfully logged in to Cloudflare, add a domain name by using the option of “Add Site”.
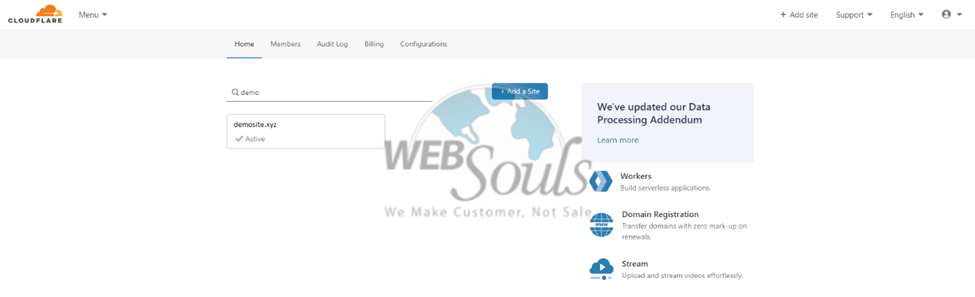
In case the domain is previously added into Cloudflare, then you’d need to select the appropriate domain name and go to the DNS section.
3 Step 3: Ensure that the Domain Name is Correct
Next up, make sure that the domain name you’ve added is correct.
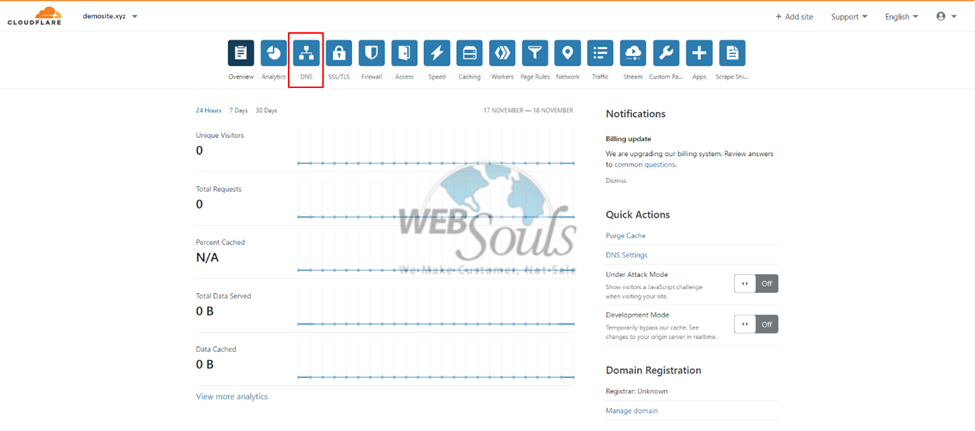
4 Step 4: Go to the DNS Section
Now that you’ve added the correct domain name, go to the DNS section.
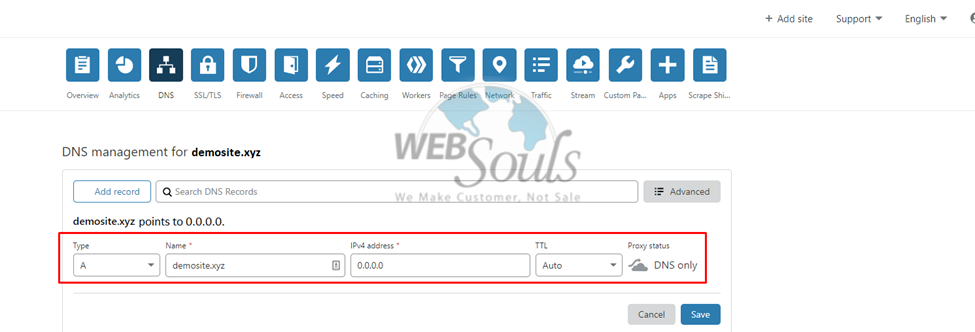
5 Step 5: Click on “Add Record”
Move on to select the option of “Add Record” for your website’s DNS records to be added.

6 Step 6: Select the Record to be Added
In the “Add Record” option, you’d need to select the record type. Then enter the name, value, and proceed to click on the “Save” option.
Plus, if you don’t already know this, the orange colored cloud icon proxies the traffic through Cloudflare for your DNS entries. Whereas, the grey cloud icon makes sure that the traffic for your DNS records isn’t proxied to Cloudflare.
The grey icon exposes your actual IP address in place of the Cloudflare address.
After you’ve successfully added each DNS record, don’t forget to click on the “Save” button.
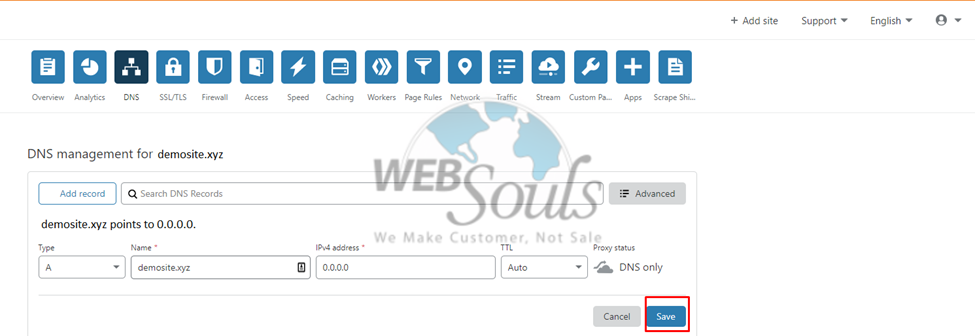
That was how you can manually add DNS records into Cloudflare.
Lastly, if you want to buy pk domain, simply search Google for “domain hosting in Pakistan”, and you’re good to go!
