Welcome to our step-by-step guide on creating a hosting plan and assigning a domain in Plesk!
Whether you're a beginner or an experienced user, this tutorial will walk you through the process with clear instructions and helpful tips.
By the end, you'll be equipped to set up hosting plans and seamlessly assign domains, empowering you to efficiently manage your web hosting environment with Plesk's powerful features:
Step 1: Login to Plesk
Provide your designated username and password to login to Plesk.

Step 2: Enter Plesk
Upon successful login, you will be directed to the homepage.
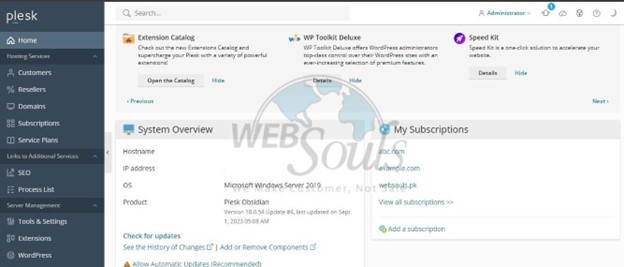
Step 3: Click Add Domain
Navigate to the Domains Section and click "Add Domain" located next to the "Add Subdomain" feature.

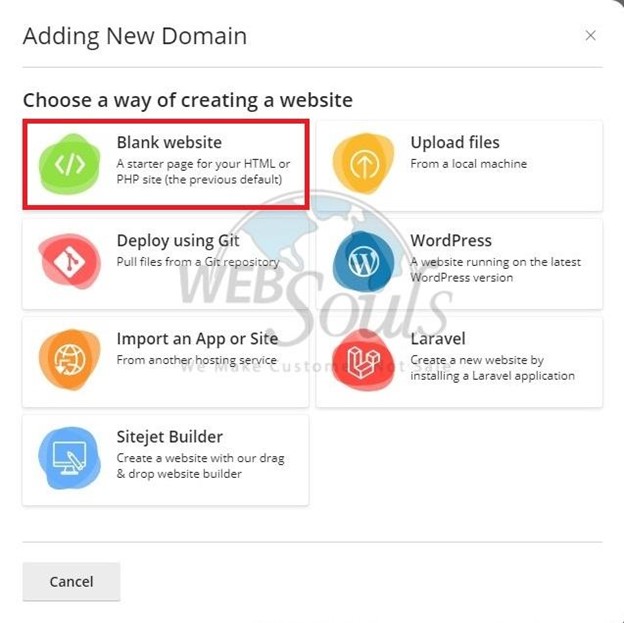
Step 4: Press the Blank Website Option
In the "Adding New Domain" section, select the option for a blank website as your method for creating a new website.
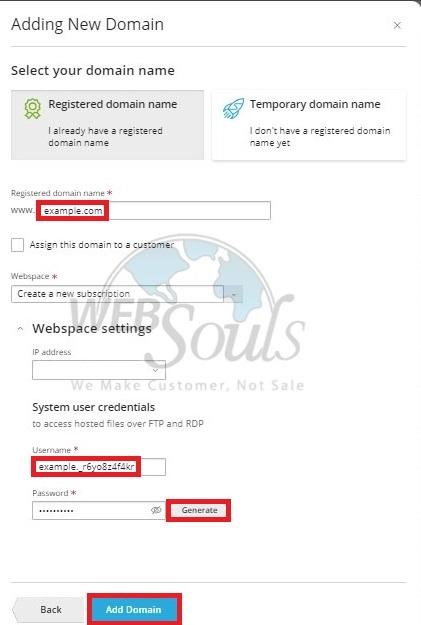
Step 5: Select Add Domain
Enter your registered domain name, followed by your username, and generate a password or write one manually. Complete the process by selecting "Add Domain."
Step 6: Click Add a Plan
Navigate to the Service Plans section, find the option labeled "Add a Plan," and click on it.

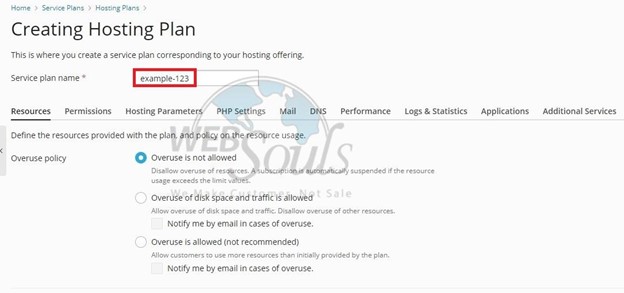
Step 7: Write Service Plan Name
Enter a Service Plan Name located at the top of the page.
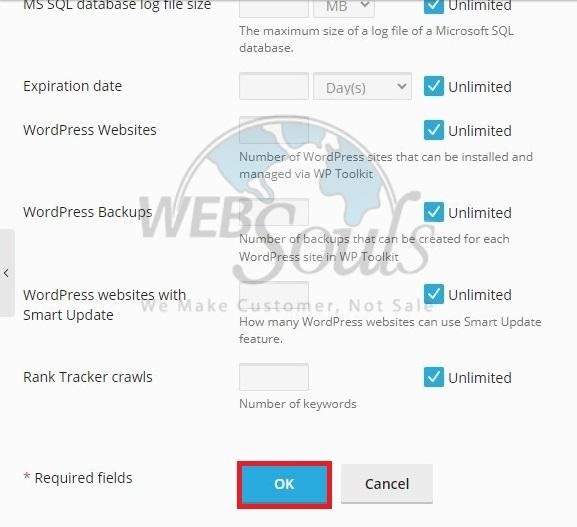
Step 8: Click OK
After selecting the desired options, proceed to click the OK button located at the bottom of the page.
Step 9: Press the Change Plan Option
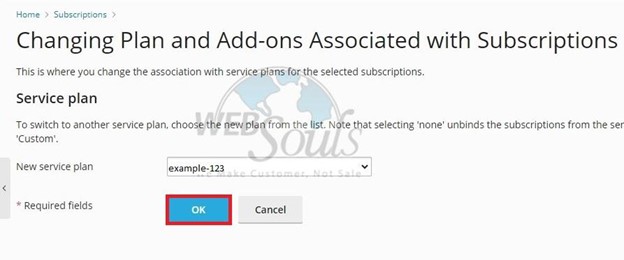
Head to the "Subscriptions" section, locate the option marked "Change a Plan," and proceed by pressing it.

Step 10: Click OK
Upon choosing your new service plan, click OK to finalize the procedure.
