In this tutorial, we'll walk you through the necessary steps to enhance the security of your website by preventing the inadvertent exposure of directory contents.
Follow along as we delve into the cPanel settings, providing you with clear instructions to mitigate the risk of displaying sensitive information and maintaining the privacy and integrity of your web content.
Let's dive into the configuration process to ensure a more secure online presence:
Step 1: Login to cPanel
Provide your designated username and password to sign into cPanel.
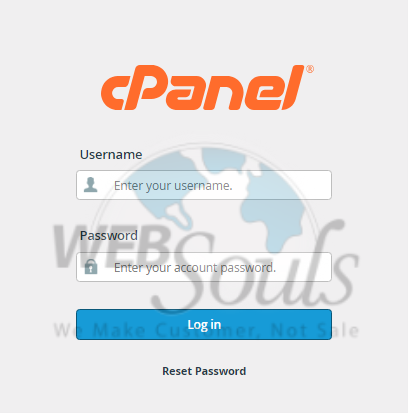
Step 2: Select Indexes
Navigate to the right-hand panel of the primary cPanel page and explore the categories list. Locate the Advanced category and proceed by selecting the Indexes icon to continue.
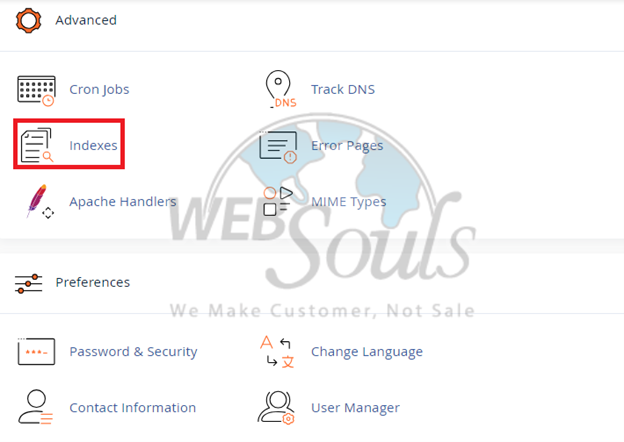
Step 3: Click Edit
Navigate to the following page to choose the directory for editing. The listed directories represent all top-level directories in cPanel's home folder, mirroring the view in the cPanel File Manager. If your desired directory is nested several levels deep, simply click through the left-hand directories until you locate the one you wish to edit. Subsequently, select the "Edit" button for that specific directory.
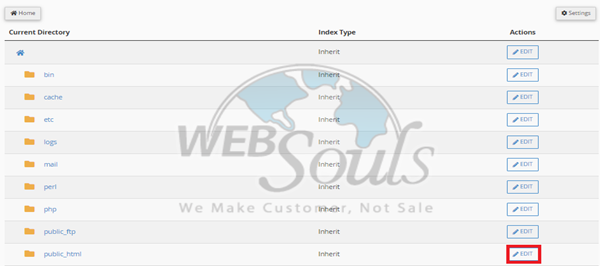
Step 4: Press the No Indexing Option
On the current screen, you have the option to choose your preferred Indexing style. To completely avoid any index listing, just opt for the "No Indexing" radio button. Save your choice to apply the changes.
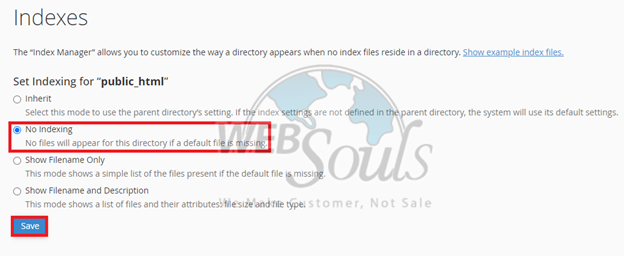
Step 5: Before No Index Setting
Now, explore your website effortlessly, accessing directories or subdirectories even without an index file. The following image illustrates the efficacy of the No Index setting in inhibiting the presentation of file lists:
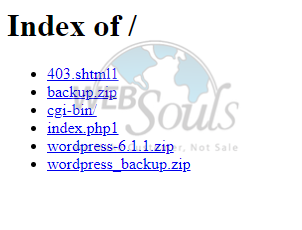
Step 6: After No Index Setting
Upon completion, your website should present a 403 Forbidden page instead of revealing a list of files.

For any further questions, please contact our customer support via the live chat option available on our website, or visit our office for web hosting in Lahore.

