If you are looking to add an additional domain to your website, you will need to configure it properly to ensure that it is accessible and operates as intended.
The Jupiter cPanel theme is a popular web hosting control panel that provides a user-friendly interface for managing your website's various aspects, including adding domains.
Below are steps for adding an add-on domain in the Jupiter cPanel theme and ensuring that your new domain is fully functional:
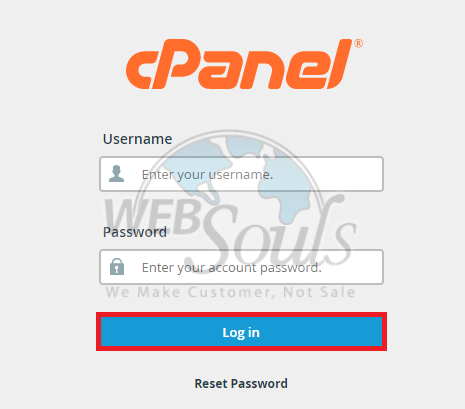
Step 1: Log in to cPanel
Enter your username and account password to login into cPanel.

Step 2: Select the Domain Icon
Upon successfully logging in, you can navigate to the Domain section, and from there, select the Domains option. If you’re unable to find this option, contact your web hosting services provider for detailed guidance.

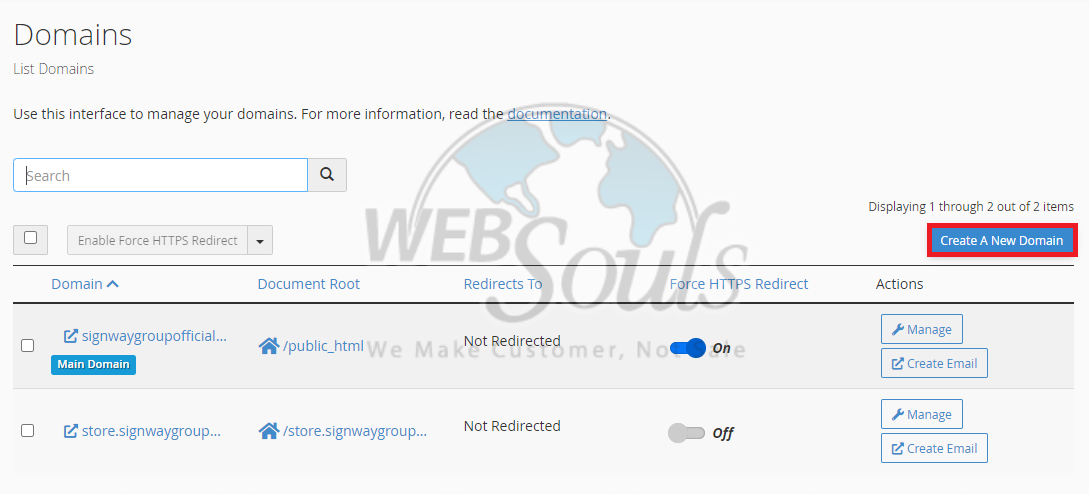
Step 3: Click on “Create a New Domain”
Upon reaching the Domains section, locate the blue button with the text "Create A New Domain" at the top-right corner and click on it.

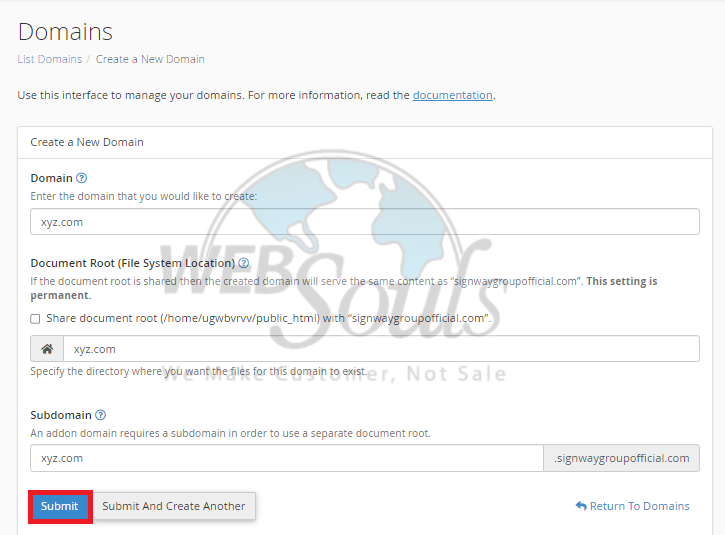
Step 4: Submit Your Added Information
Type the domain name you wish to add in the "Domain" text box.
Uncheck the option labeled "Share document root (/home/username/public_html) with 'domain.tld'" and provide the directory path where you want the domain files to be stored. Finally, click the "Submit" button to complete the process.

All done! You’ve successfully added a new domain in cPanel.
In case of any queries or questions, please don’t hesitate to get in touch with us via the live chat option available on our website. We also have offices for web hosting in Lahore and Karachi if you want in-person guidance.

