Setting up DMARC (Domain-based Message Authentication, Reporting, and Conformance) records in cPanel can significantly enhance email security and safeguard your domain against phishing and spoofing attacks.
This step-by-step guide aims to simplify the process, providing clear instructions for configuring DMARC records in your cPanel account.
With a focus on bolstering your email authentication practices, this guide ensures that your domain maintains a robust defense against unauthorized email activities, thereby fostering a safer and more trustworthy digital communication environment:
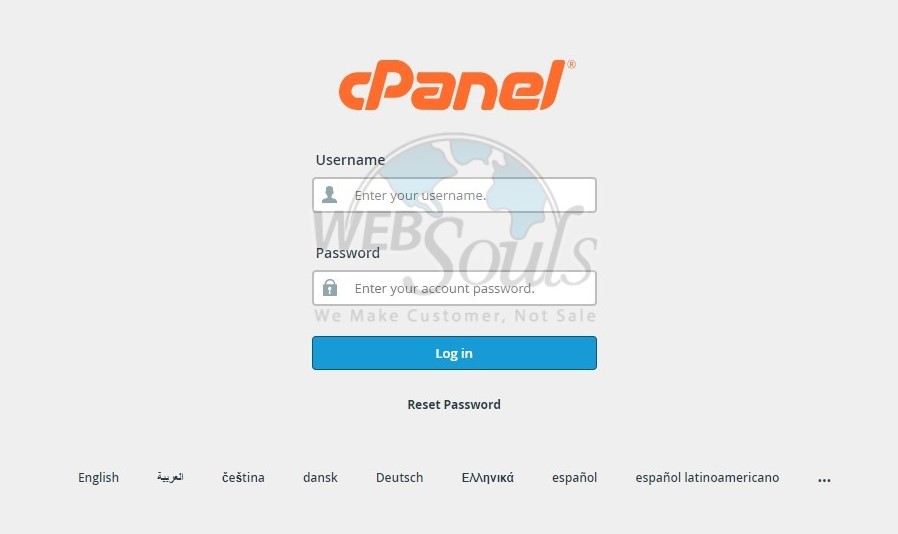
Step 1: Log in to cPanel
To gain access to cPanel, kindly provide your designated username and account password during the login process.

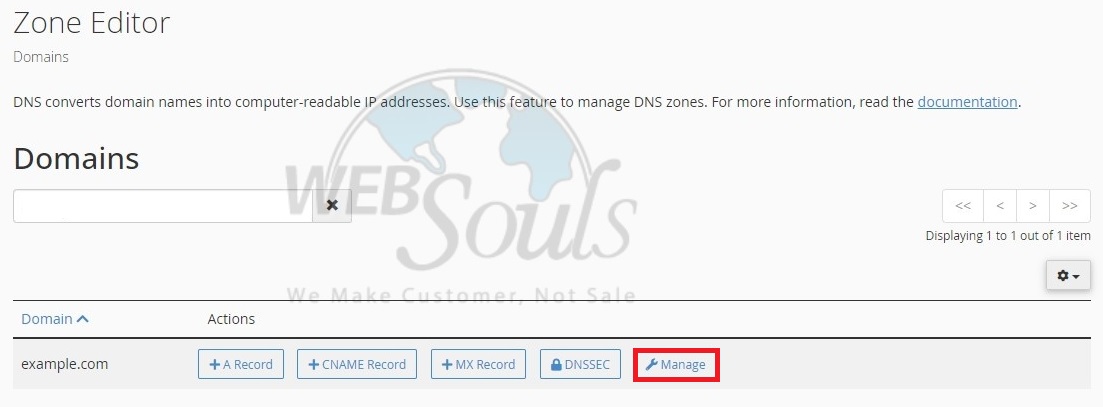
Step 2: Click Zone Editor
Please proceed by clicking on "Zone Editor" under the Domains section.

Step 3: Select the Manage Option
Now, click on the "Manage" button adjacent to the domain you intend to work on.

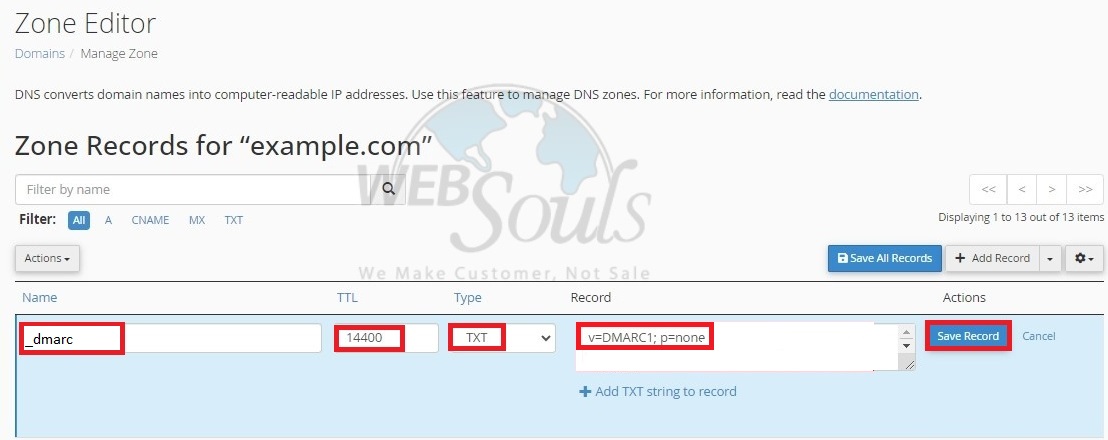
Step 4: Press Add Record
Next, press the "Add Record" button.

Step 5: Click Save Record
Switch the Type from A to TXT. Input the Name, TTL, Type, and Record as instructed below. Remember to choose one of the options—None, Reject, or Quarantine—for the Record field. Click on Add Record to save your changes and finalize the process.

For further questions, please get in touch with the customer support team at our web hosting company in Pakistan via the live chat option available on our website. We're proud to be one of the leading web hosting services provider in Pakistan.

