We are pleased to present our comprehensive tutorial, guiding you through the process of creating a domain alias using the Jupiter theme.
Whether you aim to enhance your website's visibility, strengthen your brand identity, or facilitate easier access to your content, a domain alias can be an invaluable asset.
The Jupiter theme's intuitive interface and powerful functionalities make it a breeze to set up a customized domain alias that seamlessly redirects visitors to your current website.
By adhering closely to this guide, you will swiftly establish your domain alias with minimal effort, allowing you to make the most of its benefits in a matter of moments:
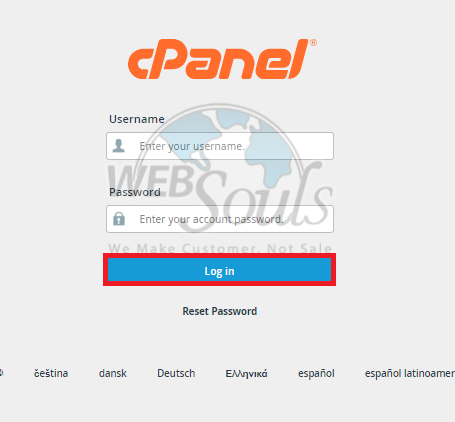
Step 1: Log in to cPanel
Enter your username and account password to login into cPanel. These credentials would have been provided to you by your web hosting services provider.

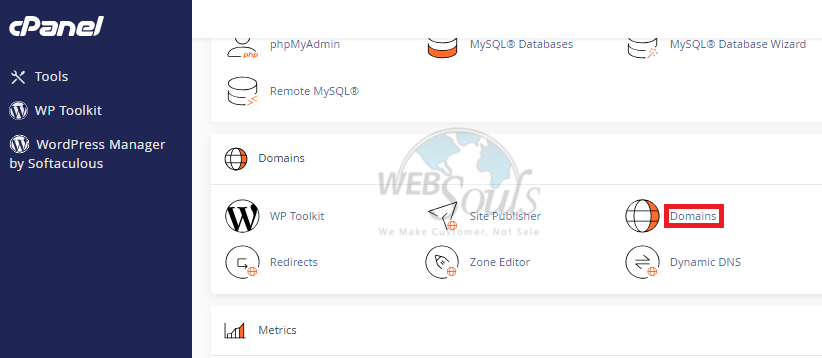
Step 2: Select Domains
After successfully logging into your cPanel account, proceed to the "Domains" section.

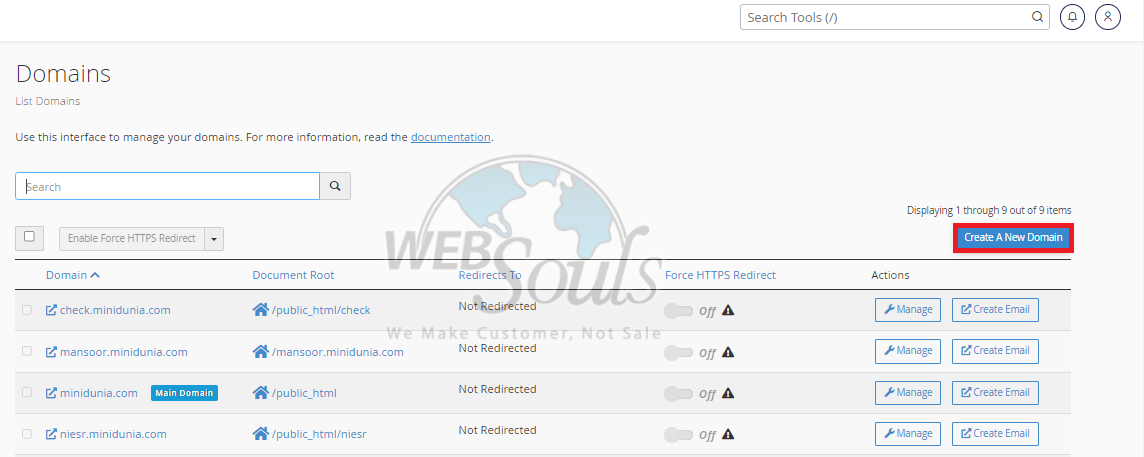
Step 3: Click Create a New Domain
In this particular section, locate a blue button positioned at the top right corner with the label "Create A New Domain." By clicking on this button, you can initiate the procedure for adding your fresh add-on domain, sub-domain, and alias/parked domain.

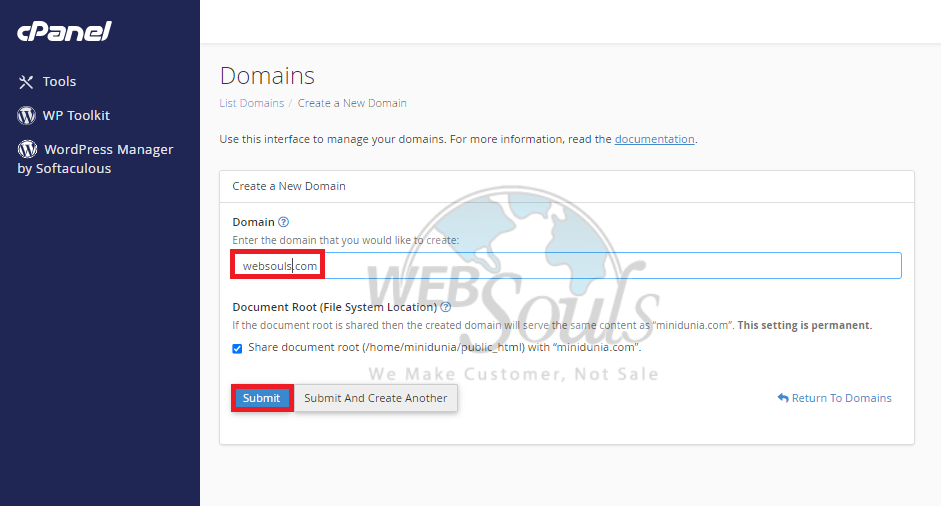
Step 4: Click Submit
After inputting the desired domain, you wish to create, proceed to the final step by clicking the "Submit" button to successfully complete the process.

All done!
If you have any questions, please get in touch with our team via the live support option available on our website, or visit our web hosting company office in Pakistan.

