Welcome to our comprehensive guide on installing WordPress through Softaculous!
If you're looking to set up your own website or blog, WordPress is a fantastic choice that offers flexibility, ease of use, and a wealth of features. And when it comes to installing WordPress, Softaculous is a powerful and user-friendly tool that simplifies the process to just a few clicks.
In this step-by-step guide, we'll walk you through the entire installation process using Softaculous. Get ready to bring your online presence to life as we show you how to effortlessly install WordPress through Softaculous:
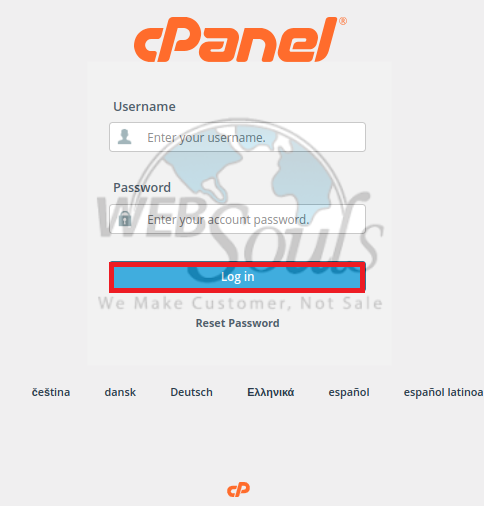
Step 1: Log in to cPanel
To gain access to cPanel, kindly provide your designated username and account password during the login process.

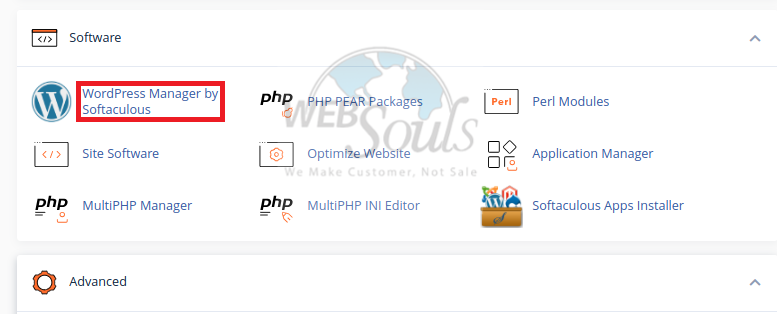
Step 2: Select WordPress Manager by Softaculus
Locate the WordPress Manager by Softaculus within the control panel, depicted in the accompanying screenshot. Select the mentioned item to be directed to the WordPress Manager by Softaculus panel.

Step 3: Press Install
Navigate to the WordPress page, where you should click the Install button provided. This will prompt the display of the installation form.

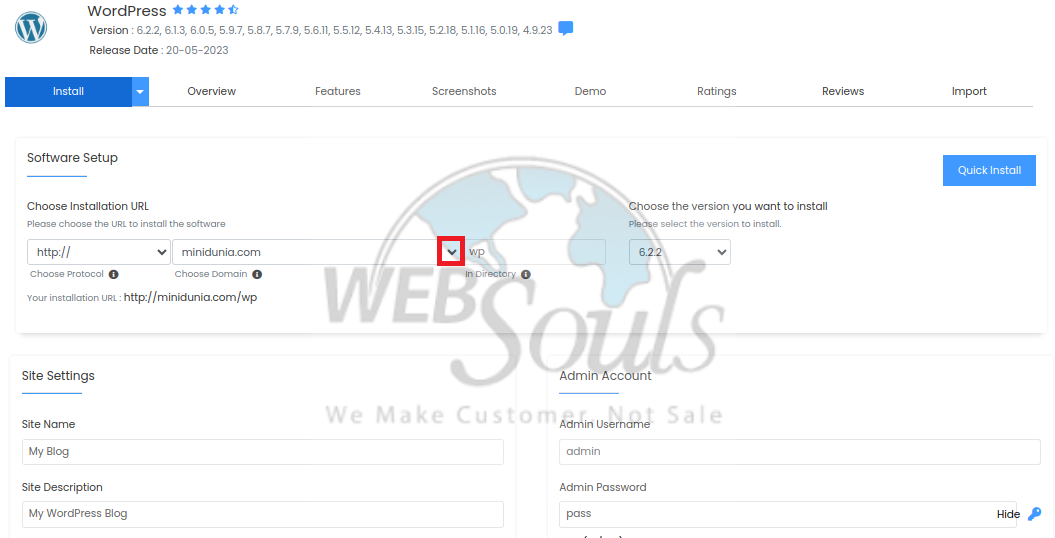
Step 4: Specify Details
Upon selecting the Install button, proceed to complete the form visible in the provided screenshot. The form requests numerous details, which come pre-populated for your convenience. Feel free to modify them if necessary, or proceed with the installation using the default values. You will also need to specify the desired domain and installation folder for WordPress.

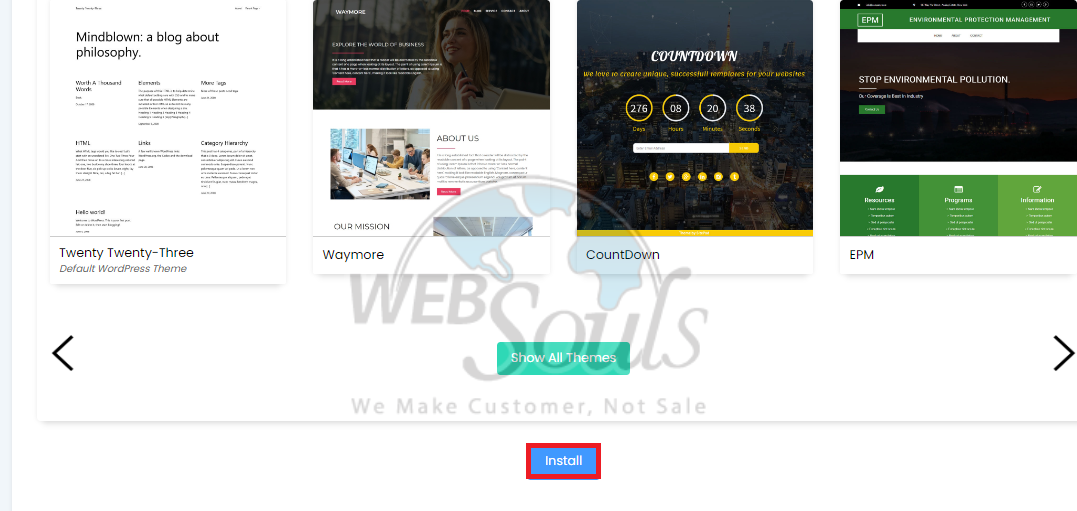
Step 5: Click Install
Simply click the "install" button located at the bottom of the page to complete the process.

If you have any questions, get in touch with our web hosting company's support team in Pakistan via the live chat option available on our website. Or, you can visit one of our offices in Lahore or Karachi.

