Whether you're a business owner, a marketer, or simply looking to streamline your communication efforts, setting up a mailing list is a key step in managing and connecting with your audience.
In this guide, we'll walk you through the straightforward process within cPanel, making it easy for you to establish an effective means of reaching your subscribers and keeping them engaged.
Let's get started on building a powerful communication channel for your messages:
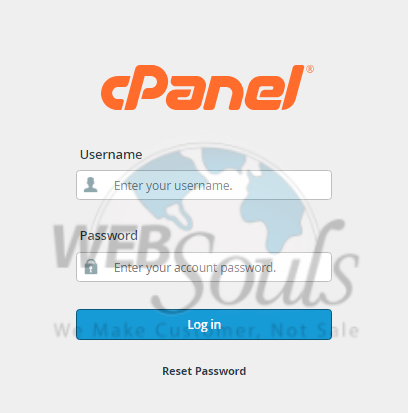
Step 1: Log in to cPanel
To create a fresh mailing list, access your cPanel account and log in.
Step 2: Select Mailing Lists
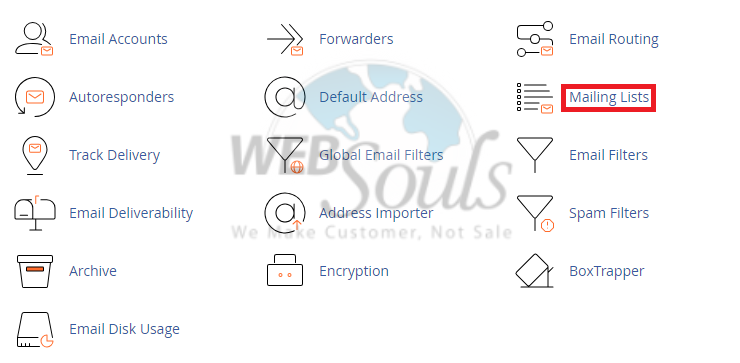
In the "Email" section, select the "Mailing Lists" link or icon.
Step 3: Click the Add Option
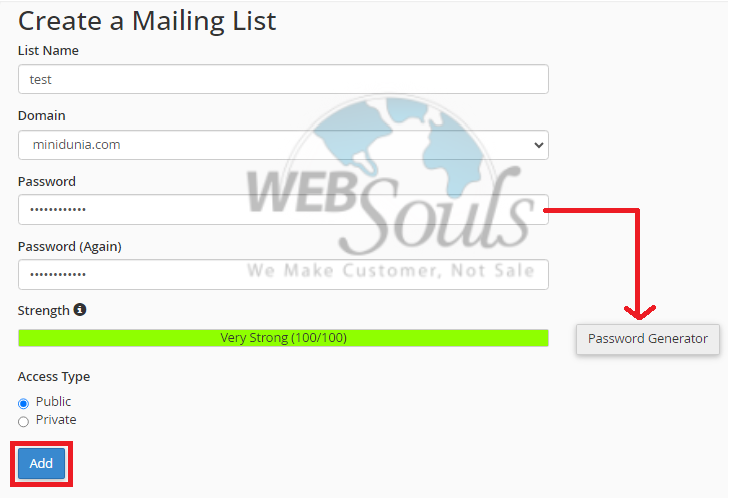
Specify a "List Name" as the email address username, avoiding spaces. Select either "Public" or "Private" as the "Access Type." Public lists allow anyone to join, while private lists require admin approval for additions. Click "Add" to complete the list creation.
Step 4: Press Manage
Please press the "Manage" link to access the Mailman list management page.

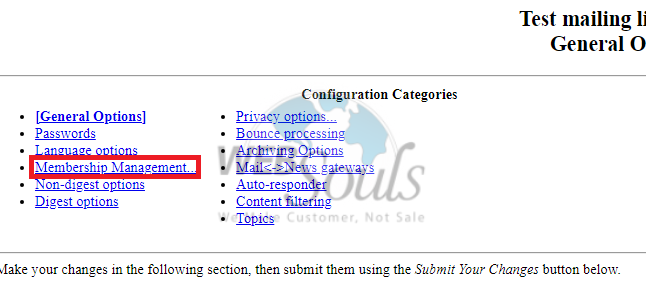
Step 5: Select Membership Management
Afterwards, choose Membership Management to continue.
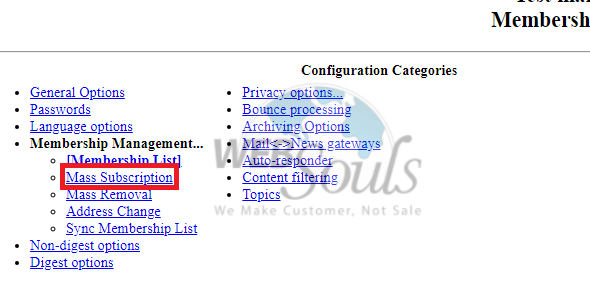
Step 6: Press the Mass Subscription Option
Opt for the Mass Subscription Feature to conveniently manage and streamline your subscription process on a larger scale.
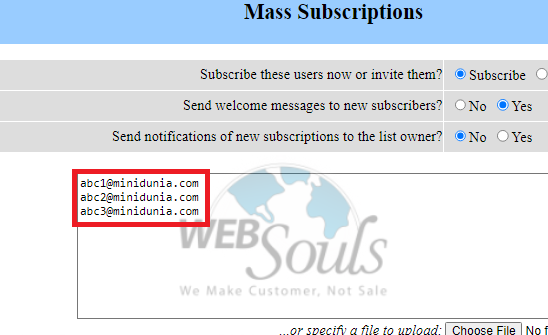
Step 7: Specify Upload File
Once you have chosen the necessary information, please proceed to indicate the specific file you wish to upload into the system.
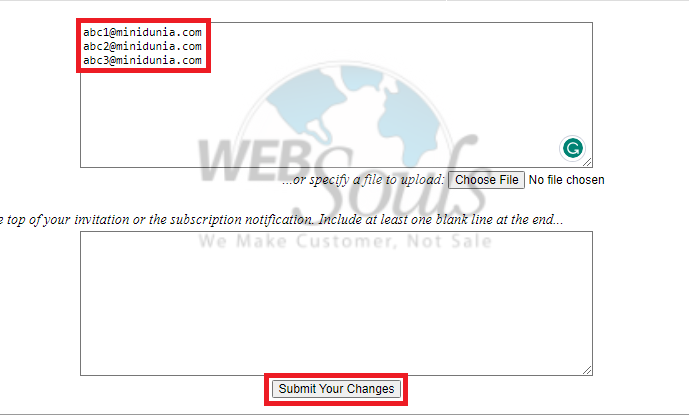
Step 8: Click Submit Your Changes
Please proceed by selecting the "Submit Your Changes" option to finalize and save the modifications you have made.
Step 9: Receive a Pop-Up Message
After successfully subscribing, a confirmation message will be displayed.
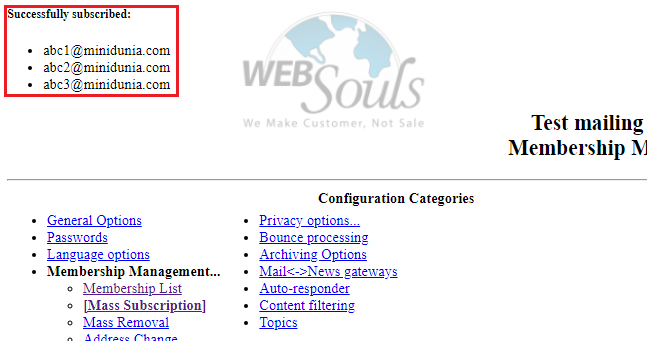
Step 10: Successfully Subscribed
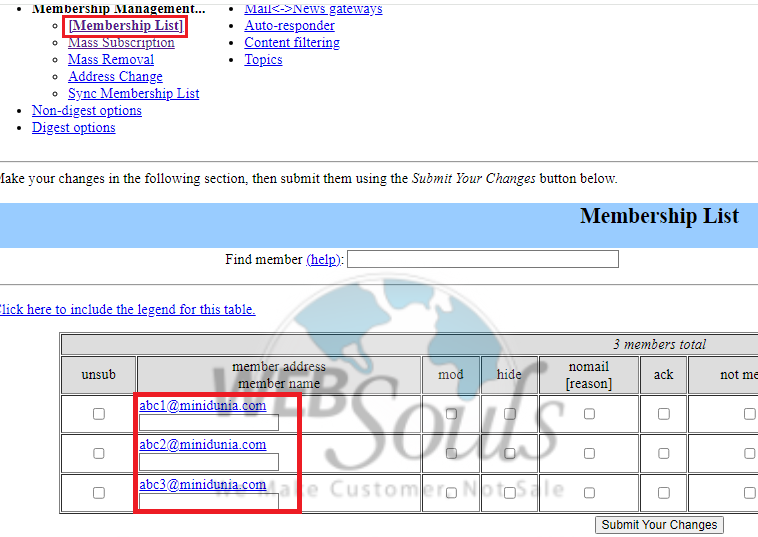
Proceed back to the Membership List once more, and you will find your subscriptions listed in the table.
For further details or queries, please get in touch with the customer support team at our web hosting company in Pakistan, or visit one of our offices in Lahore or Karachi.

