Welcome to our step-by-step guide on uploading web files to an add-on domain in cPanel!
Whether you're launching a new website or expanding your online presence, cPanel provides a user-friendly platform for managing your hosting environment.
In this tutorial, we'll walk you through the process of uploading your web files to an add-on domain, allowing you to seamlessly organize and host multiple websites within a single cPanel account.
Follow these easy steps to ensure a smooth and efficient file upload, making your web hosting experience hassle-free:
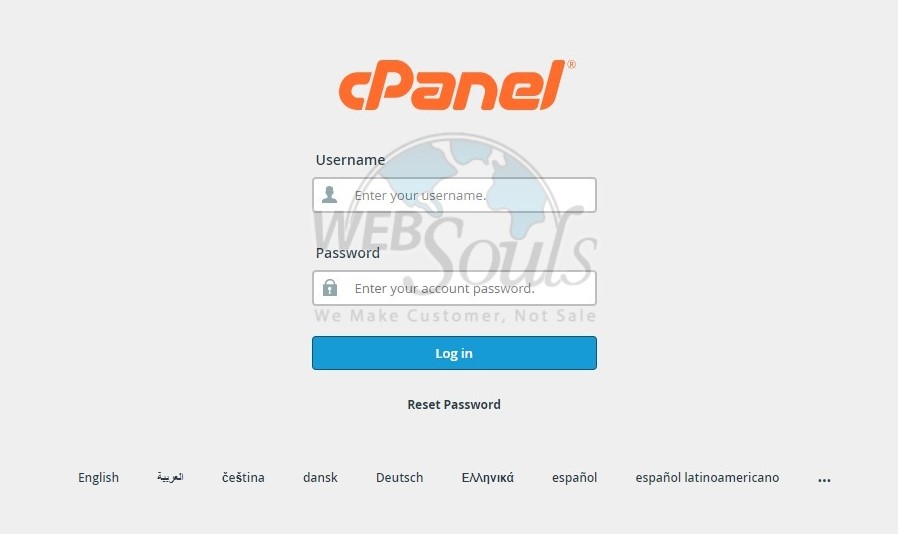
Step 1: Log in to cPanel
To gain access to cPanel, kindly provide your designated username and account password during the login process.
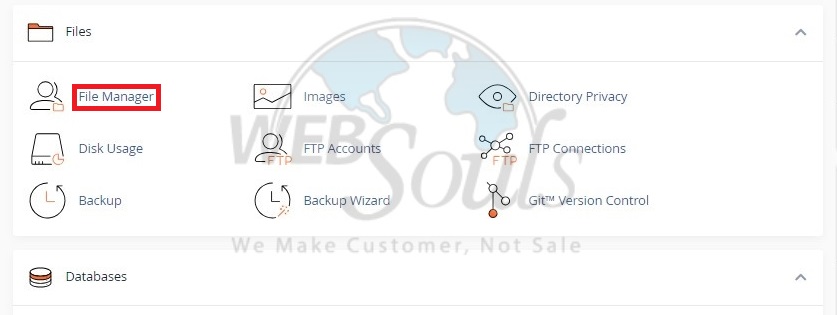
Step 2: Select File Manager
In the cPanel interface, go to the "Files" section and select "File Manager."
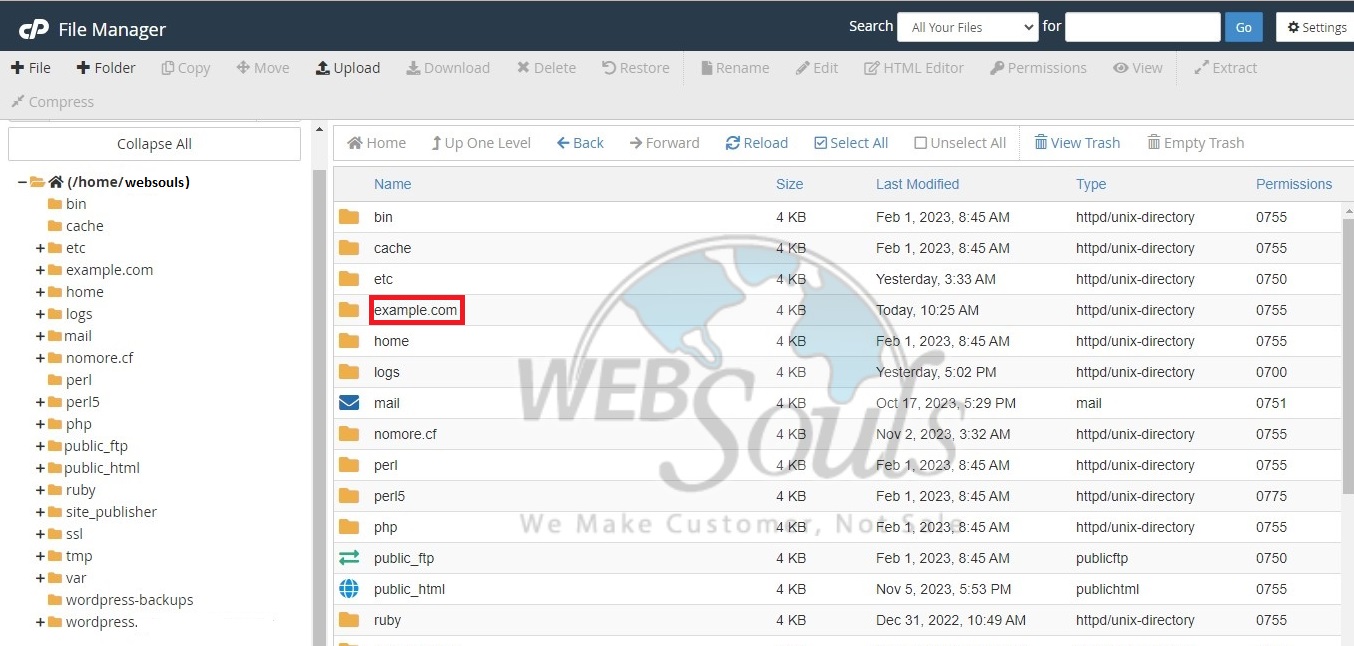
Step 3: Click example.com
In the File Manager interface, proceed by clicking twice on the folder named example.com.
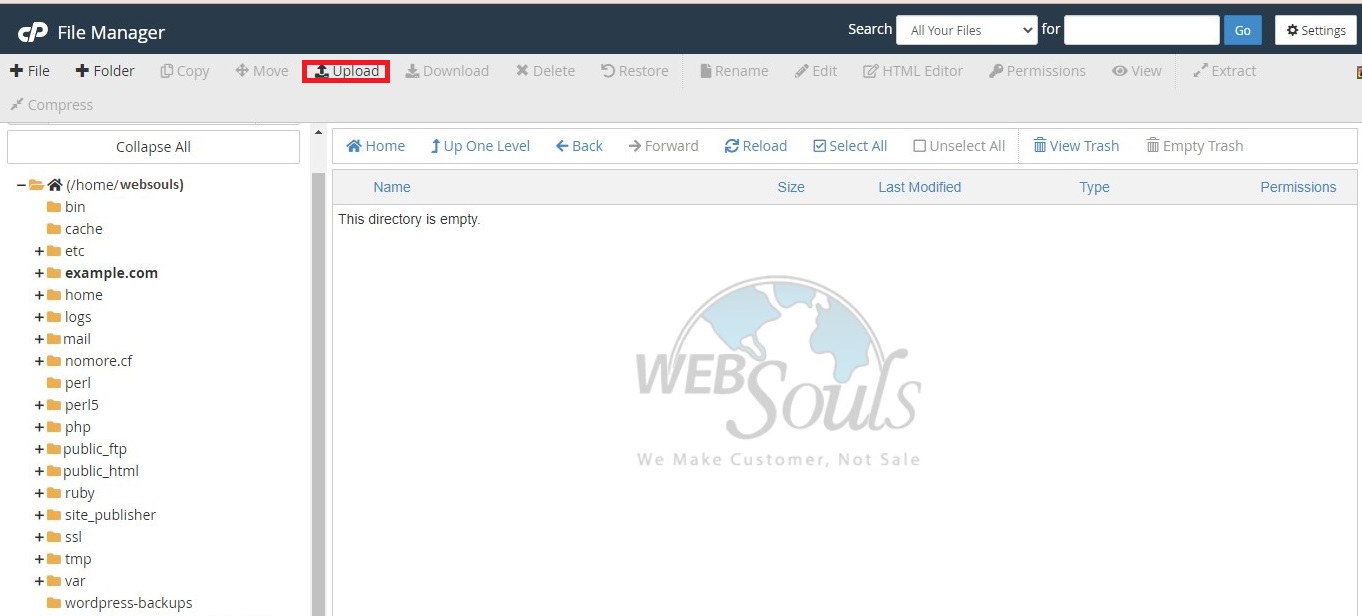
Step 4: Press the Upload Option
Utilize the Upload function to transfer your web files to the add-on domain folder seamlessly.
Step 5: Select File
Now, proceed to upload the particular WordPress file of your choice.
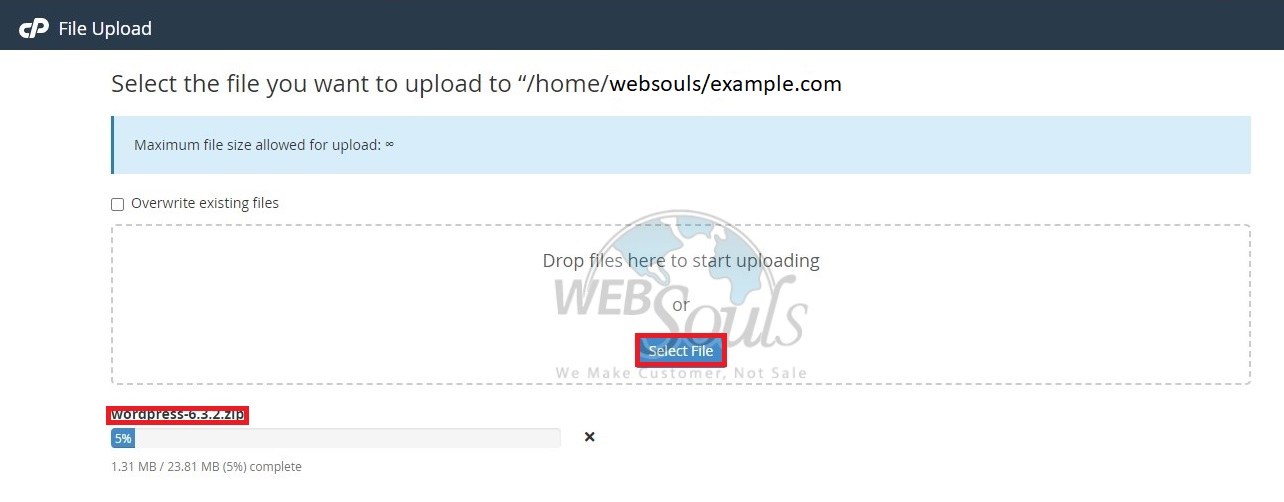
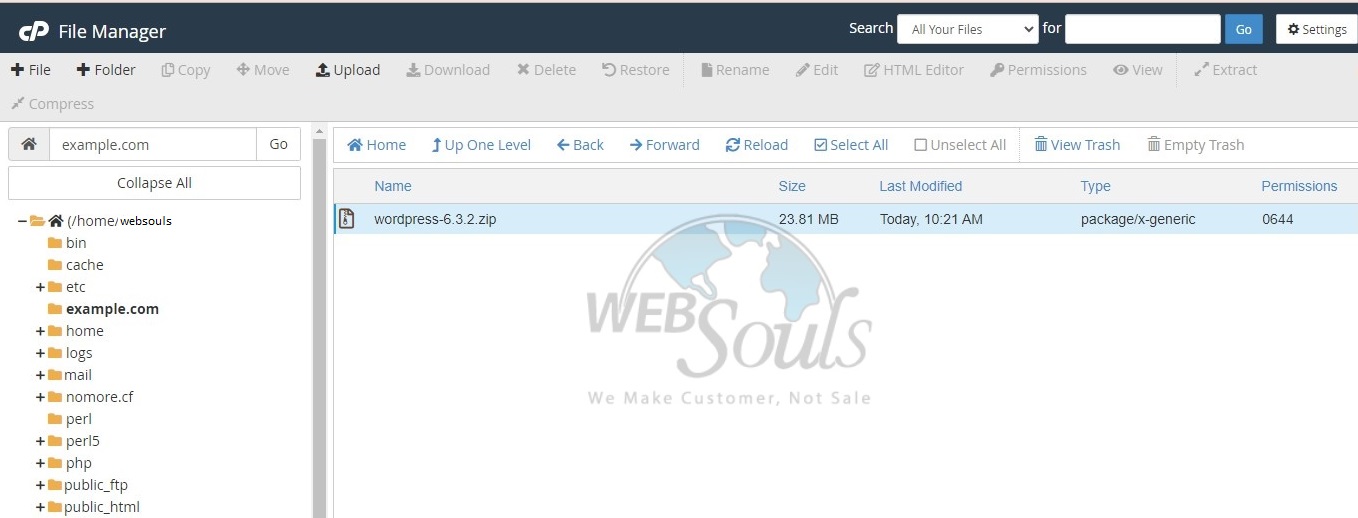
Step 6: Successfully Uploaded
Congratulations! You've effectively uploaded your preferred file to the add-on domain.
For further details or queries, please get in touch with the customer support team at our web hosting company in Pakistan, or visit one of our offices in Lahore or Karachi.

