Welcome to our step-by-step guide on SSL verification via email – a crucial process to ensure the security and trustworthiness of your website.
SSL (Secure Socket Layer) certification is essential for encrypting the data transmitted between your web server and your users' browsers, safeguarding sensitive information from potential threats.
In this guide, we will walk you through the simple yet vital steps involved in verifying your SSL certificate via email.
By the end of this tutorial, you'll have a secure and authenticated website, instilling confidence in your visitors and providing a safe online experience:
Step 1: Log In to cPanel
Access your cPanel by logging in with the credentials associated with your domain.

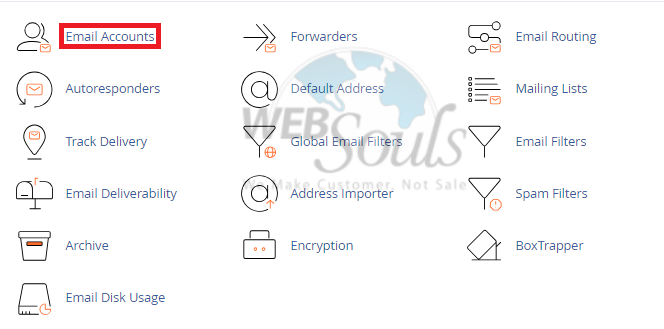
Step 2: Click Email Accounts
Now, click the "Email Accounts" option.
Step 3: Select Create
Next, choose the "Create" option located above the list.

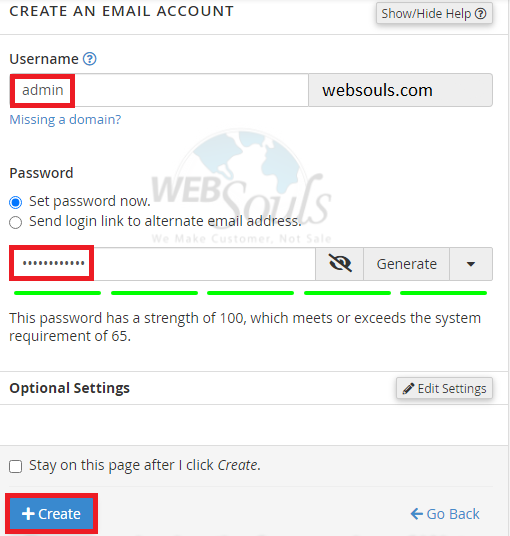
Step 4: Insert Required Information
Enter your username, choose a password, and proceed to click on the "Create" button located at the bottom of the page.
Step 5: Press the Check Email Option
Now, next to the manage option on the menu, press the option labeled "Check Email."

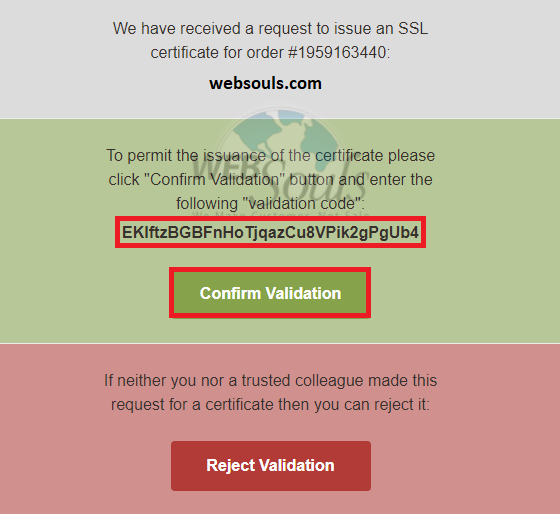
Step 6: Click Confirm Validation
Input the specified validation code and select "Confirm Validation."
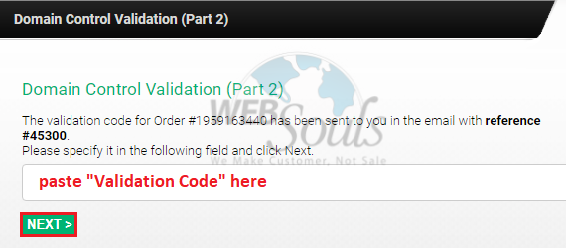
Step 7: Select Next
Next, in the Domain Control Validation (Part 2) section, insert your validation code and proceed by clicking the next button.
Step 8: Process Completion
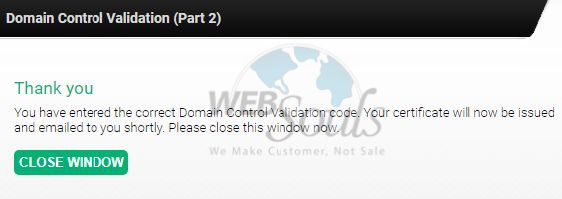
After successfully entering the validation code, a pop-up message will appear, confirming the validity of the code. Subsequently, the certificate will be sent to your email shortly. You may now close the window.
For further details or queries, please get in touch with the customer support team at our web hosting company in Pakistan, or visit one of our offices in Lahore or Karachi.

