Welcome to our step-by-step guide on configuring BoxTrapper settings, a powerful tool designed to manage and filter incoming emails effectively.
In this comprehensive tutorial, we will walk you through the process of setting up BoxTrapper, enabling you to control the influx of emails, minimize spam, and ensure a streamlined and secure communication experience.
Whether you're new to BoxTrapper or looking to optimize its functionalities, this guide will equip you with the essential knowledge and skills to harness the full potential of this email management solution:
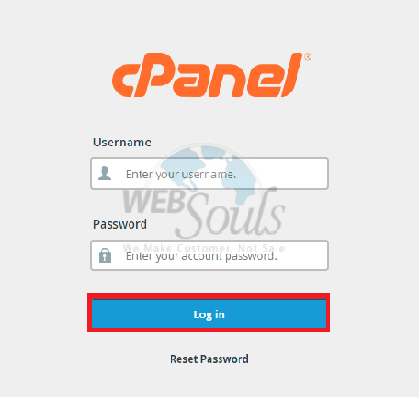
Step 1: Log in to cPanel
To gain access to cPanel, kindly provide your designated username and account password during the login process.
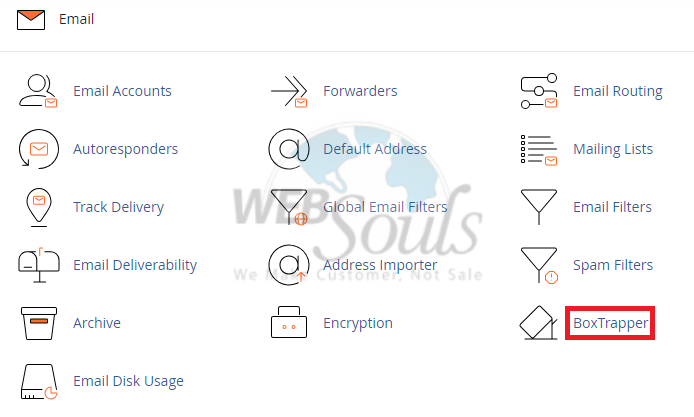
Step 2: Click BoxTrapper
Please access the BoxTrapper icon in the Email section by clicking on it.
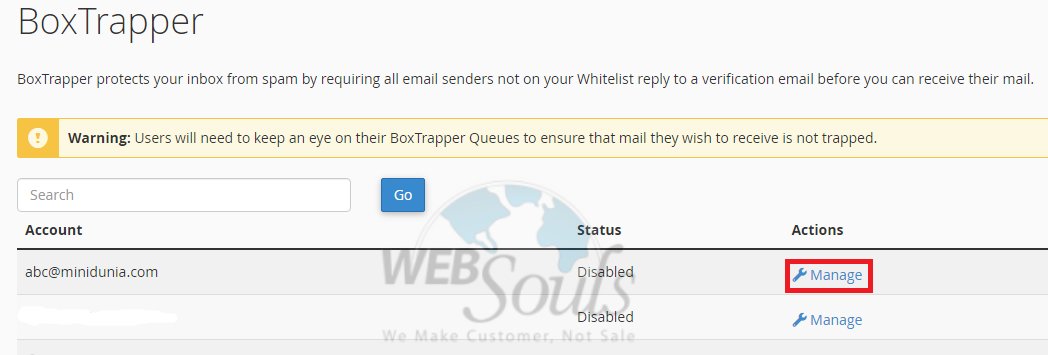
Step 3: Select Manage
You'll find a list of all your email accounts. Simply click the "Manage" button beside the email address you wish to configure.
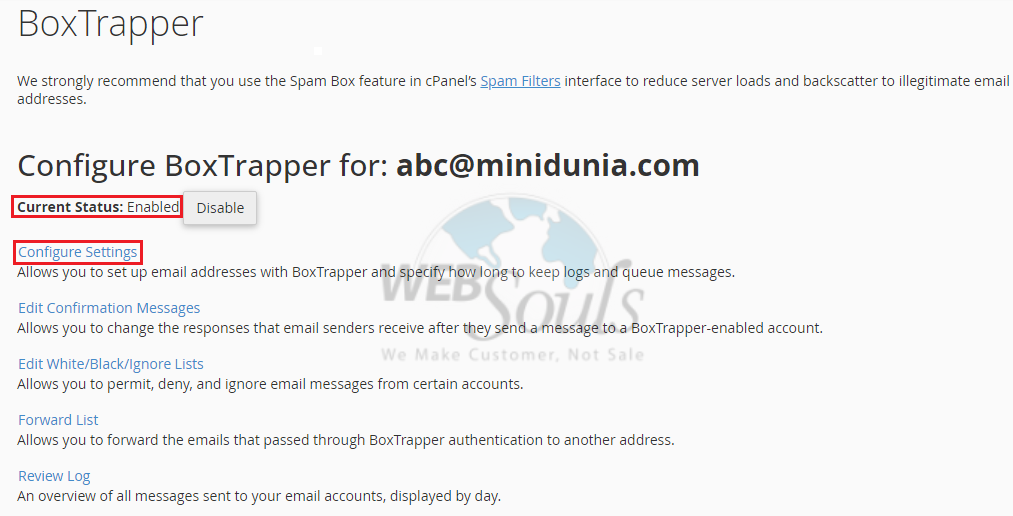
Step 4: Press the Configure Settings Option
Please access the 'Configure Settings' link located within the BoxTrapper configuration page.
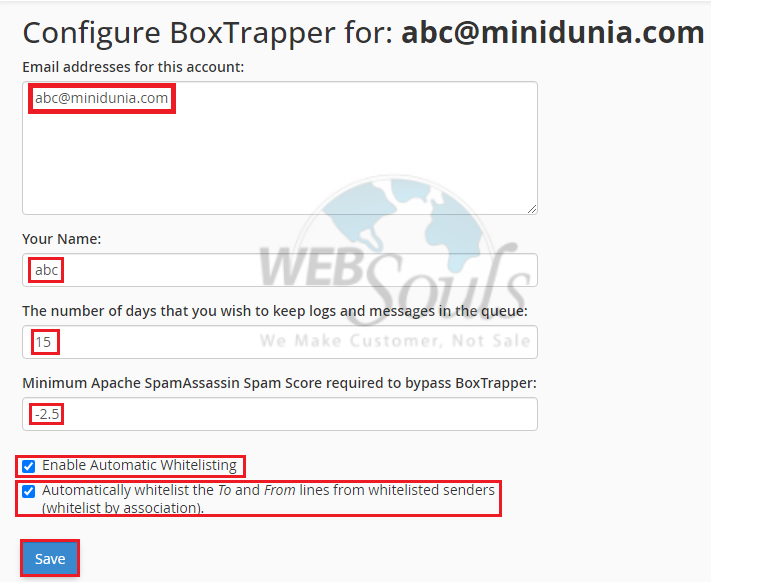
Step 5: Press the Save Option
In the "Email addresses for this account" field, list any forwarding addresses separated by commas. Provide your name in the "Your Name" field. Specify the duration for keeping logs and messages in the queue. The default duration is 15 days. Adjust the "Minimum Apache SpamAssassin Spam Score" to bypass BoxTrapper. Activate the "Enable Automatic Whitelisting" option. Choose to automatically whitelist the To and From lines from whitelisted senders. Finally, click on the Save button.
Step 6: Completion Notification
Completion occurs upon the appearance of the notification that reads, "The system successfully configured BoxTrapper for the (specific account)."

For any further questions, please contact our customer support via the live chat option available on our website, or visit our office for web hosting in Lahore.

