When you need to setup your email on any mail client, you must need to know specific information in order configure the account.
The most basic information you'll need to know is:
Username
Password
Mail server name
You can then setup your email user further by setting it up as an IMAP or POP address and enabling secure ports.
The following procedure will help you to configure your business web hosting emails on gmail app.
Step-1:
Open Gmail App in your Andriod phone.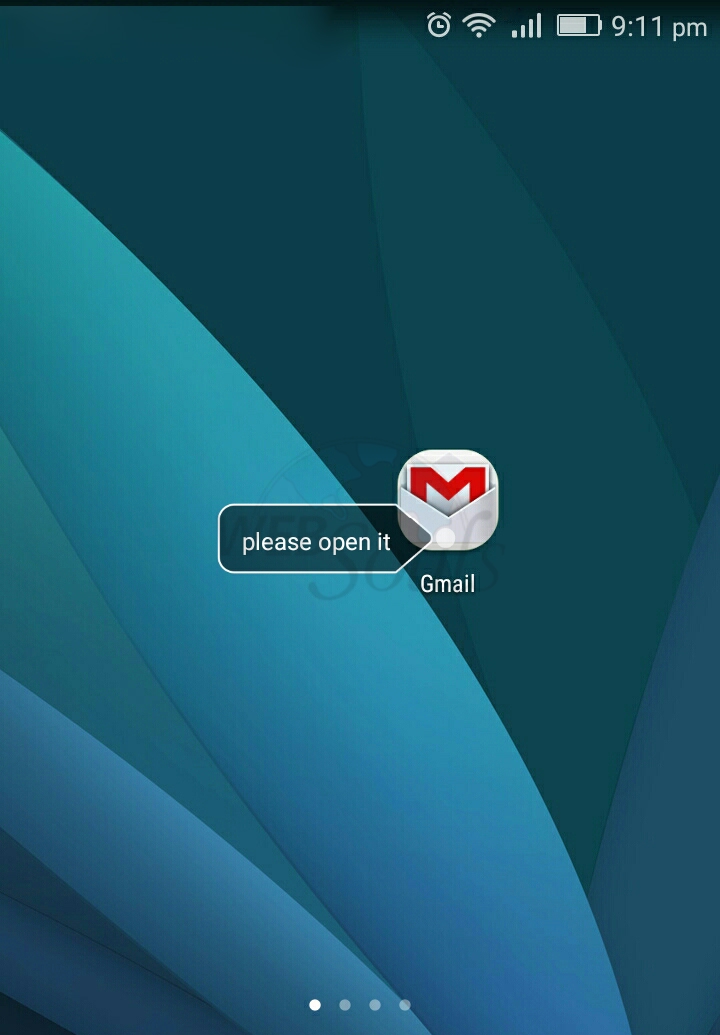
Step-2:
In order to configure it manually please tap skip.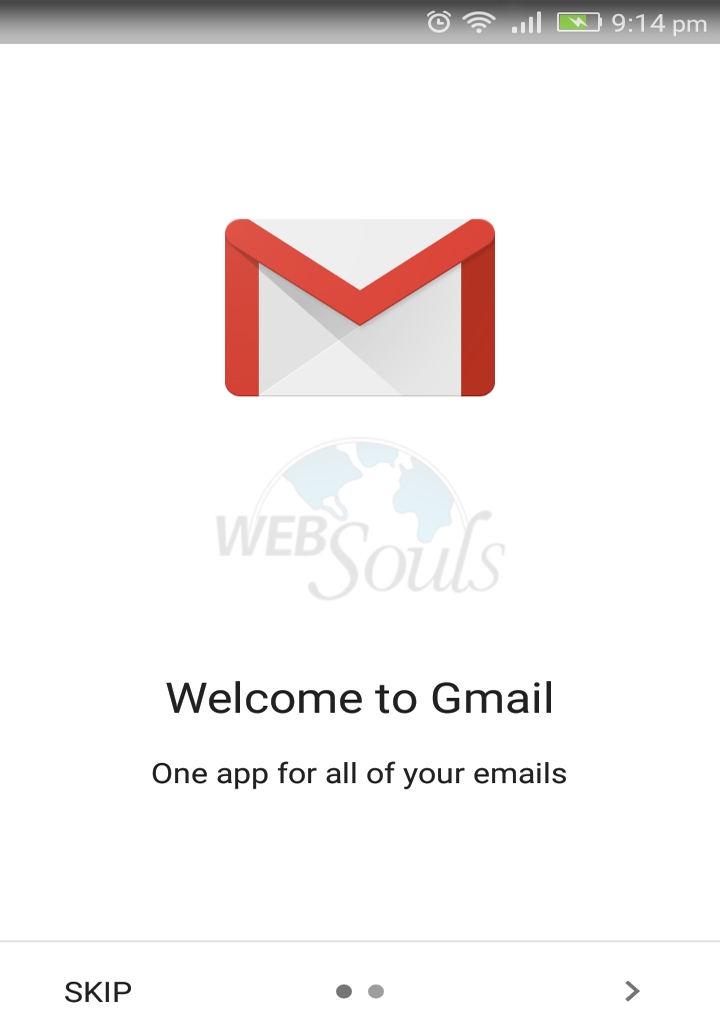
Step-3:
Tap on +Add an email address :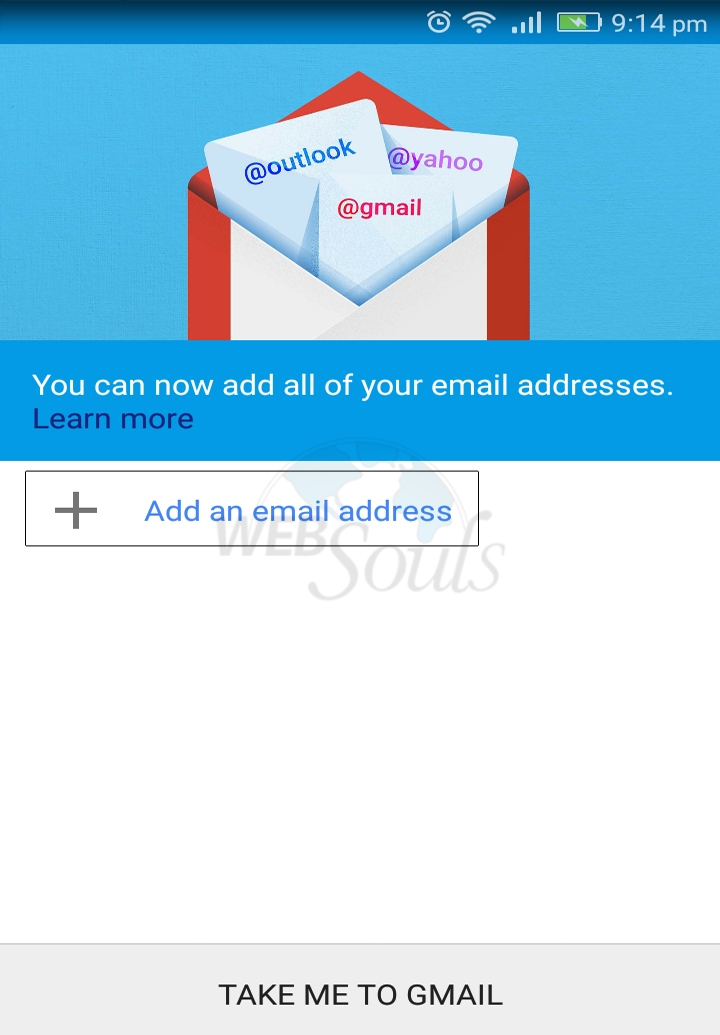
Step-4:
On Set up email screen, Tap on Personal (IMAP/POP) and then Tap next.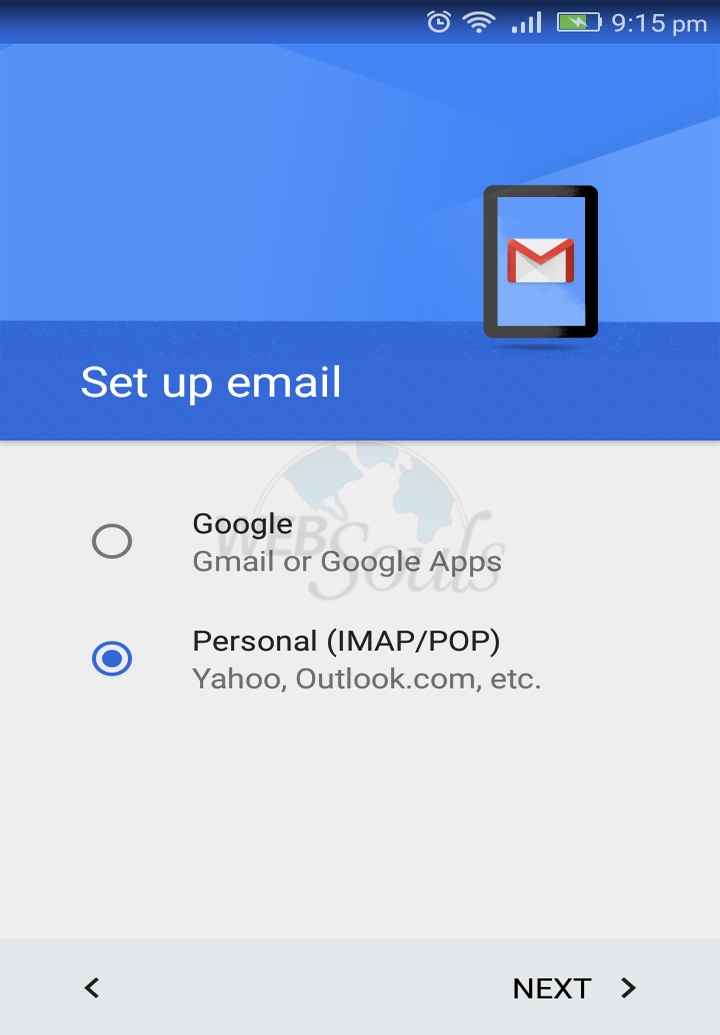
Step-5:
Enter your email address, tap manual setup and tap next.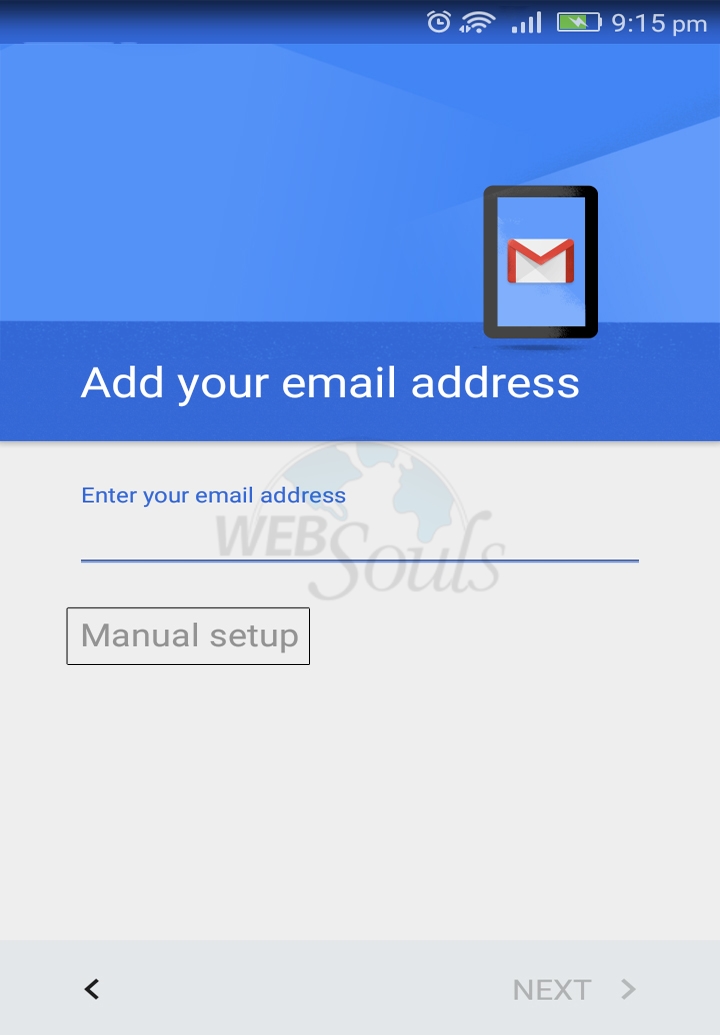
Step-6:
Select the account type which you want to set up, In this example we will select POP3. (POP3 will not retain backup on server in default but IMAP will retain its backup by default).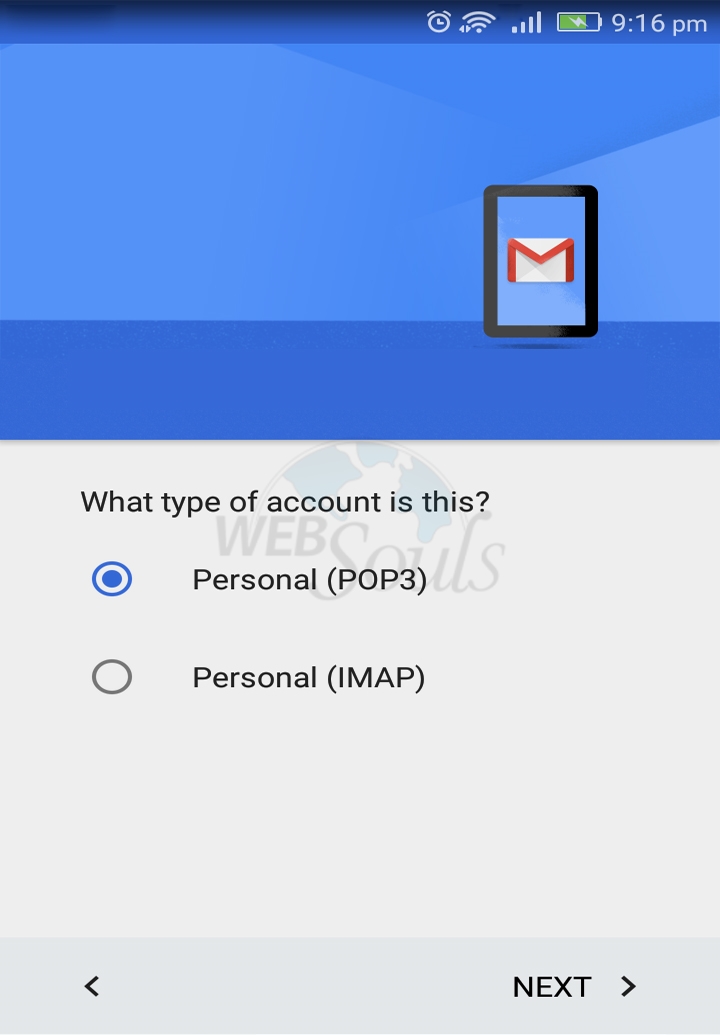
Step-7:
Please enter the details for incoming mail server as shown in below Image.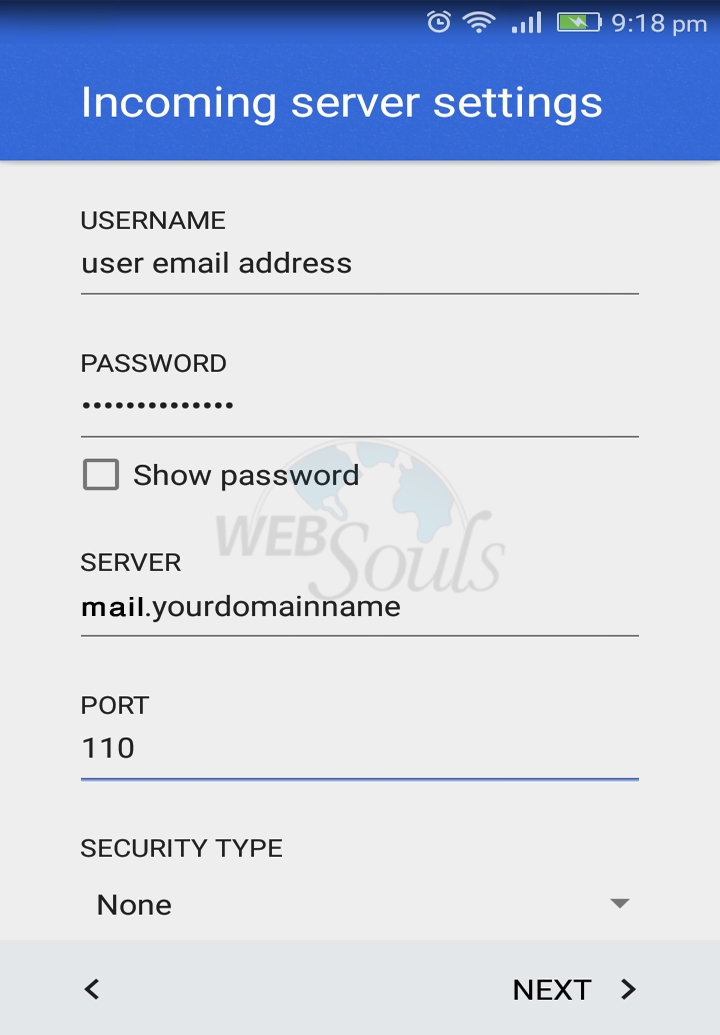
Step-8:
Please enter the details for outgoing mail server as shown in below Image.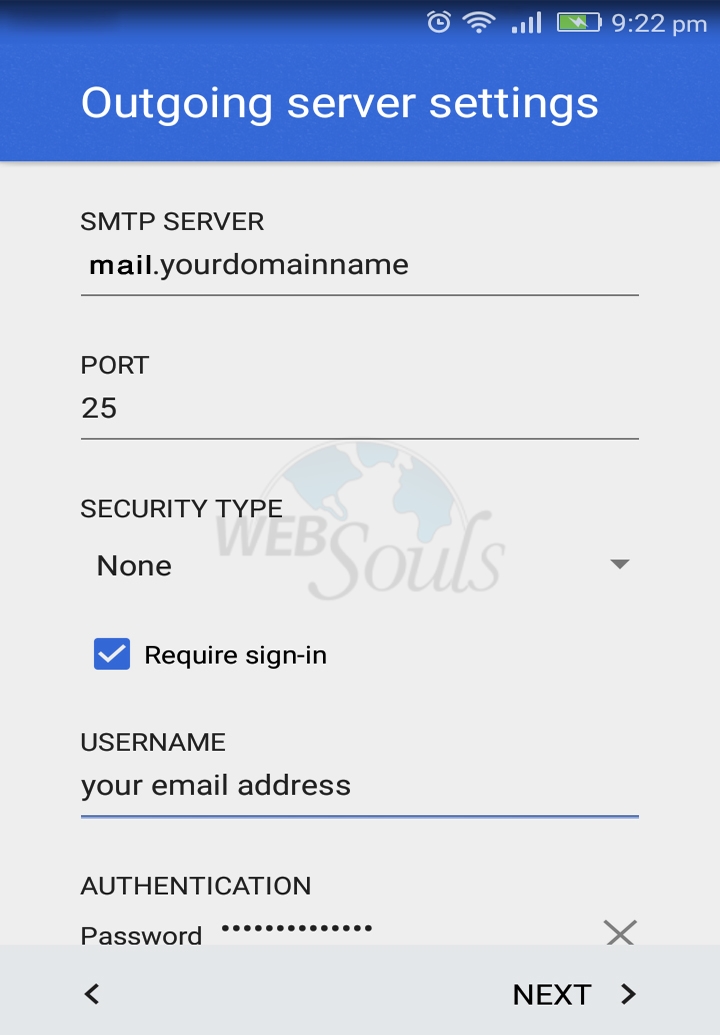
Step-9:
Select your desired synchronization frequency and tap next.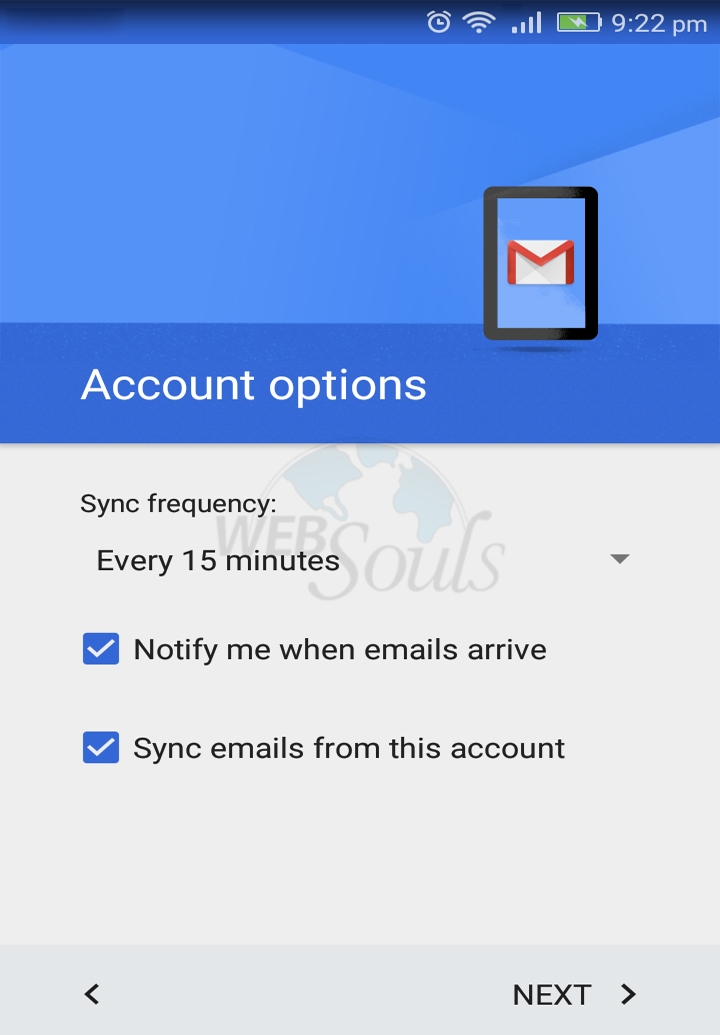
Step-10:
Enter your display name or account name and email address and tap next to complete setup.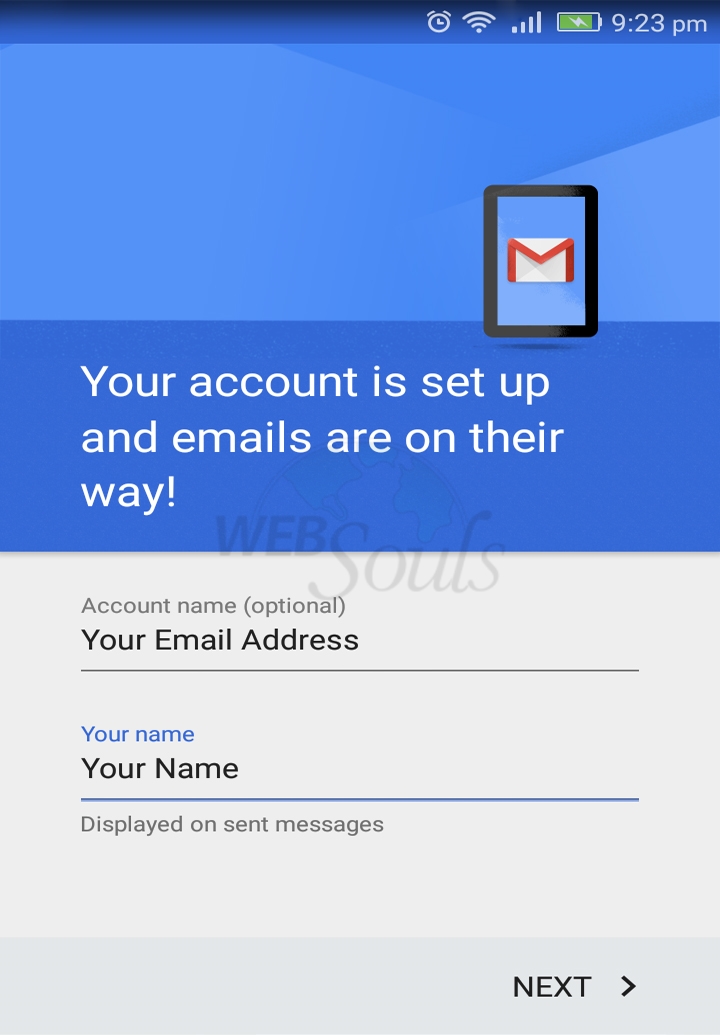
Hope this article was beneficial for you. If you like it please give us a thumbs up.
Technical Support Team.
WebSouls.

