If you have limited experience in website management or are unfamiliar with cPanel, the task of creating a subdomain can appear overwhelming. Nevertheless, there's no need to worry, as we've prepared a comprehensive tutorial to assist you effortlessly through the process.
Subdomains serve as a valuable tool for organizing and enhancing your website, enabling you to establish separate sections or applications without requiring an additional domain name.
Let's embark on this journey and discover how to create a subdomain within the user-friendly cPanel Jupiter theme, empowering you to elevate your website to greater heights:
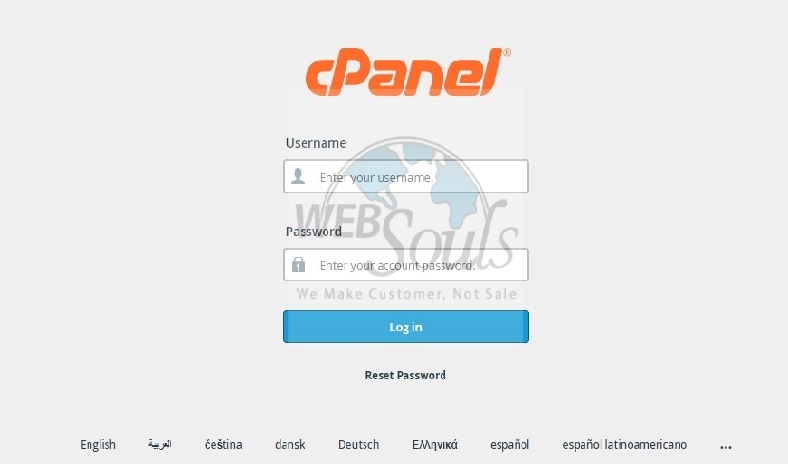
Step 1: Log in to cPanel
To gain access to cPanel, kindly provide your designated username and account password provided by your web hosting company.

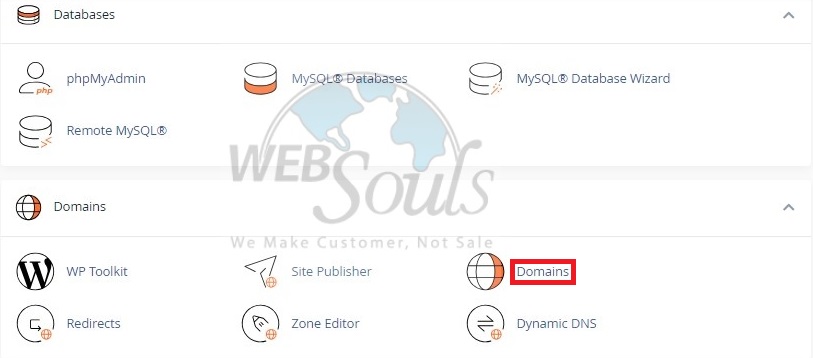
Step 2: Select Domains
In the designated section labeled "Domains," kindly choose the option "Domains" to advance to the subsequent steps.

Step 3: Click Create a New Domain
Next, proceed by clicking on the button labeled "Create A New Domain" to continue.

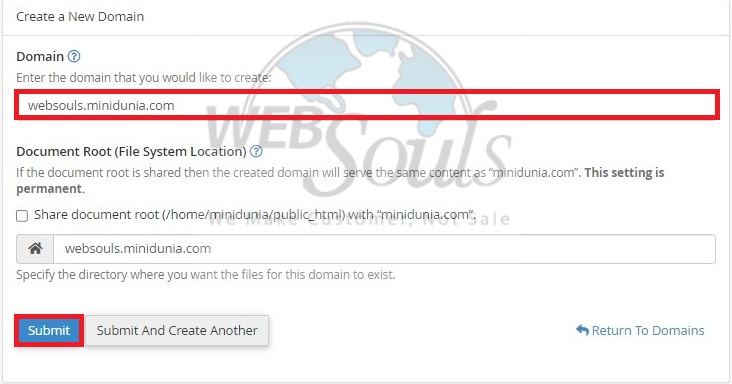
Step 4: Press the Submit Option
To add a subdomain, begin by entering its name in the designated text box under "Domain." Then, make sure to unselect the option that reads "Share document root (/home/username/public_html) with 'domain.tld'." Instead, specify the desired directory where you wish the files for this subdomain to reside. Lastly, complete the process by clicking on the "Submit" button to implement the changes successfully.

In case of any confusion, you can visit one of our offices for web hosting in Lahore or Karachi. Or, you may get in touch with our support team via the live chat option on our website.

