Welcome to the step-by-step guide on enabling Email Archiving in cPanel!
Are you looking to streamline your email storage and ensure easy access to past communications? Email archiving is a fantastic solution, allowing you to organize and retain emails efficiently within cPanel.
Whether it's for compliance, record-keeping, or just better email management, this guide will walk you through the straightforward process of enabling Email Archiving in cPanel.
Let's get started on optimizing your email storage:
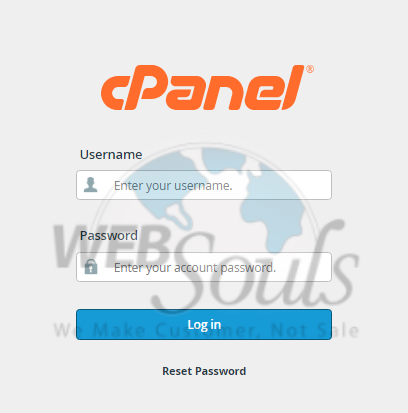
Step 1: Log in to cPanel
Access your cPanel by logging in with the credentials associated with your domain.

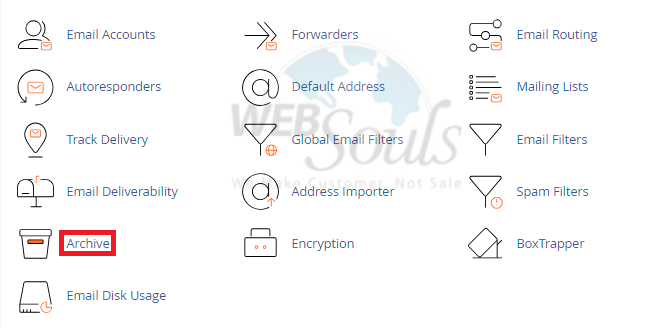
Step 2: Press Archive
On the homepage, locate the Archive option within the Email section.

Step 3: Select Apply to All My Domains
You can now choose to enable archiving for incoming and/or outgoing email messages. Apply this setting to all your associated domains by clicking the "Apply to All My Domains" button.

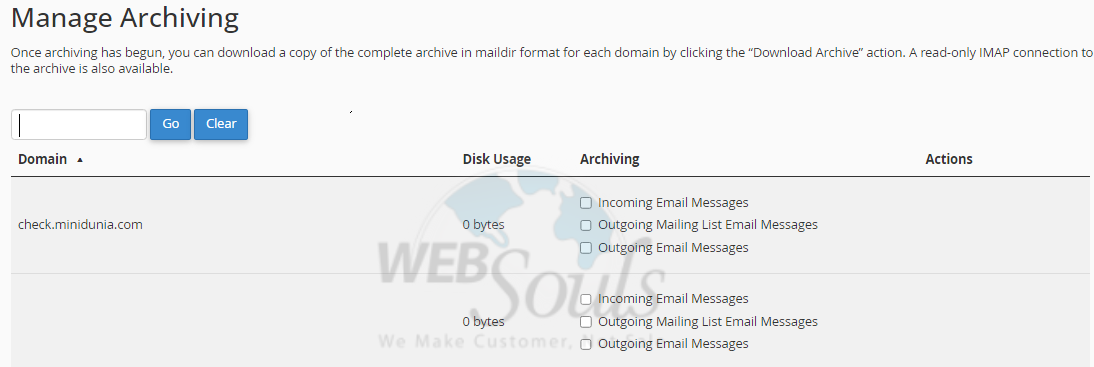
Step 4: Navigate to Manage Archiving
If you prefer not to use a default archiving setting, navigate to the Manage Archiving section. There, choose the specific domain mailbox for archiving setup.

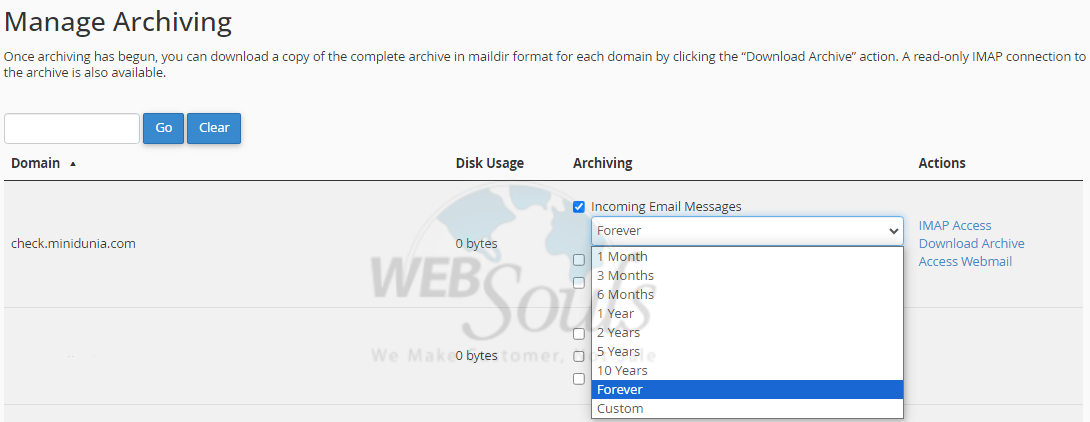
Step 5: Click the Forever Option
After selecting your desired mailbox options, choose the archival duration for the messages and then finalize by selecting the "Forever" option.

In case of any confusion, you can visit one of our offices for web hosting in Lahore or Karachi. Or, you may get in touch with our support team via the live chat option on our website.

