Backing up your website data isn’t just useful, but rather a necessary step for all users since backups are always a relief, and of immense assistance in case of accidental data loss.
Wondering how you can generate/download a full backup of your website?
Well, the quickest and easiest way to do it is by using cPanel’s built-in backup tool.
Curious to learn the complete process?
Keep reading!

Why do You Need a Backup?
Your website is never too safe from accidental mishaps, such as hacking attempts, crashed hard drives, human errors, and other unfortunate troubles.
In such cases, you can end up with corrupted files, or even complete data loss, and that’s something all web owners dread, right?
So, to stop the nightmare from turning into a frightful truth, most providers of Web Hosting in Pakistan – or anywhere else around the globe, for that matter – would recommend you to download a full backup of your website.
Here’s how you can generate and download a full website backup through c-Panel:
Step 1: Login to Your c-Panel Account
Step 2: Click the “Backup Wizard” icon in “Files” Section
Step 3: Click the “Backup” Button
Step 4: Click the “Full Backup” Button
Step 5: Click on “Generate Backup”
Step 6: Click the “Files Manager” Icon in the “Files” Section
Step 7: Move the Backup File to “public_html”
Step 8: Click on the “Change Permission” Option
Step 9: Download the File from the Browser
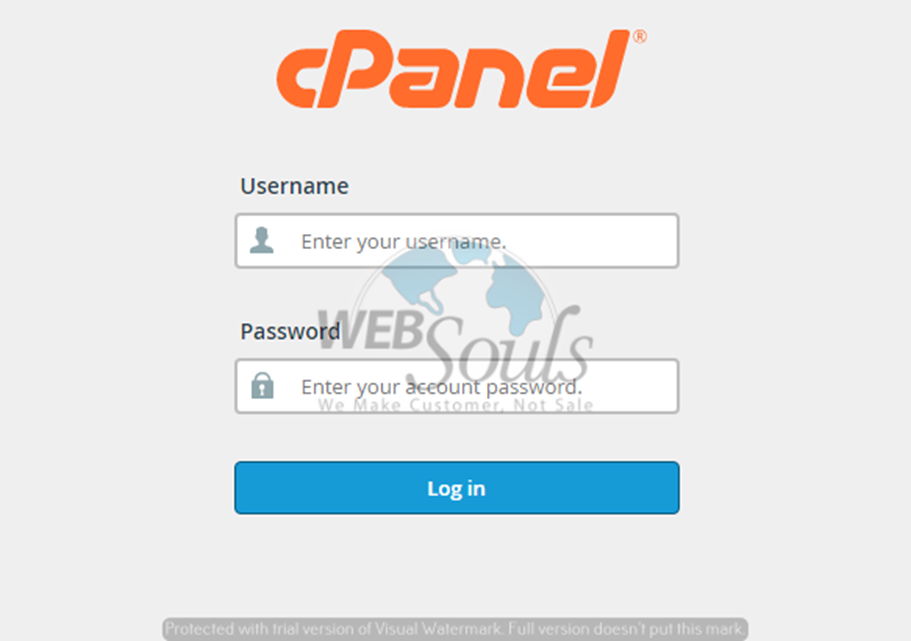
Step 1: Login to Your c-Panel Account
First of all, in order to generate/download the backup data of your website, you’d need to login to your cPanel account.
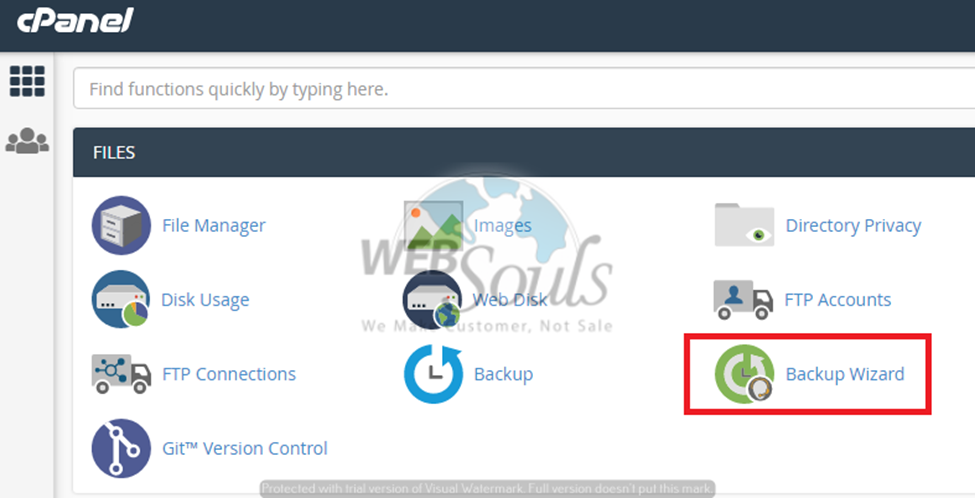
Step 2: Click the “Backup Wizard” icon in “Files” Section
After you’ve successfully logged in to your c-Panel, go to the “Files” section and click on the “Backup Wizard” option – cPanel’s built-in tool for performing backups.
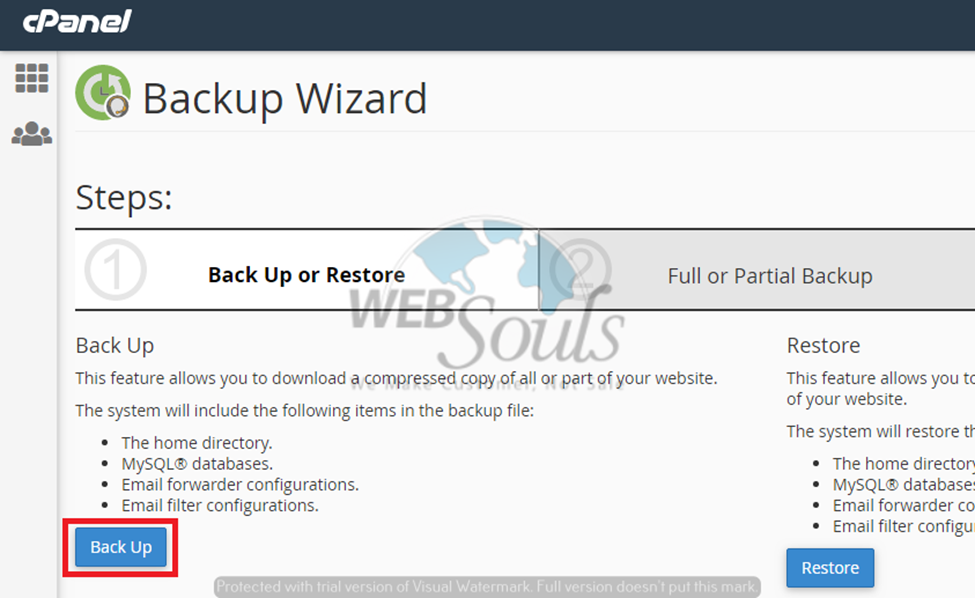
Step 3: Click the “Backup” Button
Now, a Backup screen would appear. Here, you’d need to click the “Backup” button, as shown in the image below:
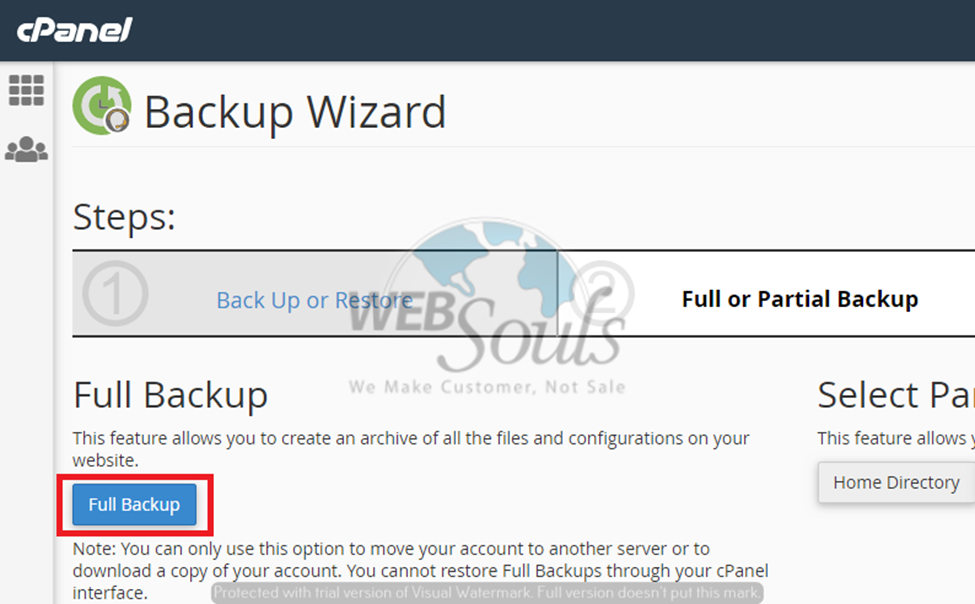
Step 4: Click the “Full Backup” Button
Next up, click the “Full Backup” button.
Step 5: Click on “Generate Backup”
After the destination has been selected, click on the “Generate Backup” button. The complete backup of your website would be automatically generated by cPanel.
Step 6: Click the “Files Manager” Icon in the “Files” Section
Now that the backup of your website has been successfully generated, the next step is to download the backup.
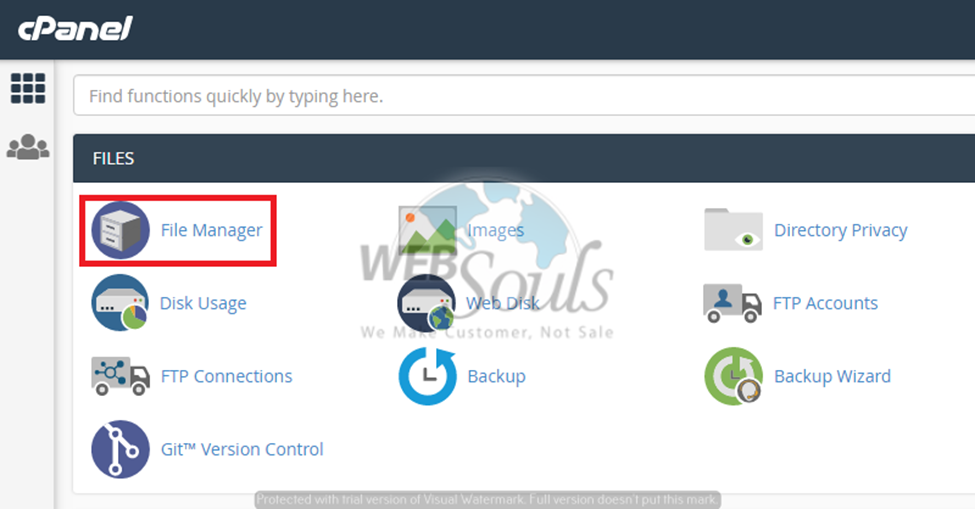
For that, while you’re still logged in to your c-Panel account, go to the “Files” section and click on the “Files Manager” icon.
Step 7: Move the Backup File to “public_html”
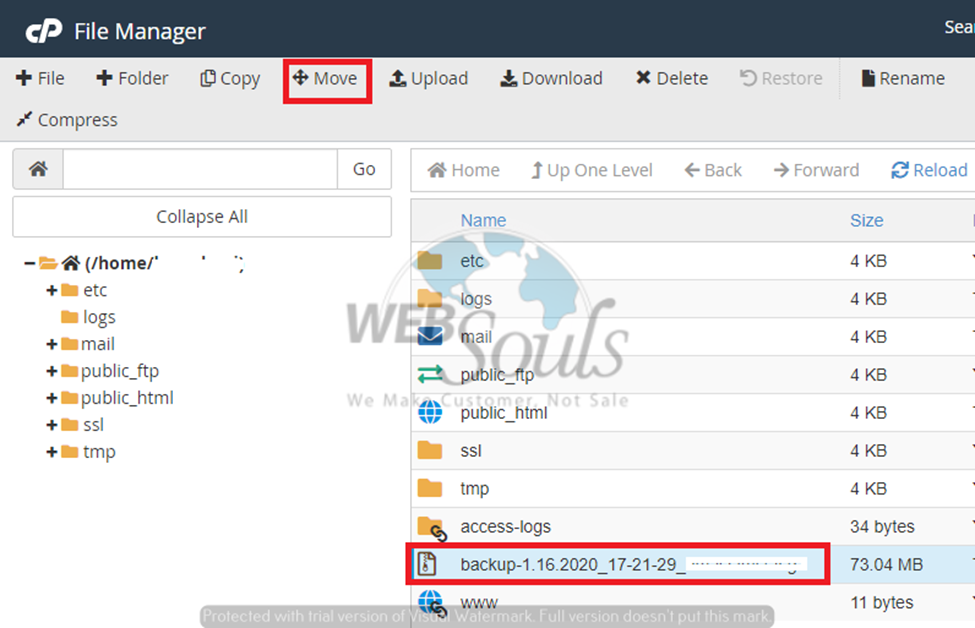
After this, before you can download the backup, you’d need to move the backup file to “public_html”.
Step 8: Click on the “Change Permission” Option
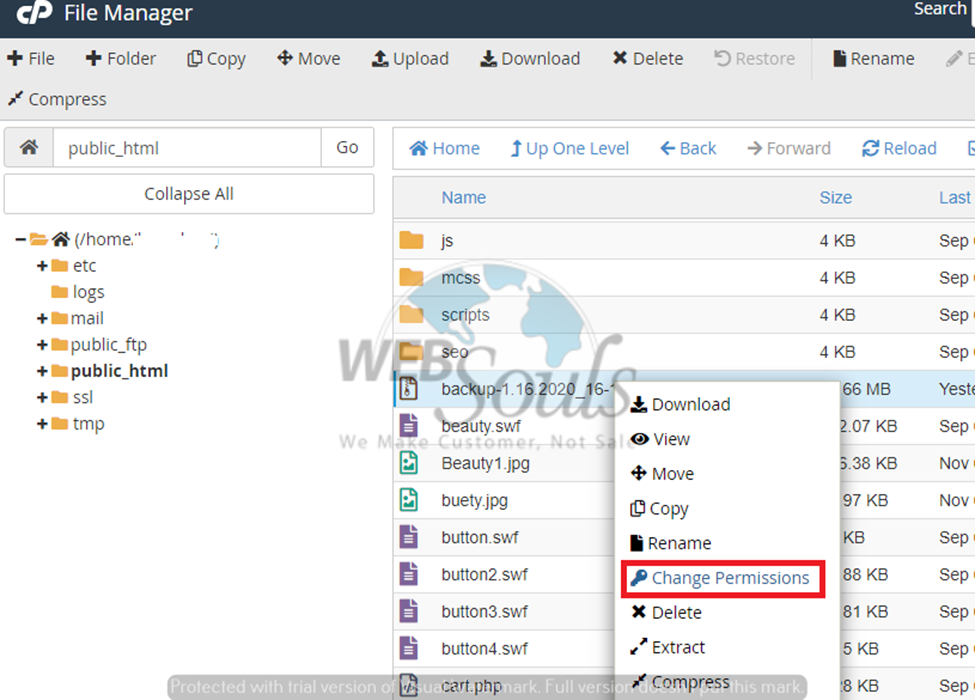
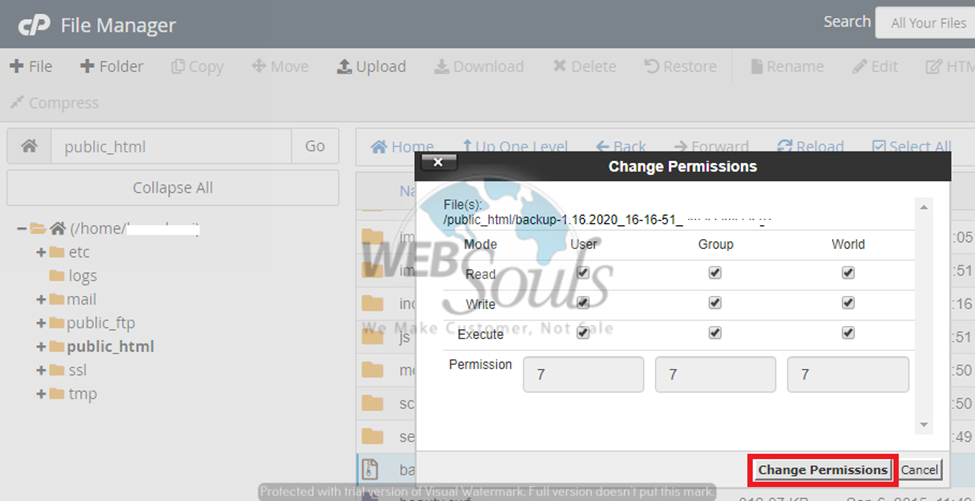
Further, to make the file easily downloadable directly from the browser, change permission to “777”. Here’s how you can do this:
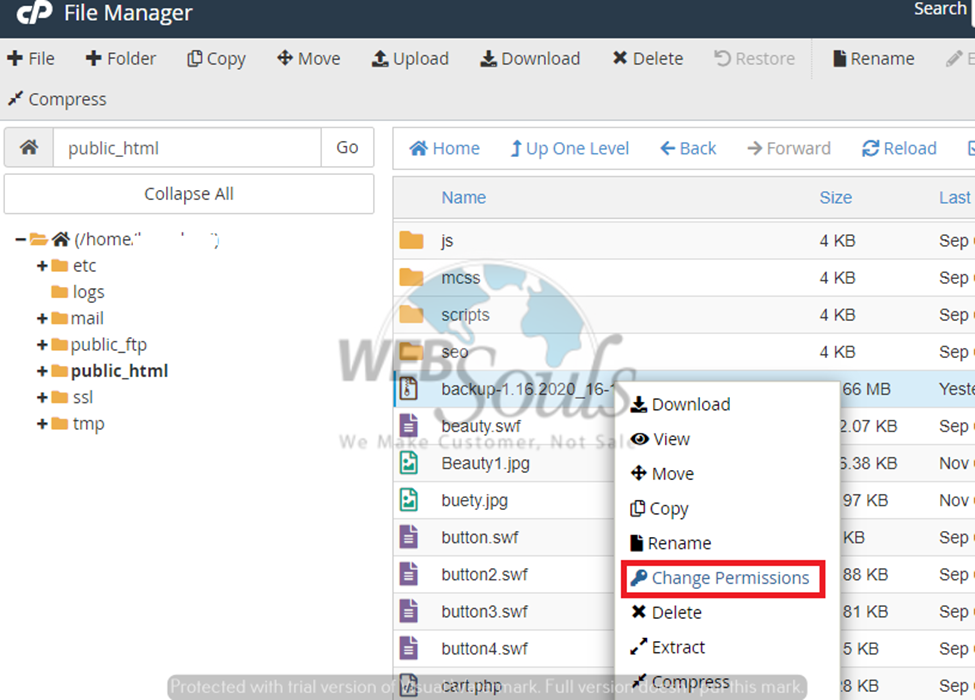
After setting the “Permission” to “777”, click on the “Change Permissions” button.
Step 9: Download the File from the Browser
Congratulations! Your work here is almost done.
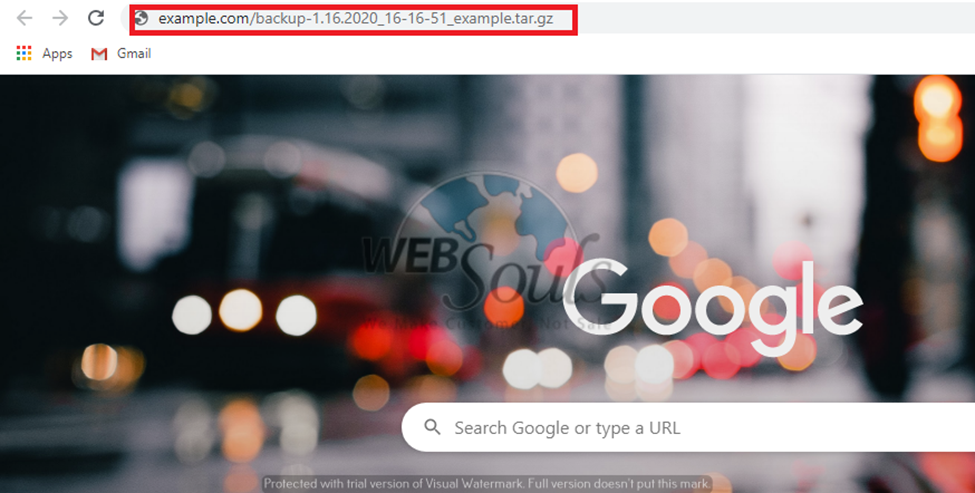
Now you can easily download the backup of your website directly from the browser.
Looking for a leading company that provides the services of Web Hosting in Karachi? Simply search Google for Website Hosting in Pakistan and choose the one that suits you!

