Have you ever wondered how to leverage the power of Cloudflare's robust DNS management while integrating it with your Shopify store? Are you ready to take control of your online presence and ensure a smooth shopping experience for your customers?
Then let's dive into this comprehensive guide that will equip you with all the necessary knowledge and steps required to point your domain to Shopify on Cloudflare:
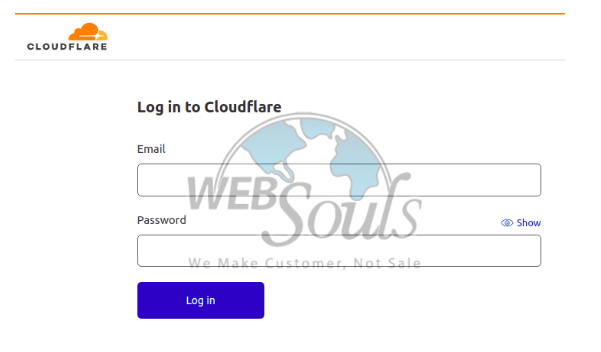
Step 1: Log in to Cloudflare
To initiate the Shopify Cloudflare Integration, start by logging into your Cloudflare account. If you don't have one yet, sign up below.

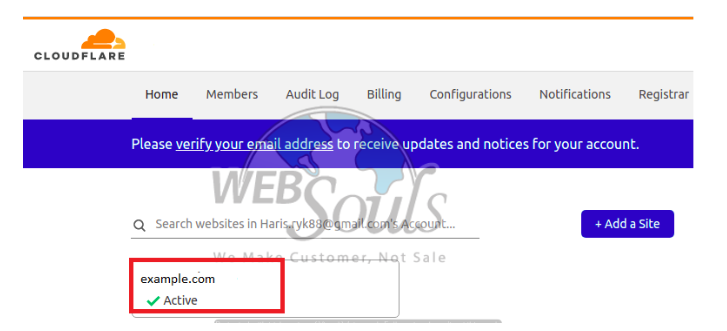
Step 2: Click the Domain Name
Now, proceed to link your domain with Cloudflare by modifying your nameservers and directing them to Cloudflare's servers, as demonstrated below.

Step 3: Fill in the Required Information
Afterward, proceed by furnishing the essential address and category details corresponding to the designated domain, ensuring accurate and comprehensive information.

Step 4: Click the Add Record Option
Once you've made your selection by choosing the 'CNAME' type, proceed by clicking the 'Add a Record' button to finalize and execute the process seamlessly. This action ensures that your configuration is correctly established and you’ve successfully pointed a domain to Shopify.

If you’re with the best web hosting company in Lahore or anywhere else around Pakistan, it won't take too long to save all your records and set your domain to Shopify on Cloudflare.
That’s it!
Hope this article helped you a lot, still, if you have any queries feel free to contact our technical support team. We offer a plethora of services, including web development in Pakistan, social media management, search engine optimization, and domain registration.

