With Cloudflare, you can instantly clear cache/purging without waiting for the automatic expiry time. This removes the unwanted files and helps your webpage load directly from the server again.
Follow the procedure given below to clear cache/purging on Cloudflare:
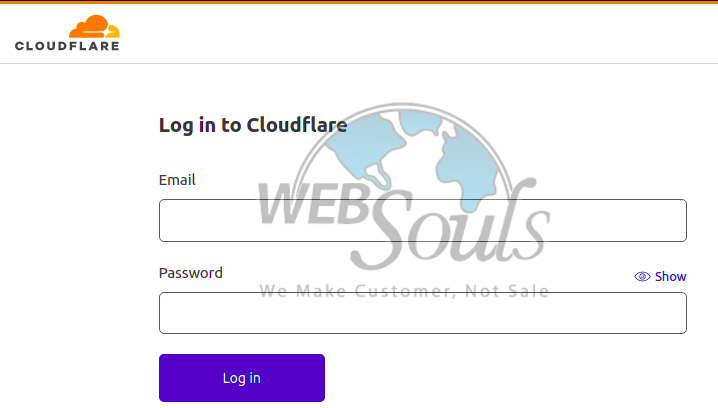
Step 1: Log into Cloudflare
First of all, insert the credentials to log into your Cloudflare account.

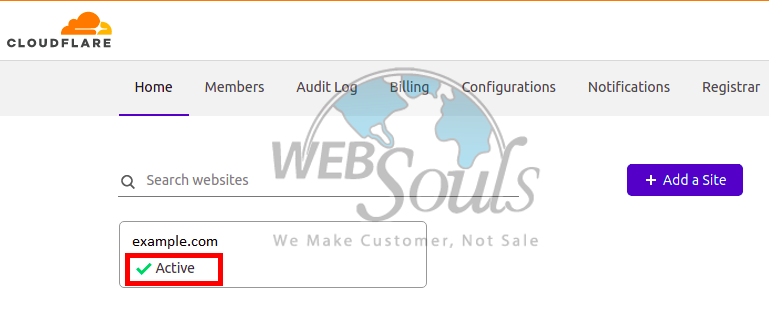
Step 2: Select the Website
Once you’re in the home section, simply activate your website by clicking on Active.

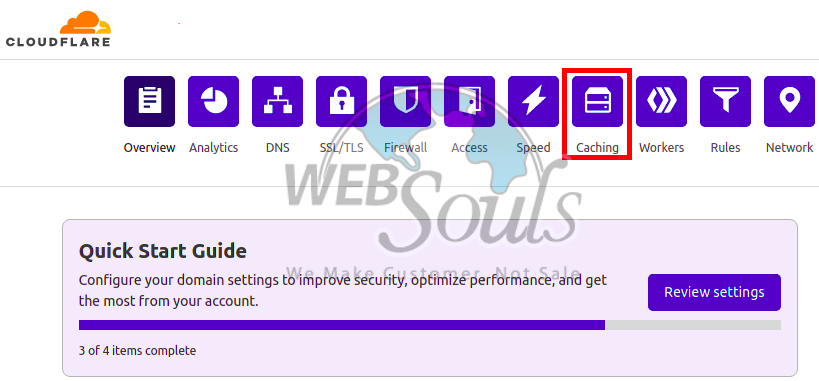
Step 3: Click on “Caching”
After this, you need to click on “Caching” to clear the cache/purging of the selected URL.

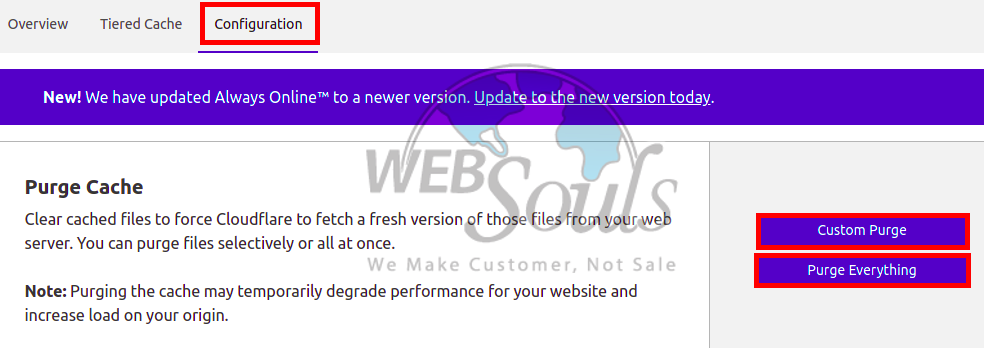
Step 4: Choose the Type of Purge
To finish the process, you need to choose the type of purge. For this you have two options:
- Custom Purge: If you want to accomplish a purge for a single page or file, then select this option. And, then paste the particular URL of that page/file.
- Purge Everything: Click on this option to purge every file and page of your website.

That’s it!
Hope this article helped you learn how to clear cache/purging on Cloudflare. Still, if you’ve any questions you can contact our technical support team anytime through online chat or e-mail. Our experts would help you solve your problem within a matter of minutes.
Along with our 24/7 support, we also offer a variety of web hosting services in Pakistan that include, shared web hosting, VPS hosting, WordPress hosting, Dedicated Servers, and Business hosting. For details and inquiries, you may visit us at one of our offices in Lahore or Karachi, or call us at 0423-523887173.

