Email user filters are an incredibly useful tool that allows you to organize and manage your emails more efficiently.
By setting up filters, you can automatically sort incoming messages, apply labels, forward specific emails, and much more.
In this step-by-step tutorial, we will walk you through the process of configuring email user filters, enabling you to streamline your inbox and enhance your email management experience. So, let’s get started:
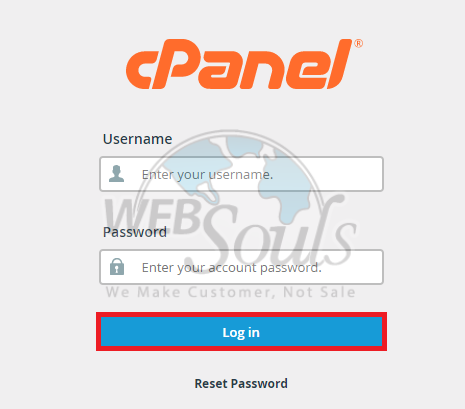
Step 1: Log in to cPanel
Enter your username and account password to login into cPanel. The details would be provided to you by your web hosting services provider.

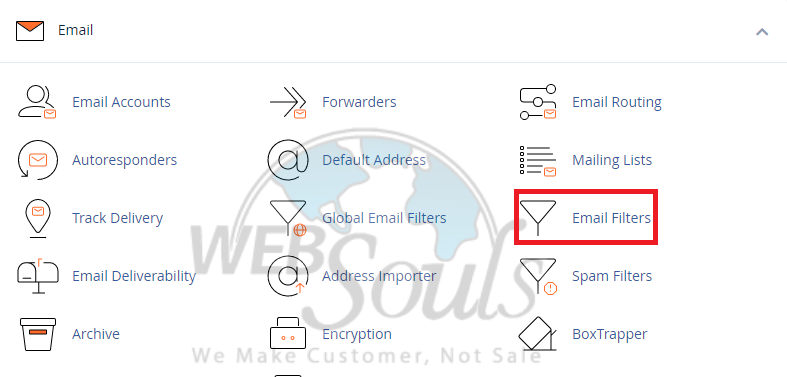
Step 2: Click Email Filters
To access the email filters, navigate to the email section of your email client. Look for the option labeled "Email Filters" located in the third row of the last column. By selecting this option, you'll be able to configure and manage your email filters efficiently.

Step 3: Select the Manage Filters Option
To customize filters for a specific email, simply locate the email in question, and in the "Actions" column, click on "Manage Filters."

Step 4: Press Create a New Filter
To proceed, navigate to the end and locate the "Create a New Filter" option. Select it, and you'll be ready to configure a fresh filter to suit your needs.

Step 5: Select the Create Option
Once you have filled in the necessary information for your new filter, it's time to take the final step. Look for the ''Create'' button and select it to save your filter settings. By doing so, you will activate the filter and ensure that it works according to your specified criteria.

Got any questions? Get in touch with us via the live chat option available on our website, or visit us at one of our offices for web hosting in Lahore or Karachi.

