Whether you have a wealth of experience as a webmaster or are just starting out with web hosting, effectively managing database users and permissions is crucial for maintaining the security and efficiency of your MySQL database.
This comprehensive tutorial is crafted to walk you through the step-by-step process of granting specific permissions to a MySQL database user using the user-friendly cPanel control panel.
By the time you finish this guide, you will have the confidence and knowledge to control access levels and tailor user privileges, guaranteeing smooth database operations and the protection of your valuable data:
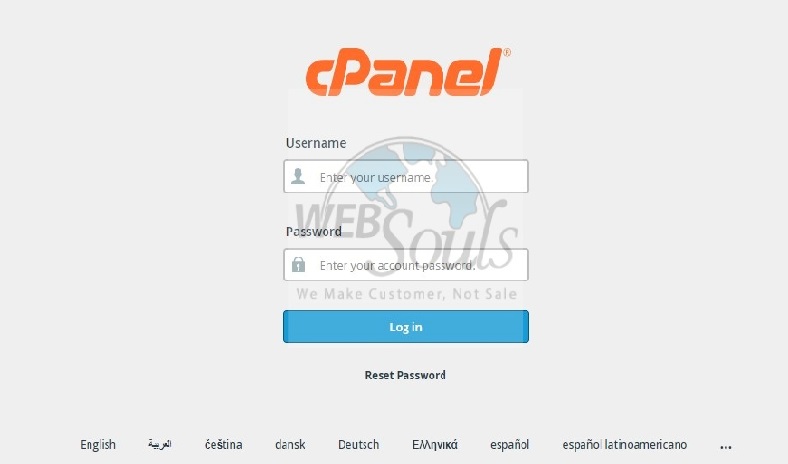
Step 1: Log in to cPanel
Enter your username and account password to login into cPanel, provided to you by your web hosting services provider.

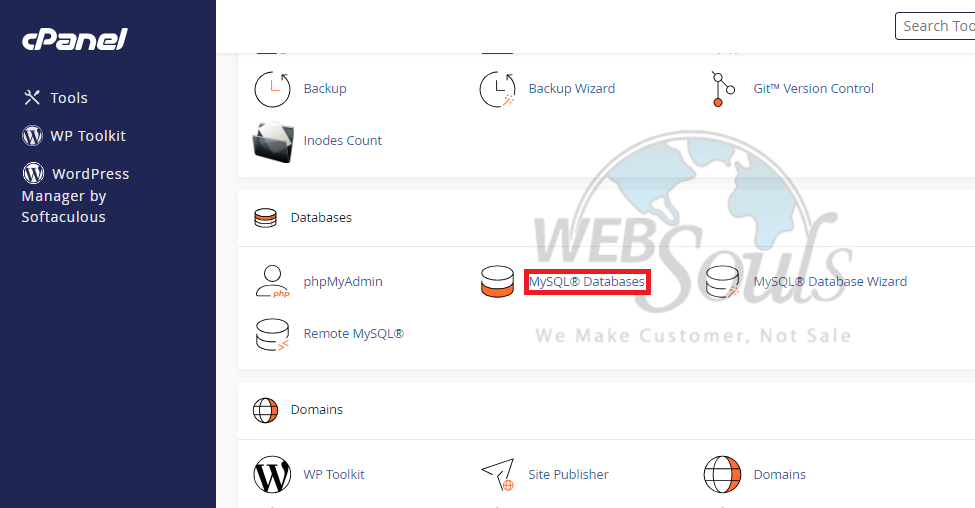
Step 2: Click MySQL Databases
Go to the Databases section in cPanel, then click on MySQL Databases to gain additional access.

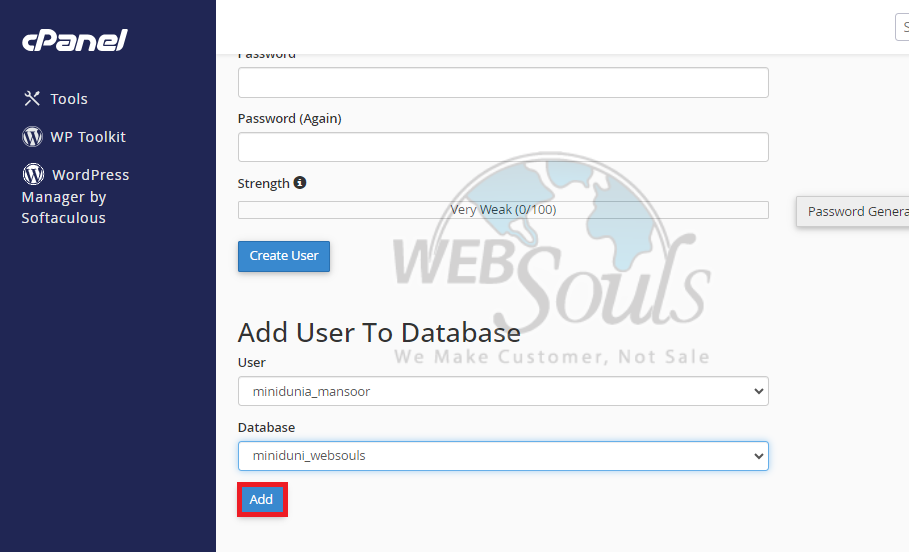
Step 3: Select Add
In the "Add User to Database" section, start by picking a user from the User dropdown menu. Then, choose the desired database from the Database dropdown menu to authorize access for the selected user. Finally, press the "Add" button.

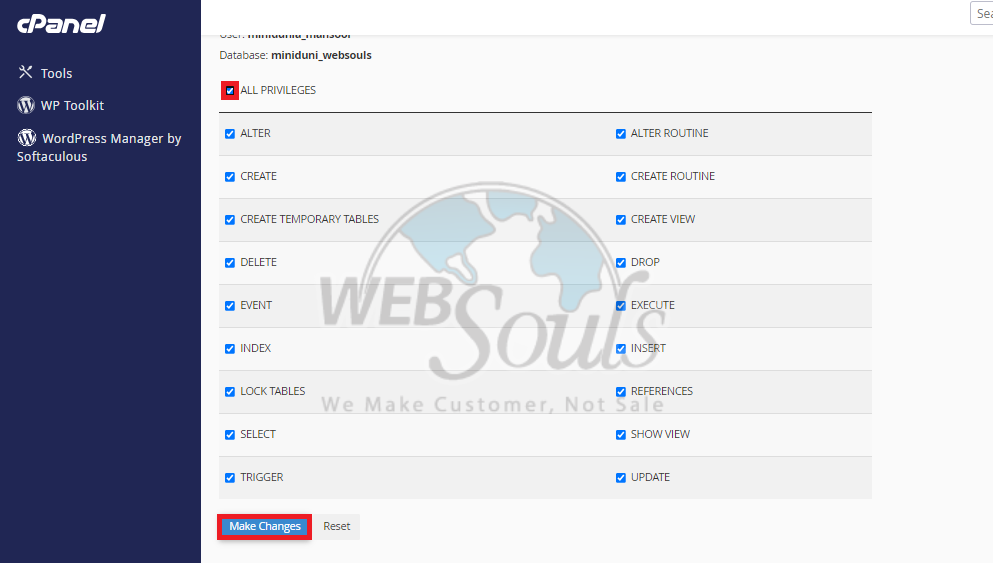
Step 4: Click the "Make Changes" Option
Once you've chosen the user, indicate the privileges you wish to confer or opt for "ALL PRIVILEGES" on the next page. Then, proceed by clicking "Make Changes" and subsequently "Go Back" to efficiently finalize the procedure. These simple steps empower you to manage both user privileges and database operations effectively.

In case of any confusion, contact our support executive via the live chat option on our website, or visit our web hosting company office in Pakistan.

