Welcome to our step-by-step guide on how to edit your .htaccess file.
The .htaccess file plays a crucial role in configuring and customizing your website's server settings. By mastering the art of editing this file, you gain control over various aspects of your website's functionality and security.
In this guide, we will walk you through each step, ensuring that you can confidently make changes to your .htaccess file and optimize your website's performance:
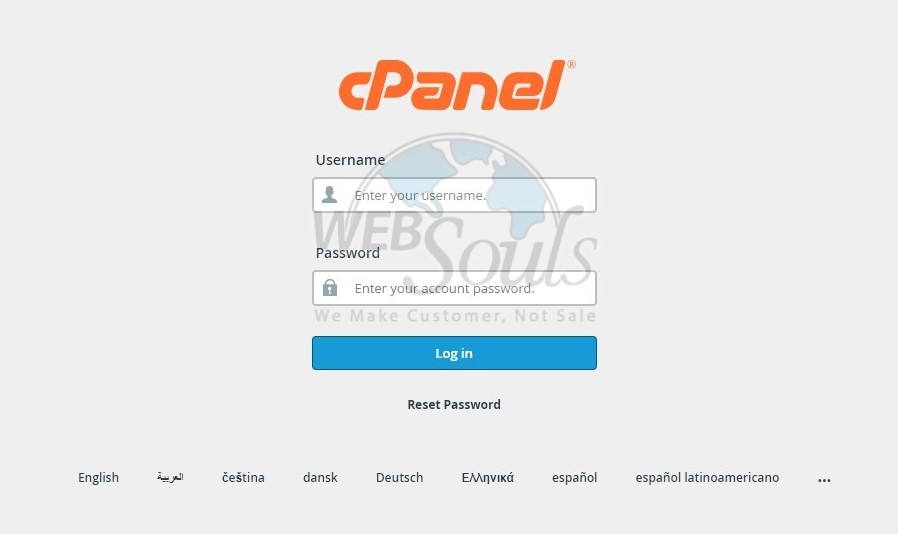
Step 1: Log in to cPanel
To gain access to cPanel, kindly provide your designated username and account password during the login process.
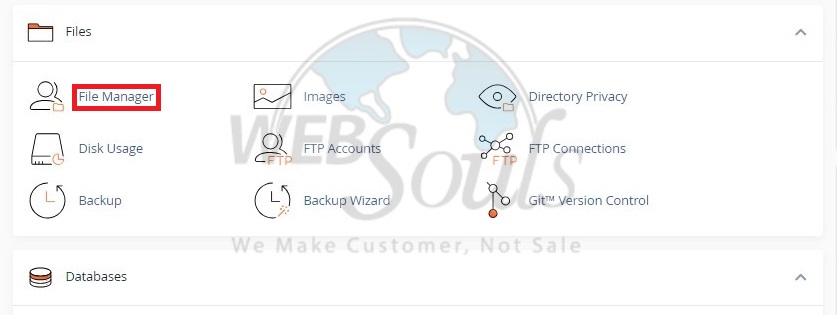
Step 2: Press File Manager
Navigate to the Files section and open the File Manager.
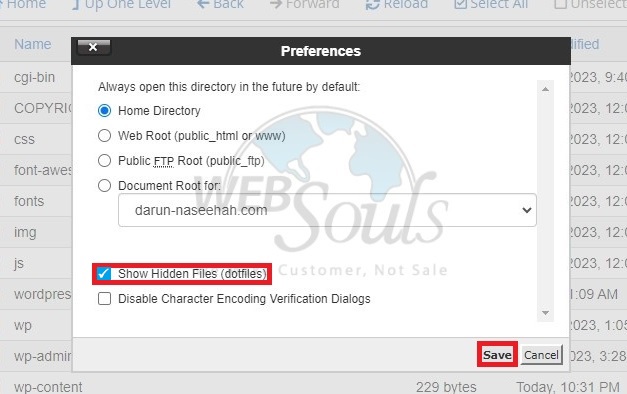
Step 3: Click Settings
View various folders and files in the File Manager, including hidden items. Choose the directory to open. Access the .htaccess file via the upper right Settings.

Step 4: Select the Save Option
Ensure the "Show Hidden Files (dotfiles)" option is selected. This action will refresh the page, revealing files starting with a period (dot). Next, click "Save."
Step 5: Press Edit
For a single domain, navigate to public_html to locate the .htaccess file. If you have multiple domains, access the respective domain's document root for .htaccess editing. Right-click the .htaccess file, select Edit, or use the Edit icon for editing.
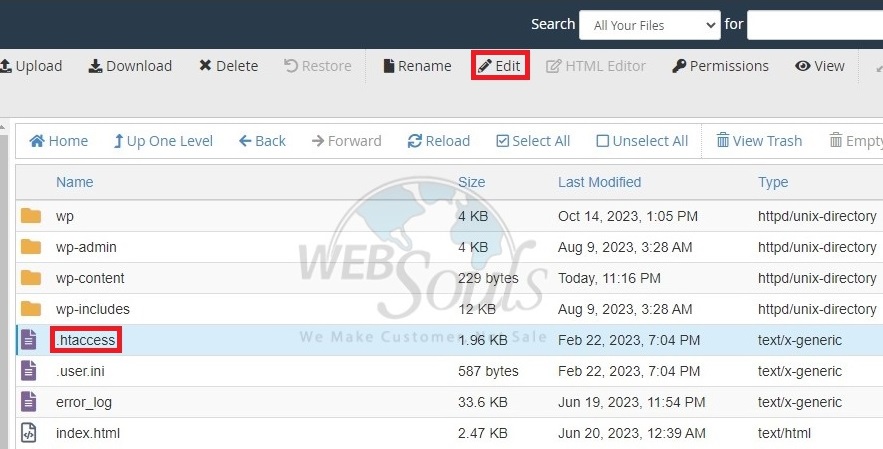
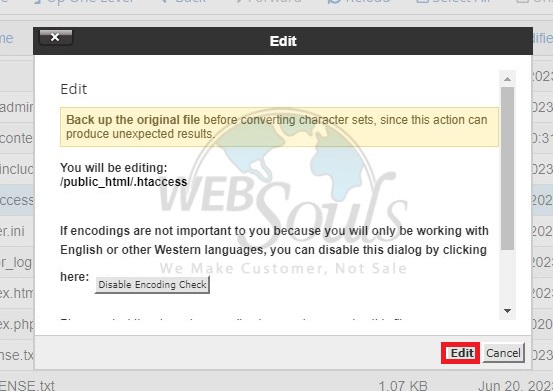
Step 6: Click the Edit Option
You might encounter a prompt about encoding. Simply click "Edit" to proceed. The editor will launch in a separate window.
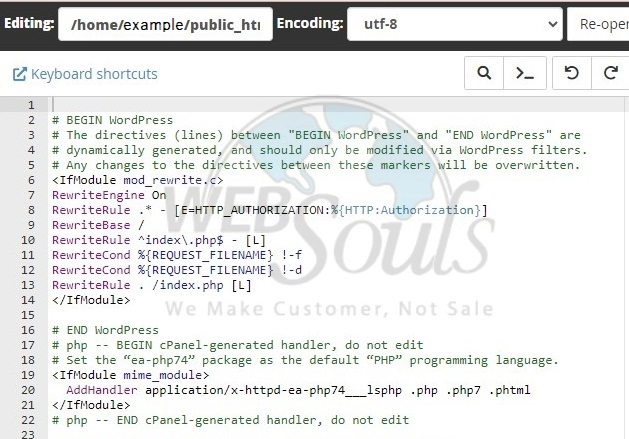
Step 7: Select Save Changes
To input necessary codes like Redirects and Rewrites, paste the entire code from the second line in .htaccess. Add new codes after a spare line, then save changes. Test your website for updates. Rectify errors or return to the prior version if needed. Click 'Close' to exit the File Manager.
For further questions, please visit our offices for web hosting in Karachi or Lahore. Or, you can easily get in touch with our customer support team via the live chat option on our website.

