What is CSF?
CSF stands for Config Server Firewall. CSF is a firewall application for Linux based servers. CSF can detect when someone is logging into the server via SSH and also informs you when some user tries to use the su command on the server to get higher privileges. CSF is a Login and Intrusion Detection for applications we use like SSH, SMTP, IMAP, Pop3, and especially for the su command etc. CSF also checks for login authentication failures. CSF is a very good security solution for hosting servers and can be integrated into the Graphical User Interface (GUI) of WHM/Cpanel etc.
Below are the steps to install and configure CSF on Centos:
Step 1:
Login as “root” into your centos machine.
Step 2:
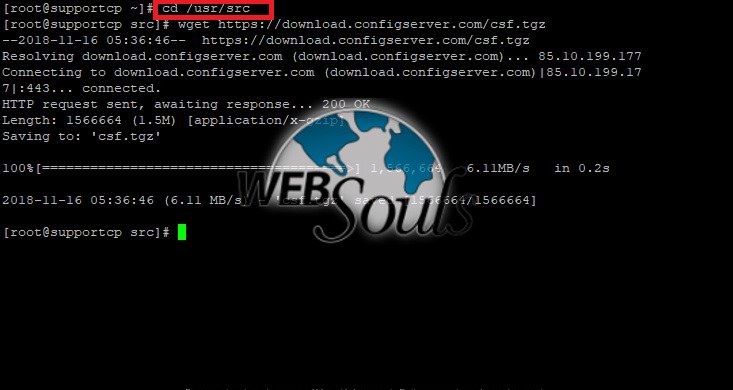
Now go to the /usr/src/ directory.
“cd /usr/src”
Now we will download the CSF zip file by entering below command.
“wget https://download.configserver.com/csf.tgz”
Step 3:
Extract the csf.tgz file.
Tar –xzf csf.tgz
Now go to the CSF directory.
“cd csf”
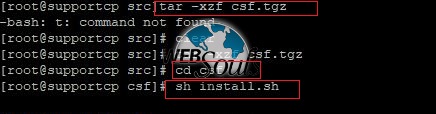
Step 4:
Now we will install the package by using below command:
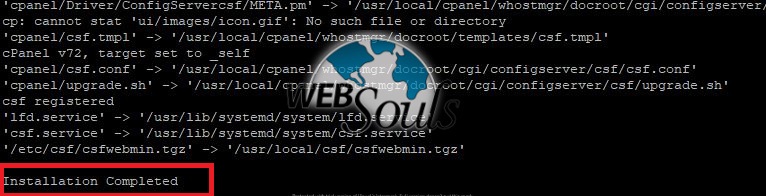
“sh install.sh”
You should get this message that “Installation Completed”.
Step 5:
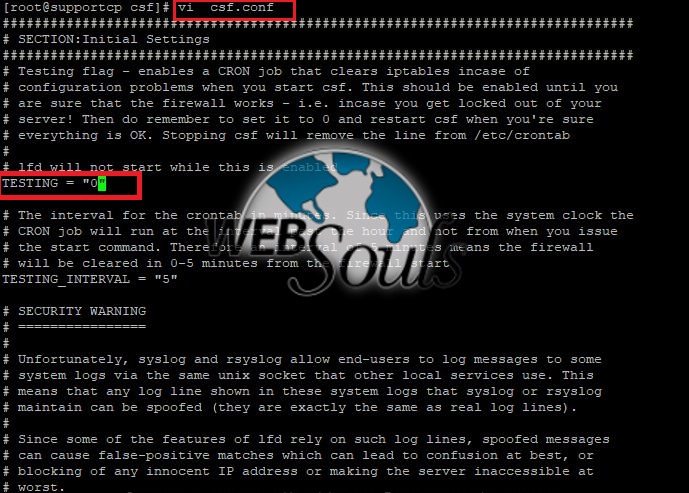
Now by default CSF is off we have to turned it on by changing the value in “csf.conf”
file to “Testing=1” to “Testing=0”.We use below command for this
“vi csf.conf”
Step 6:
Now we will check that CSF really works on this server or not. For this go to the bin file in csf directory.
cd /usr/src csf/csf/bin/
When you reach in “bin” directory run the below command
perl csftest.pl
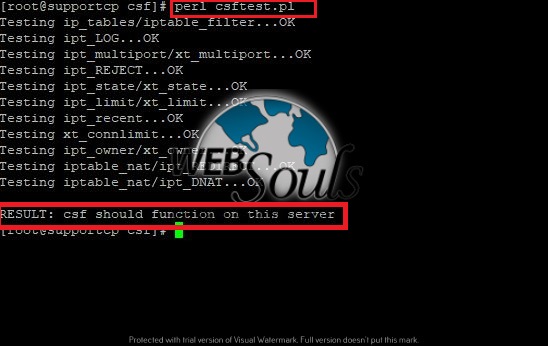
If you see the test results as shown below, then CSF is running without problems on your
server:
RESULT: CSF should function on this server
Basic CSF Commands:
1. Start the firewall or enable the firewall rules:
“csf –s”
2. Stop the firewall rules:
“csf –f”
3. Reload the firewall rules:
“csf –r”
4. Allow an IP and add it to “csf.allow”:
“csf -a 192.168.3.109”
5. Remove and delete an IP from csf.allow:
“csf -ar 192.168.1.109”
6. Deny an IP and add to csf.deny:
“csf -d 192.168.1.109”
7. Remove and delete an IP from csf.deny:
“csf -dr 192.168.1.109”
8. Remove and Unblock all entries from csf.deny:
“csf –df”
9. Disable CSF & LFD Completely :
“csf -x”
10. To allow SSH connection from specific IP the rule will be look like this:
Tcp | in | d=22 | s=136.43.21.54
11. To allow outgoing Smtp Connection rule will be look like this:
Tcp | out | d=25 | s=localhost
Make sure to restart the csf in case of any rule deletion and addition.
We hope that the above article was beneficial for you if you liked it please give us a thumbs up.
Technical Support,
WebSouls.
